How To: Re-do your head liner
Posted: Thu Jun 11, 2009 1:14 pm
Supplies:
2.5 yards of fabric
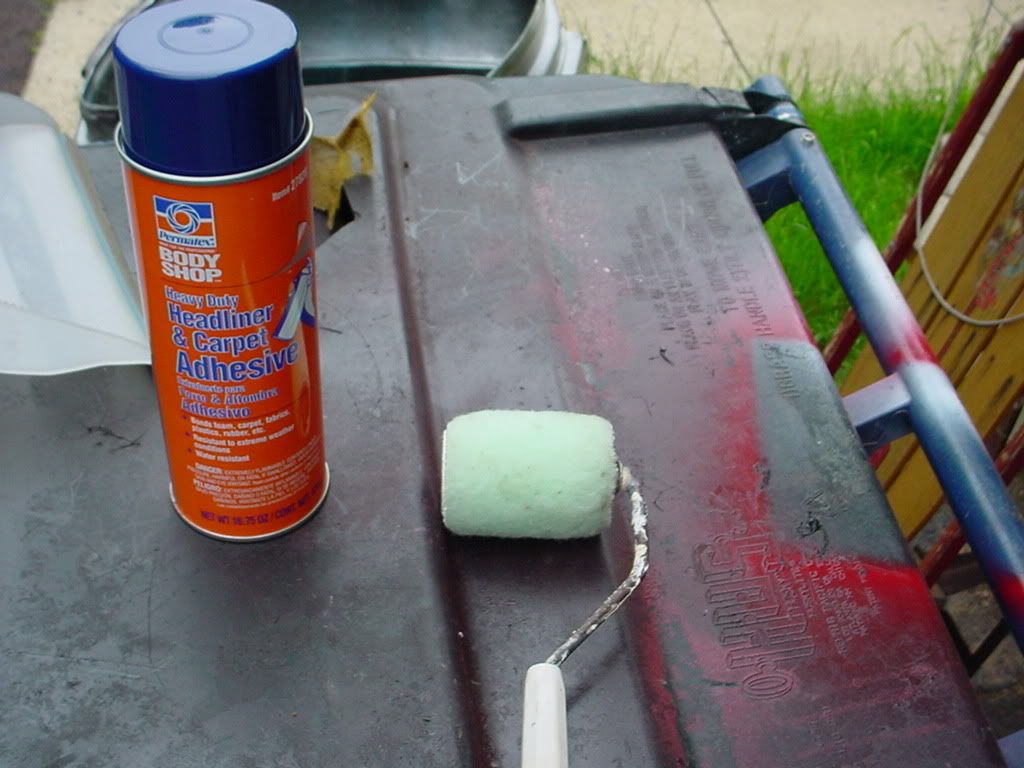
1 can of Permatex headliner and carpet adhesive
Scisors, blade, or other fabric cutting tool.
Philips head screwdriver
OPTIONAL:
Clothing Iron
Paint Roller
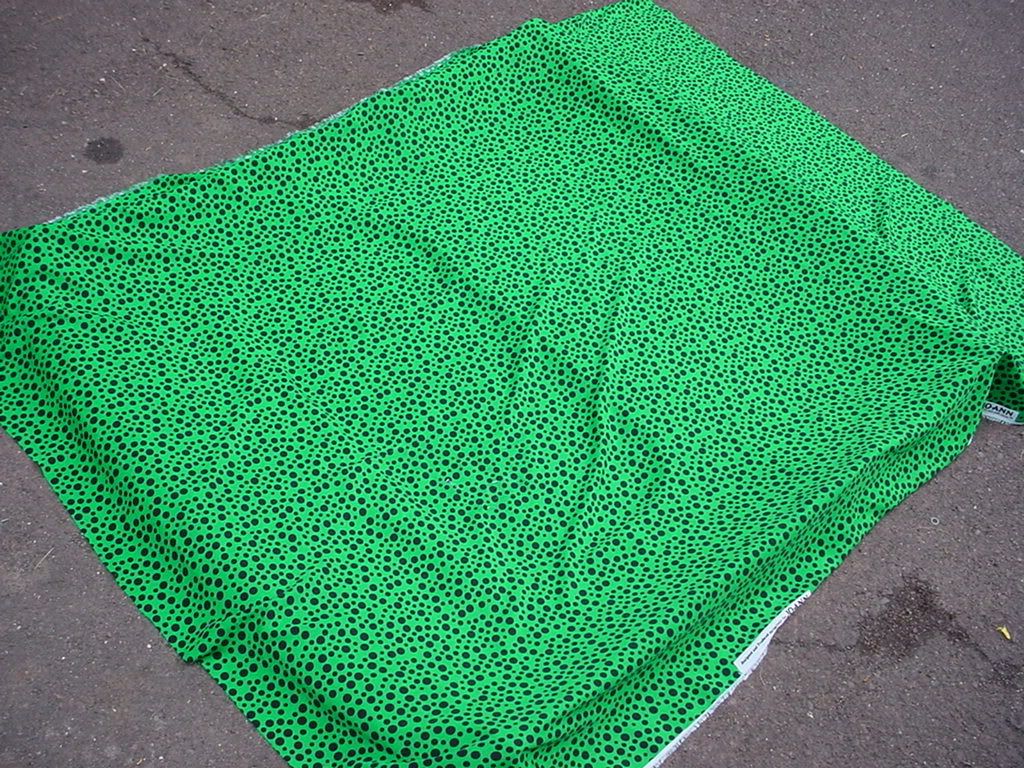
The first thing you need to do is select a fabric that you want to recover your head liner in. You can get it from walmart, craft stores, etc...
The thicker fabrics and ones that have some stretch to them are much easier to use. A fabric that wont stretch makes contouring to the curves in the headliner very difficult.
Remove old head liner:
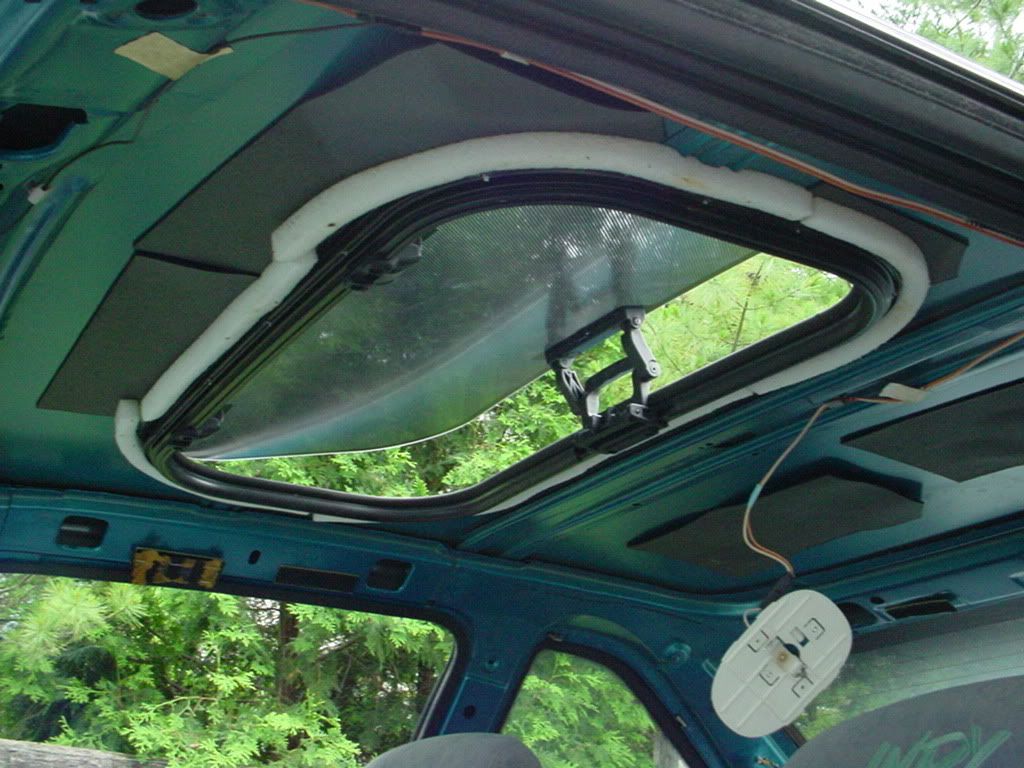
It is held up by the front pillar trim pieces, the rear upper trim pieces, the sun visors, the dome light, and a sunroof if you have one.
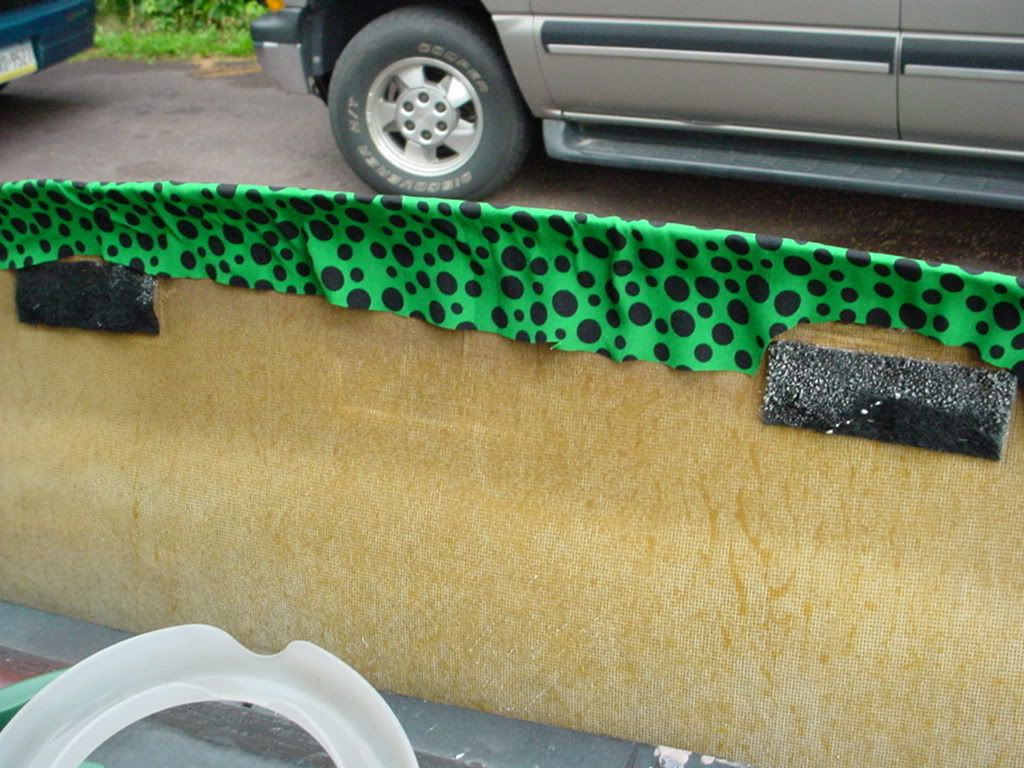
It also has 8 velcro strips around the peremeter. 2 over each door, 2 in the back, and 2 in the front. BE CAREFUL removing these! They can easily be torn out of the headliner backing.
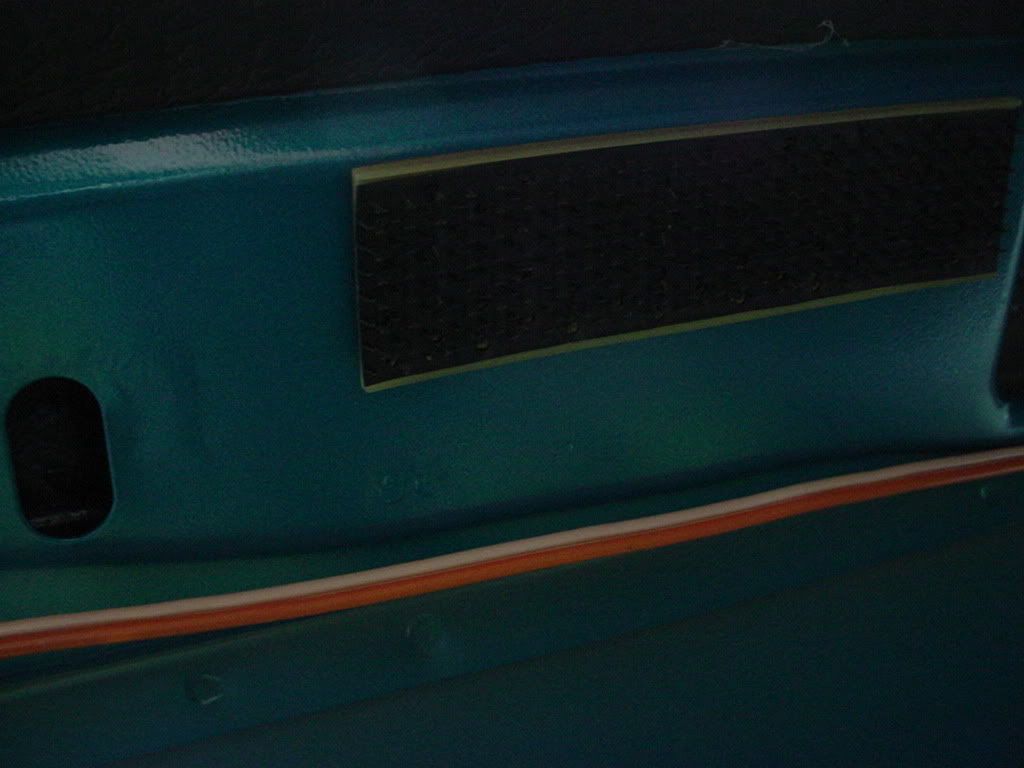
This is what those velcro strips look like.
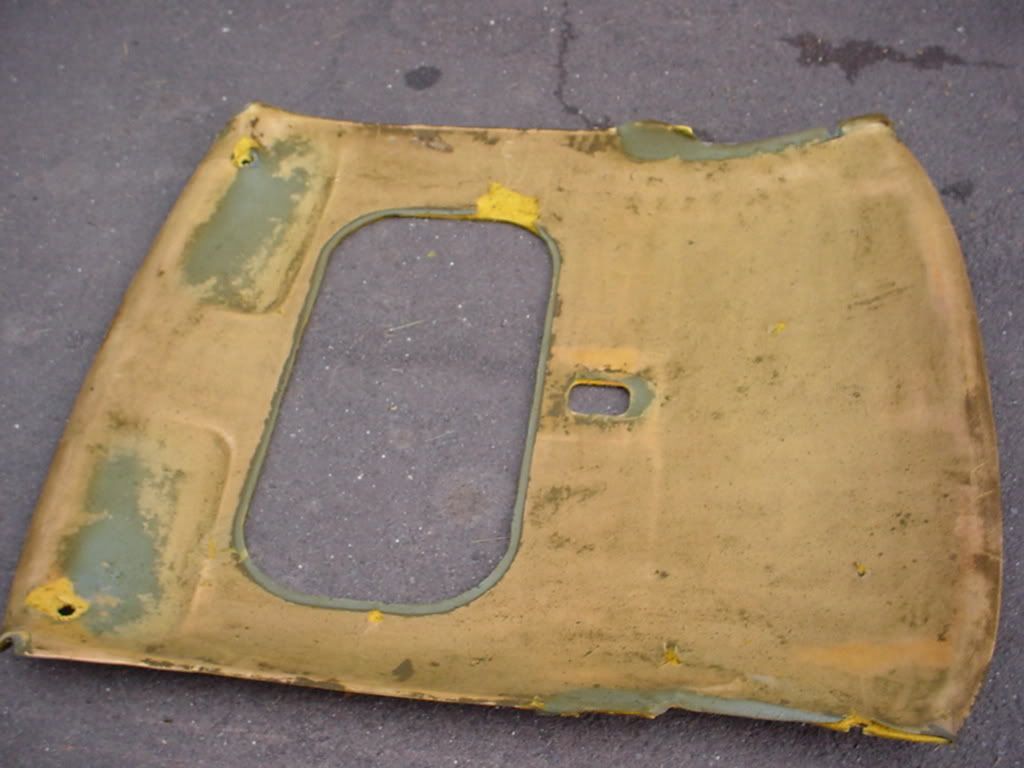
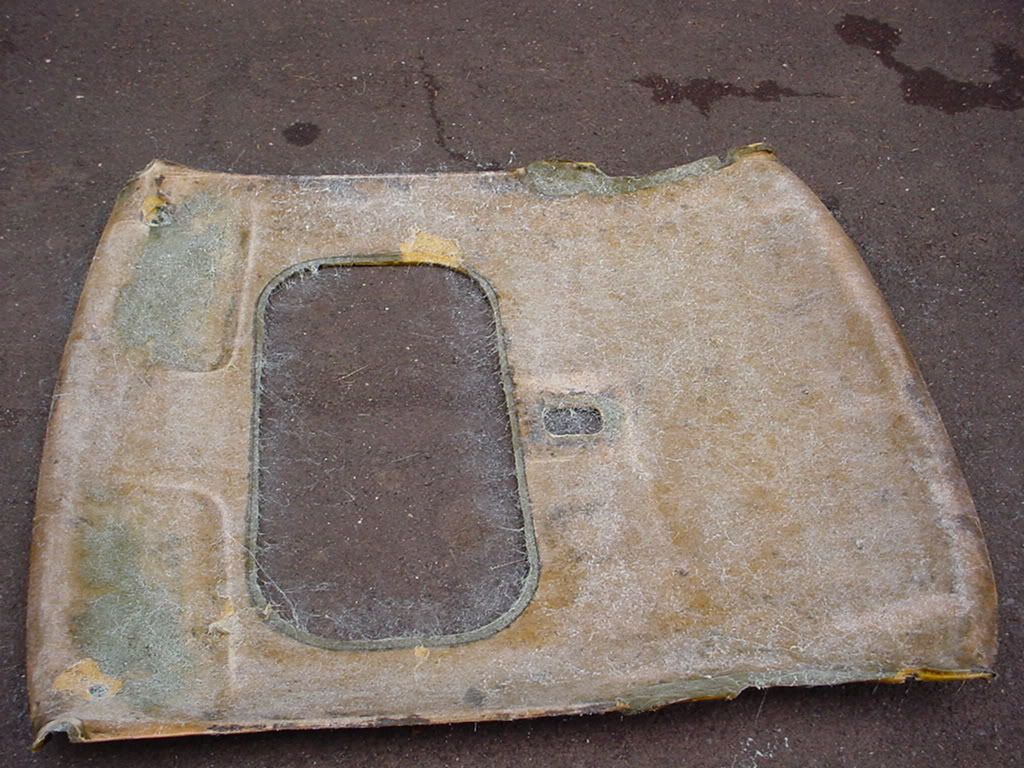
Now that you have the headliner out, you need to tear the old fabric off. Mine was already half off so it just came right off.
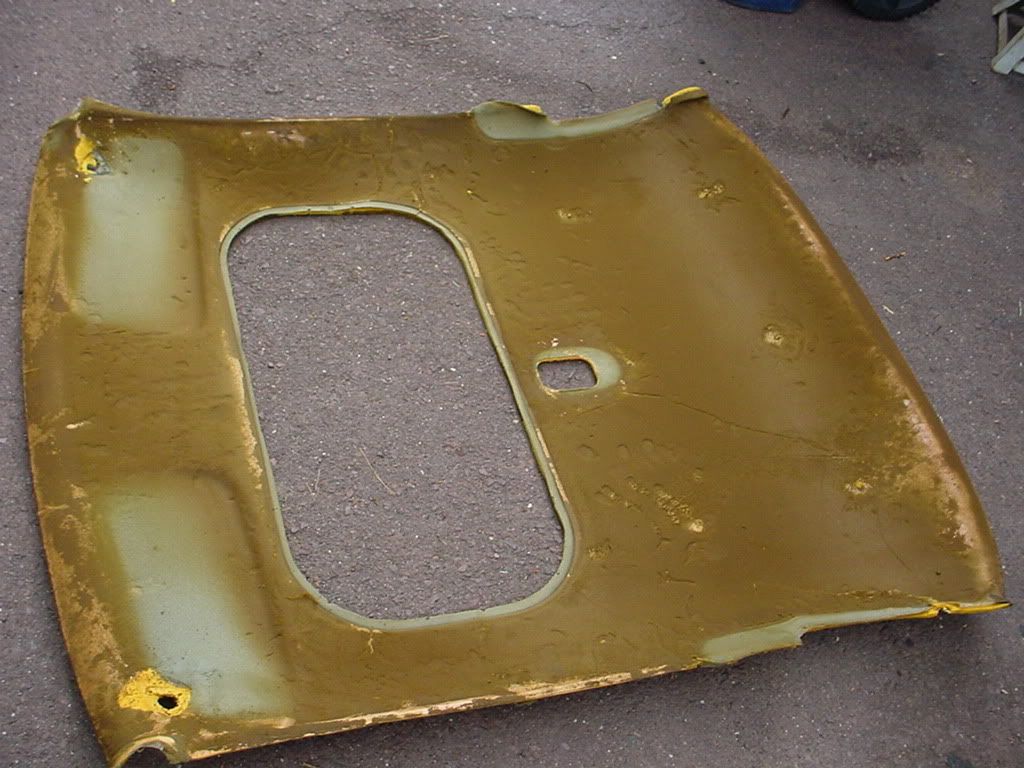
You will see nasty brown foam all over it. The foam has deteriorated over the years. You COULD leave it on there, but your headliner will sag again probably within a few months.
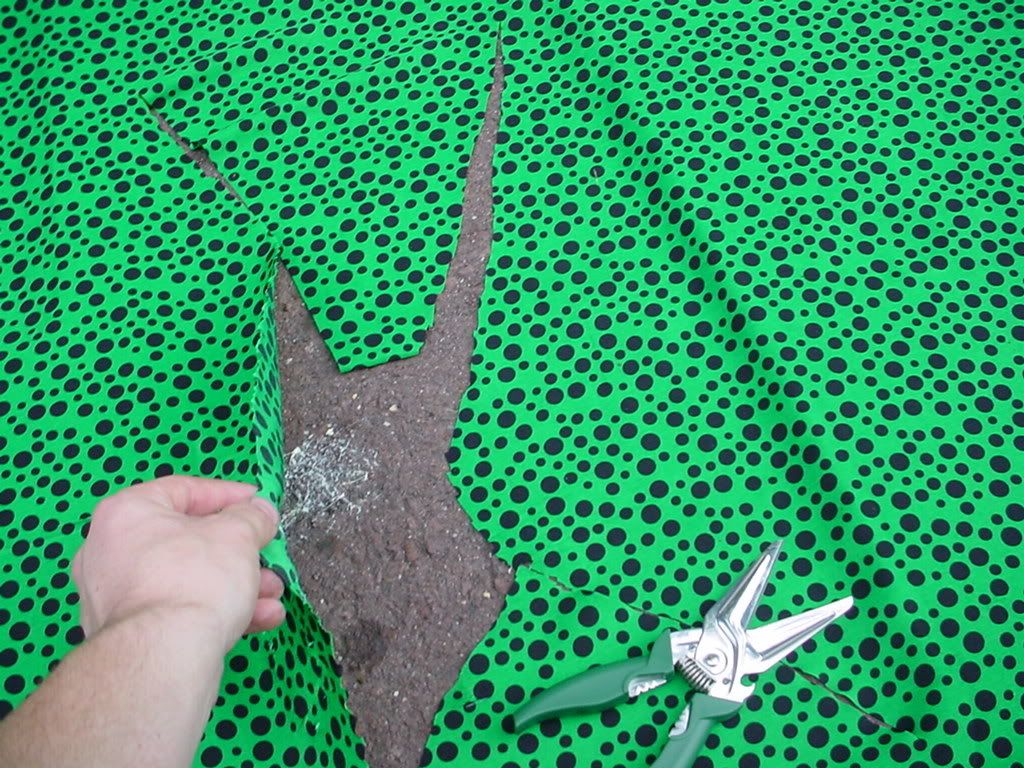
The best option is to remove all of the bad foam. Its so old that you can just rub it off with your hands like this:

Done:
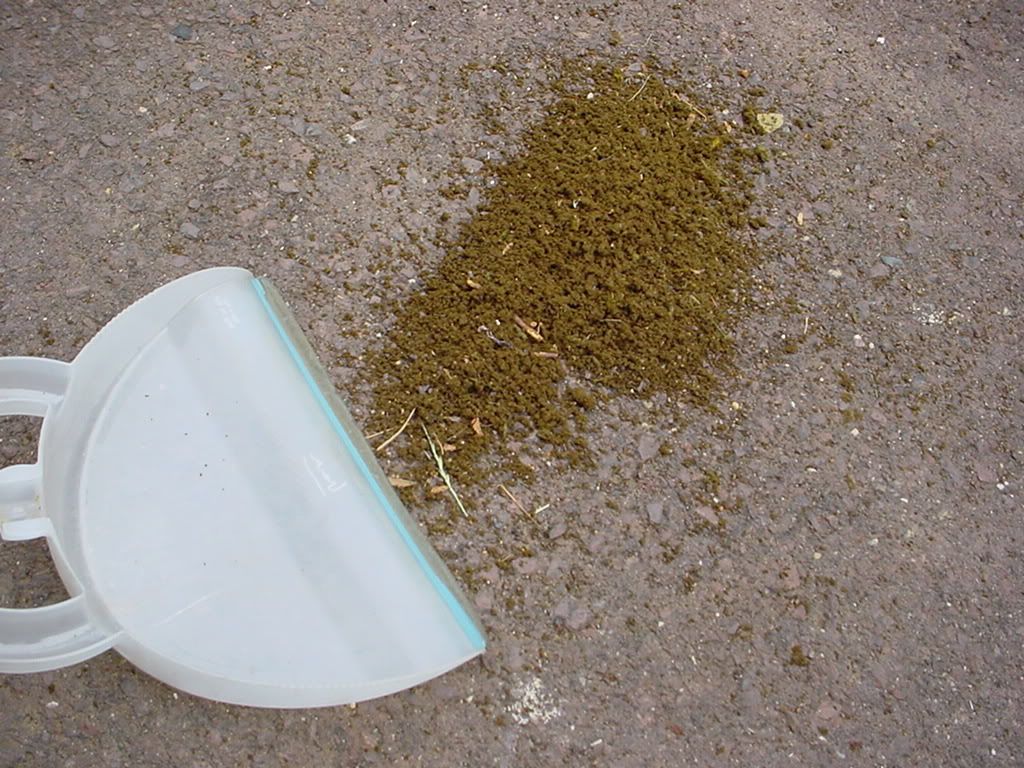
Now sweep the mess up so it doesn't interfere with the rest of the project
IMPORTANT NOTE: If any of your velcro strips ripped off the board during removal, NOW would be the perfect time to staple them back on!
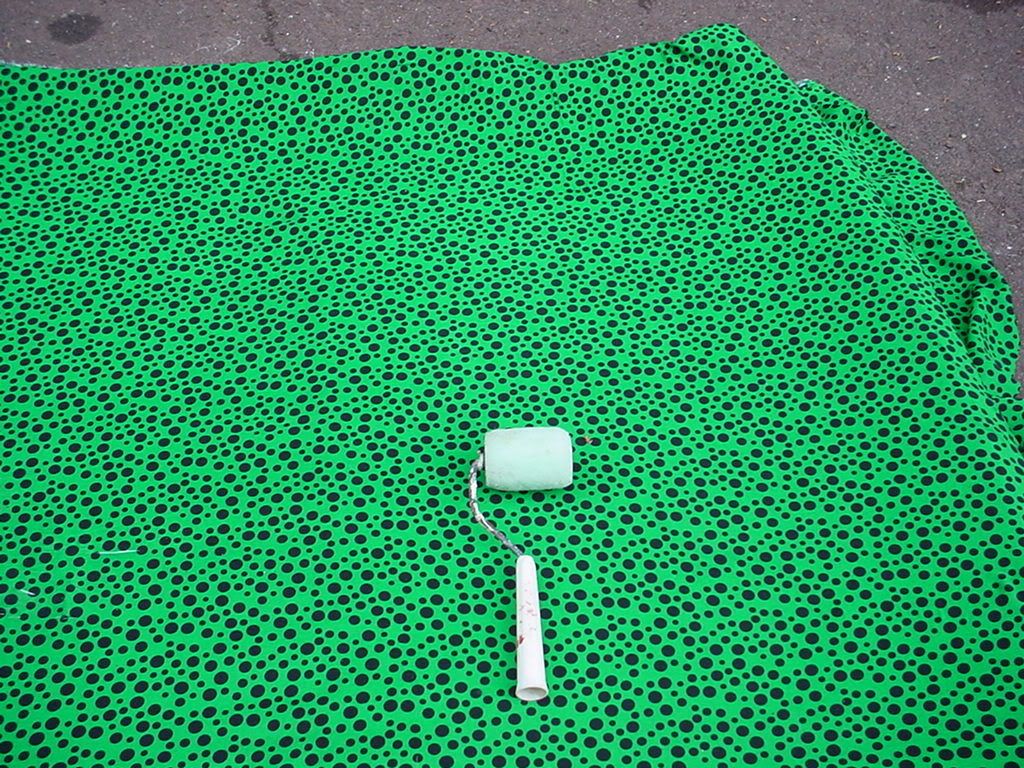
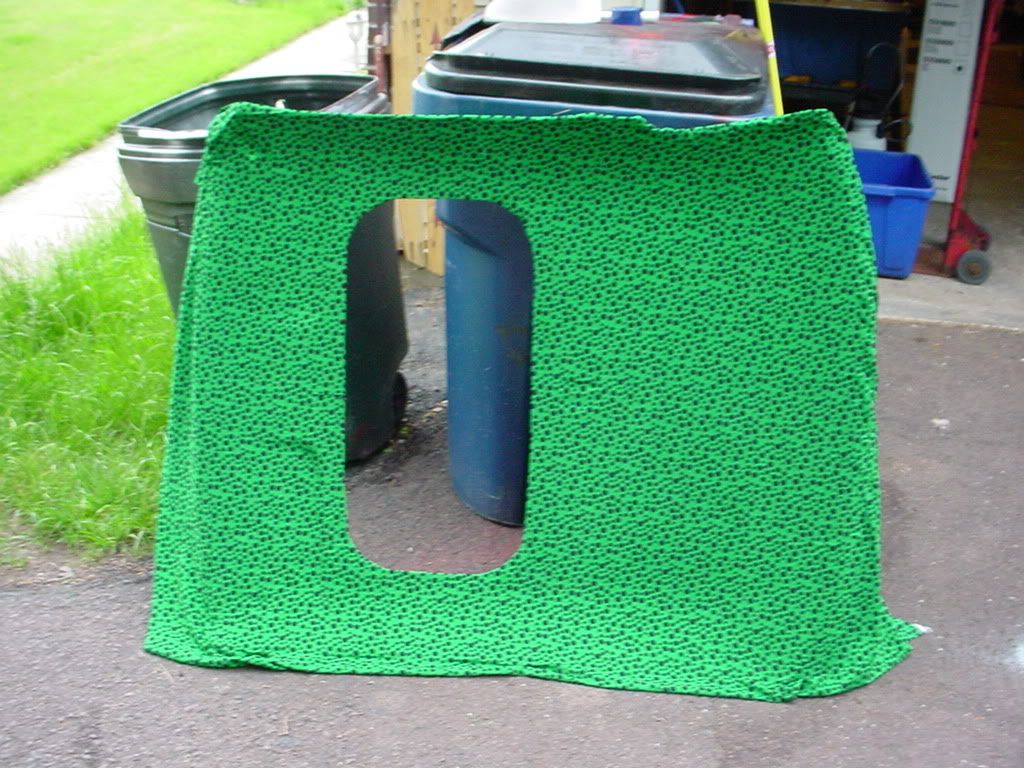
Next step is to test fit your fabric. Just lay it over the board to get a feel for everything.
OPTIONAL: At this time you could now iron your fabric to remove any wrinkles. However, you can work out the wrinkles later, its just more of a pain.
Now its time to apply the glue to the board. It looks like a spider web coming out. I used about a half can on the board. It sinks in a little so put it on heavy!
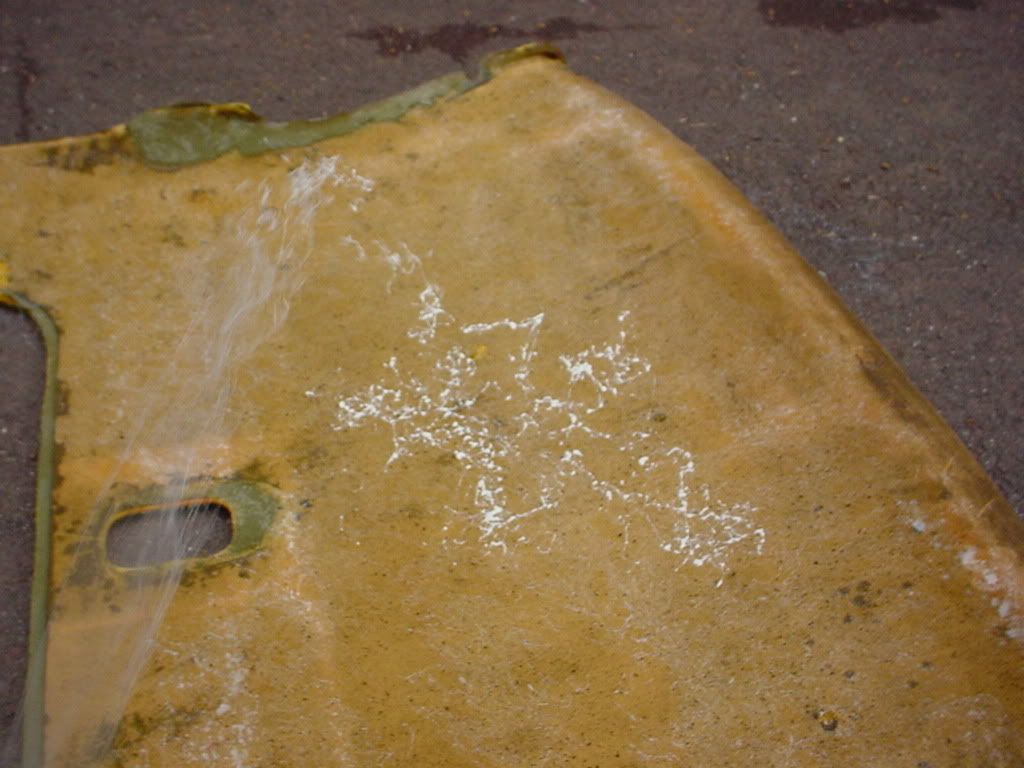
^^^^^Yeah you like that action shot!!!!
Here is it all glued
Now let that glue set for 5-10 minutes. When you spray it its not even sticky, it needs some time to tack up.
Now comes the most crucial part.
Lay down the fabric just like you did in the mock up.
Immediately start working your way from the center out taking out wrinkles and contouring the fabric to the headliner. You can use a paint roller to help you but honestly hands work best.
You have some time to work with the glue, so don't panic. Get all the wrinkles out and make sure the fabric is bonded to every corner and curve.
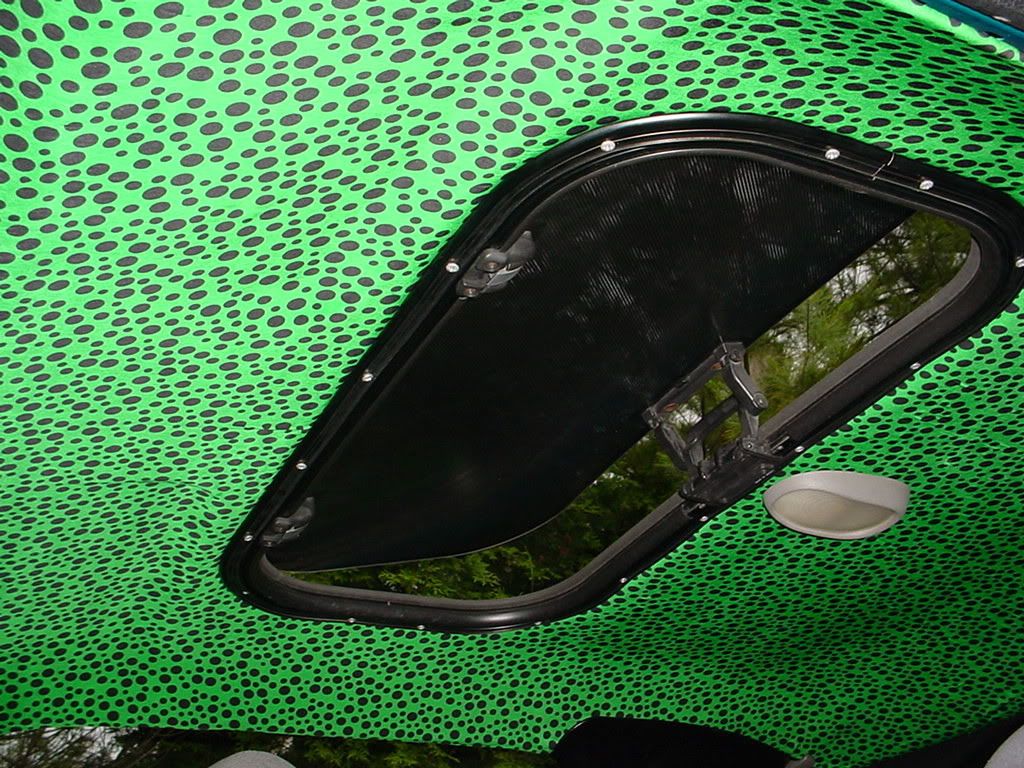
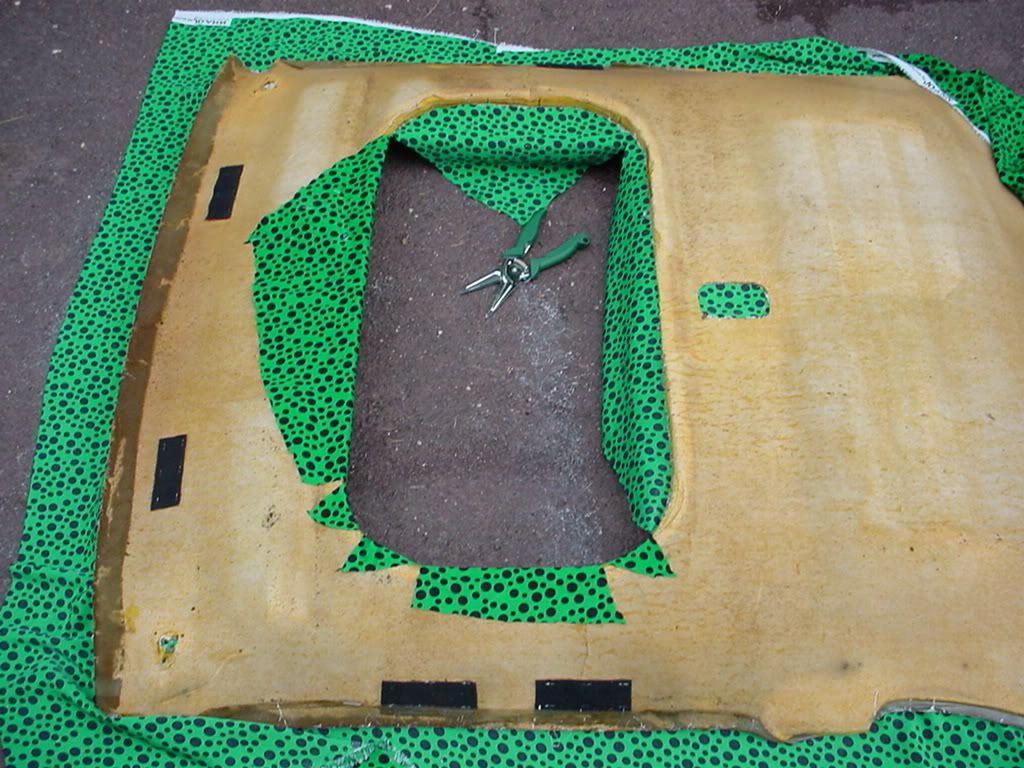
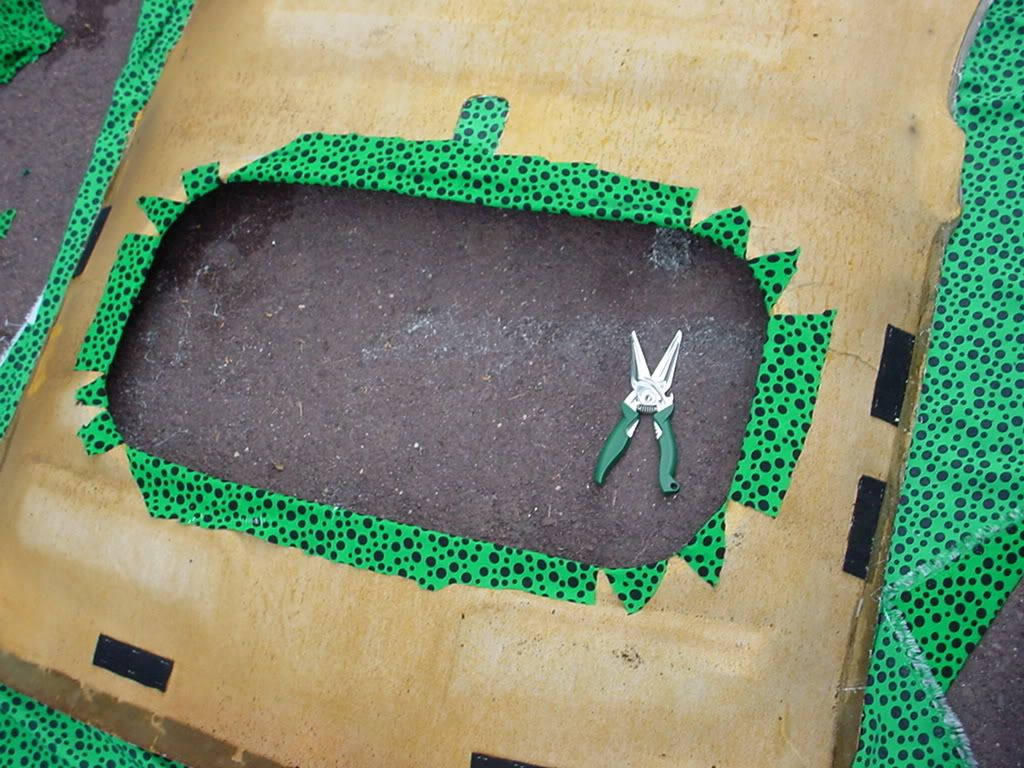
Now you can start cleaning it up.
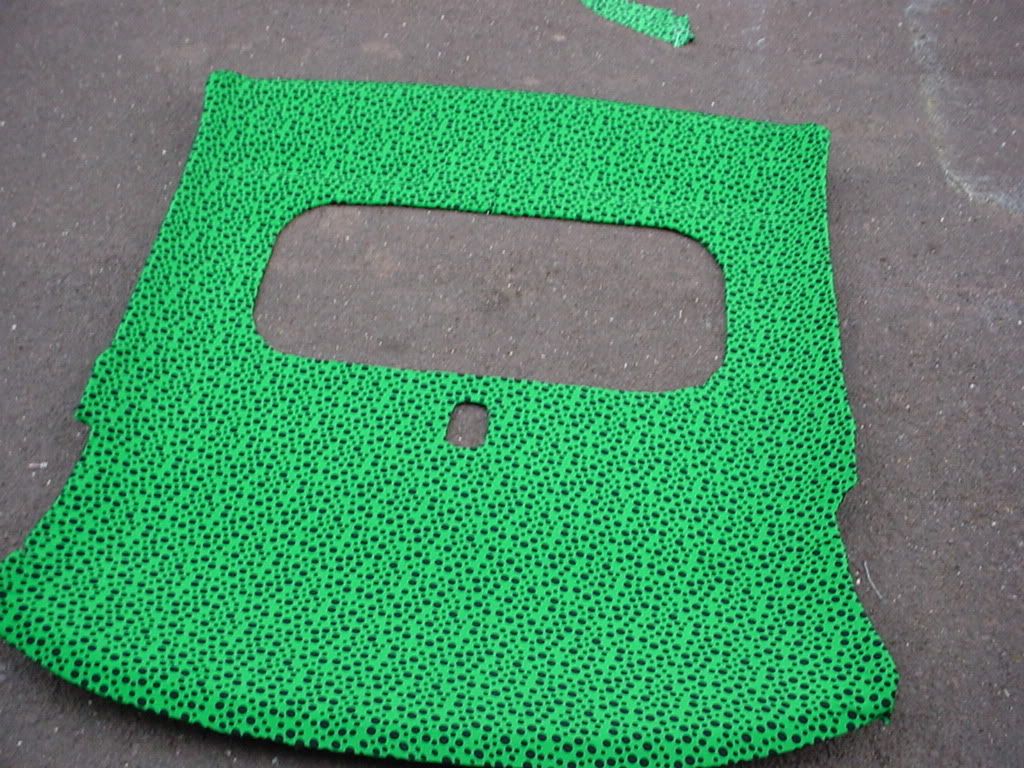
For the sunroof, cut a big X in the fabric. Then you can cut that up into smaller sections so the fabric can be wrapped around and glued to the back side of the board.
2.5 yards of fabric
1 can of Permatex headliner and carpet adhesive
Scisors, blade, or other fabric cutting tool.
Philips head screwdriver
OPTIONAL:
Clothing Iron
Paint Roller
The first thing you need to do is select a fabric that you want to recover your head liner in. You can get it from walmart, craft stores, etc...
The thicker fabrics and ones that have some stretch to them are much easier to use. A fabric that wont stretch makes contouring to the curves in the headliner very difficult.
Remove old head liner:
It is held up by the front pillar trim pieces, the rear upper trim pieces, the sun visors, the dome light, and a sunroof if you have one.
It also has 8 velcro strips around the peremeter. 2 over each door, 2 in the back, and 2 in the front. BE CAREFUL removing these! They can easily be torn out of the headliner backing.
This is what those velcro strips look like.
Now that you have the headliner out, you need to tear the old fabric off. Mine was already half off so it just came right off.
You will see nasty brown foam all over it. The foam has deteriorated over the years. You COULD leave it on there, but your headliner will sag again probably within a few months.
The best option is to remove all of the bad foam. Its so old that you can just rub it off with your hands like this:
Done:
Now sweep the mess up so it doesn't interfere with the rest of the project
IMPORTANT NOTE: If any of your velcro strips ripped off the board during removal, NOW would be the perfect time to staple them back on!
Next step is to test fit your fabric. Just lay it over the board to get a feel for everything.
OPTIONAL: At this time you could now iron your fabric to remove any wrinkles. However, you can work out the wrinkles later, its just more of a pain.
Now its time to apply the glue to the board. It looks like a spider web coming out. I used about a half can on the board. It sinks in a little so put it on heavy!
^^^^^Yeah you like that action shot!!!!
Here is it all glued
Now let that glue set for 5-10 minutes. When you spray it its not even sticky, it needs some time to tack up.
Now comes the most crucial part.
Lay down the fabric just like you did in the mock up.
Immediately start working your way from the center out taking out wrinkles and contouring the fabric to the headliner. You can use a paint roller to help you but honestly hands work best.
You have some time to work with the glue, so don't panic. Get all the wrinkles out and make sure the fabric is bonded to every corner and curve.
Now you can start cleaning it up.
For the sunroof, cut a big X in the fabric. Then you can cut that up into smaller sections so the fabric can be wrapped around and glued to the back side of the board.