Finally...
Re: Finally...
effin gorgeous
88 GTU 5spd 67k black
89 GTU 3500/5spd swapped 79k white
08 TBSS LS2 AWD
89 GTU 3500/5spd swapped 79k white
08 TBSS LS2 AWD
Re: Finally...
BTW, is that one of those vinyl dash caps? You did a really nice job with that. I wasn't sold on it before but that looks really good on your car!
J
J
88 GTU 5spd 67k black
89 GTU 3500/5spd swapped 79k white
08 TBSS LS2 AWD
89 GTU 3500/5spd swapped 79k white
08 TBSS LS2 AWD
-
jackattack193

- Registered User
- Posts: 140
- Joined: Mon Oct 27, 2008 7:45 pm
- Location: Youngstown, OH
Re: Finally...
WOW – Thank You all so much for all the comments!
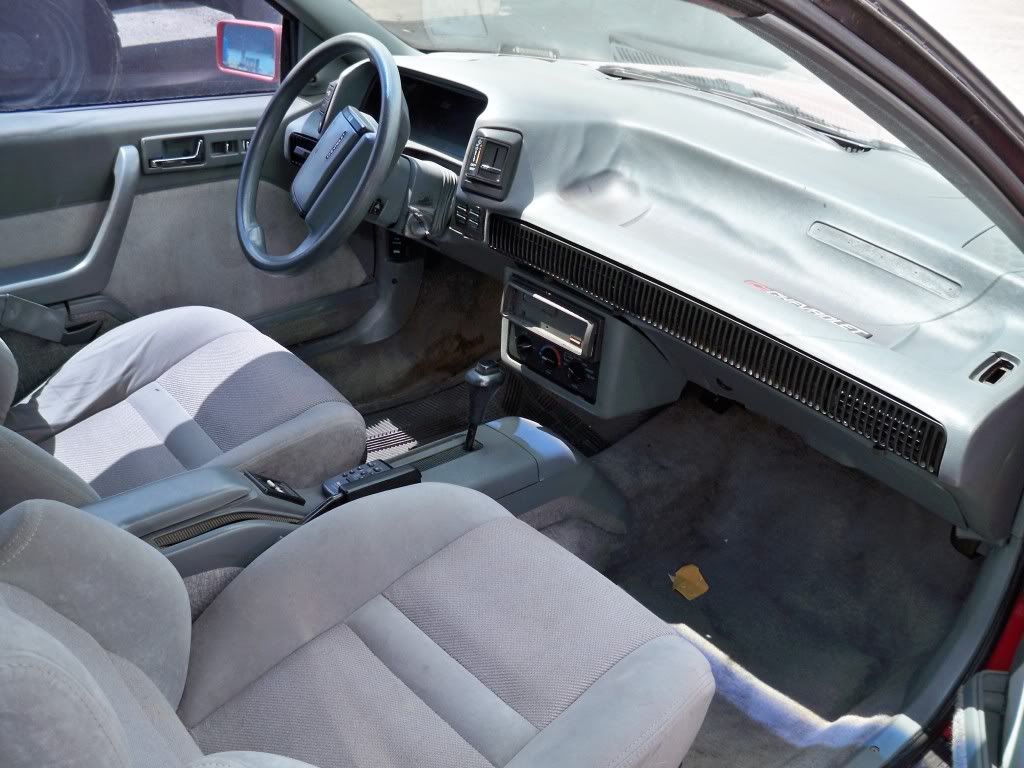
The interior just about got a complete makeover. The carpet was replaced and the seats were done too. The rear seats are original and I purchased a set of Z04 fronts seats and put the originals in storage. When I had the Z04’s re-upholstered, I had the rears done to match them. The door panels had me worried because I figured there was no way to do a good replication of the original panels. After tossing ideas around, I decided to re-do them with the same material that the seats were done in so everything looked like it was meant to be there. I’m very happy with how they turned out.
The dash needed work and I couldn’t find an actual dash that was worth using. So, I purchased a molded dash cap. When I get some more time, I’ll post a few pics when it was first installed and how it was done.
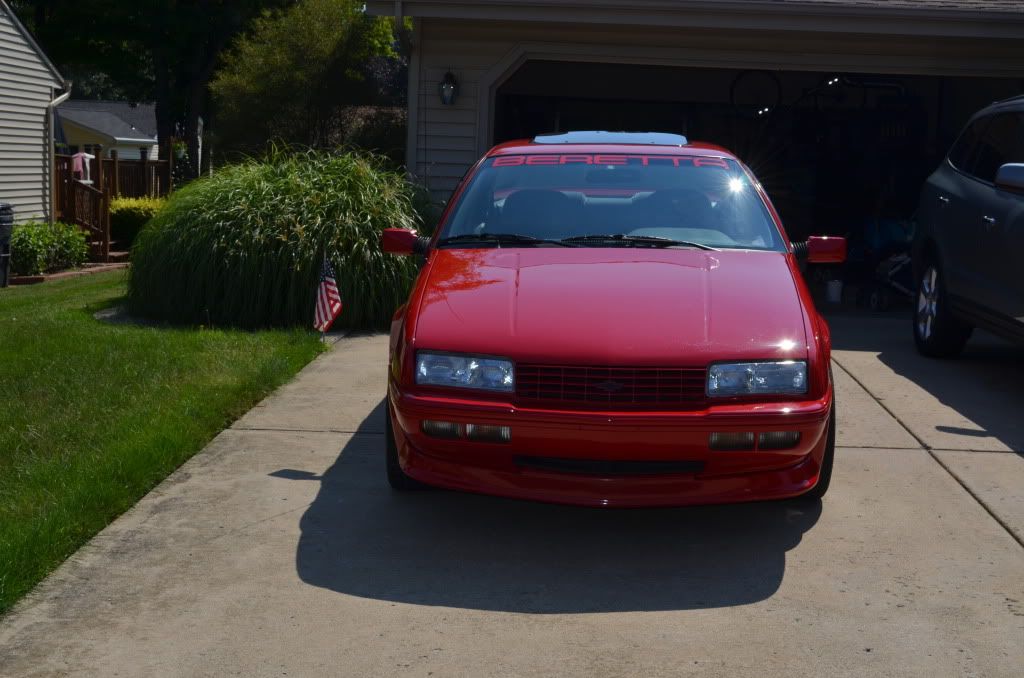
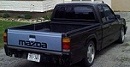
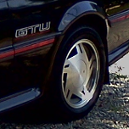
The ground effects and mirrors are all original but the wheels, centers and bolts that hold the centers on are new. I found them about 10yrs ago and gobbled them up. I always liked the way these rims looked. I also put the solid rear fillers on – IMO it does dress the car up a bit.
Thanks again for the comments – I’ll post some more pics soon.
The interior just about got a complete makeover. The carpet was replaced and the seats were done too. The rear seats are original and I purchased a set of Z04 fronts seats and put the originals in storage. When I had the Z04’s re-upholstered, I had the rears done to match them. The door panels had me worried because I figured there was no way to do a good replication of the original panels. After tossing ideas around, I decided to re-do them with the same material that the seats were done in so everything looked like it was meant to be there. I’m very happy with how they turned out.
The dash needed work and I couldn’t find an actual dash that was worth using. So, I purchased a molded dash cap. When I get some more time, I’ll post a few pics when it was first installed and how it was done.
The ground effects and mirrors are all original but the wheels, centers and bolts that hold the centers on are new. I found them about 10yrs ago and gobbled them up. I always liked the way these rims looked. I also put the solid rear fillers on – IMO it does dress the car up a bit.
Thanks again for the comments – I’ll post some more pics soon.
-
Robert 89gt
- Registered User
- Posts: 535
- Joined: Fri Oct 29, 2010 8:52 am
Re: Finally...
Cool i need to figure something out for my dash it's not horrible.
But it's starting to bubble the last few years.
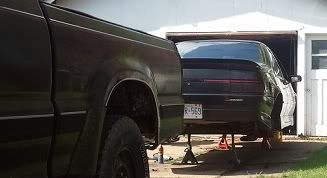
Yeah i found a nice Z26 with perfect rear fillers and tails.
For my next little project.
Car looks amazing, this is the car that made me love berettas.
But it's starting to bubble the last few years.
Yeah i found a nice Z26 with perfect rear fillers and tails.
For my next little project.
Car looks amazing, this is the car that made me love berettas.
-
KFLO 93 GT

- Registered User
- Posts: 846
- Joined: Thu Jul 25, 2002 2:46 am
- Location: Iowa
- Contact:
Re: Finally...
Great restoration work. If you've got any before pics, it would be cool to see them.
As kind of an old schooler and a person who likes factory looks and prefers GM parts - I really like what you've done with the interior. The upholstery work looks good, and I like that you went with a factory fabric. Attention to detail like that is what it's all about.
You're gonna be a popular cat around here.

93 GTs
-
Baims_91Base
- Registered User
- Posts: 116
- Joined: Tue Aug 06, 2002 4:35 am
- Location: West Des Moines, Iowa
- Contact:
Re: Finally...
Wow...I can't believe I'm just now seeing your car for the first time. Truly amazing! Very tasteful and I really like what you did with the door panels to match the Z fabrics.
Super clean - can't beat that either, props!
Super clean - can't beat that either, props!

Dustin - Webmaster, BerettaSpeed.com
1991 "Base" -> BFest '03, '04, '11 - '12 Best Modified Engine Bay
1994 Base -> 65k, DGGM, INDY GFX
1988 GTU -> 300k - RIP, parts/donor car, BFest '05

Re: Finally...
Whoa whoa whoa... So let me get this straight. I was your inspiration to get off your ass and make this car happen? No, Way. 
I hadn't even seen this thread until your note in the PM you sent me recently. I just read this yesterday. I must say, I feel slightly honored that the car that I am so proud of is what influenced you to make your can into what you wanted it to be. And I am very happy to have contributed a part to this restoration too! Even if it is only a hood light cover!
Now, back to the car... The reupholstering of the doors to match the Z seats, otherwise all original interior, factory paint, decals, exhaust tips... It just gets better and better the more you look at it! I hope to one day own an authentic GTU but for now, my mock does just fine.
1989 GTU - The Nice Car
1989 GTU Mock - The Neglected Car
1989 Base Model - The Rally Car
1989 GTU Mock - The Neglected Car
1989 Base Model - The Rally Car
-
berettaboi
- Registered User
- Posts: 973
- Joined: Sun Mar 23, 2008 10:58 pm
- Location: canananada
Re: Finally...
lets all give stylus a a boost!
lol in all reality, you are a very big part in the community dood, and i appreciate your passion for your car as well
lol in all reality, you are a very big part in the community dood, and i appreciate your passion for your car as well
4th one's a charm, 5th one is, beginnning to sound like this is an addiction...
95 black z26, '96 White z26 awaiting new life, and 2.5 mazda trucks
95 black z26, '96 White z26 awaiting new life, and 2.5 mazda trucks
-
jackattack193
- Registered User
- Posts: 140
- Joined: Mon Oct 27, 2008 7:45 pm
- Location: Youngstown, OH
Re: Finally...
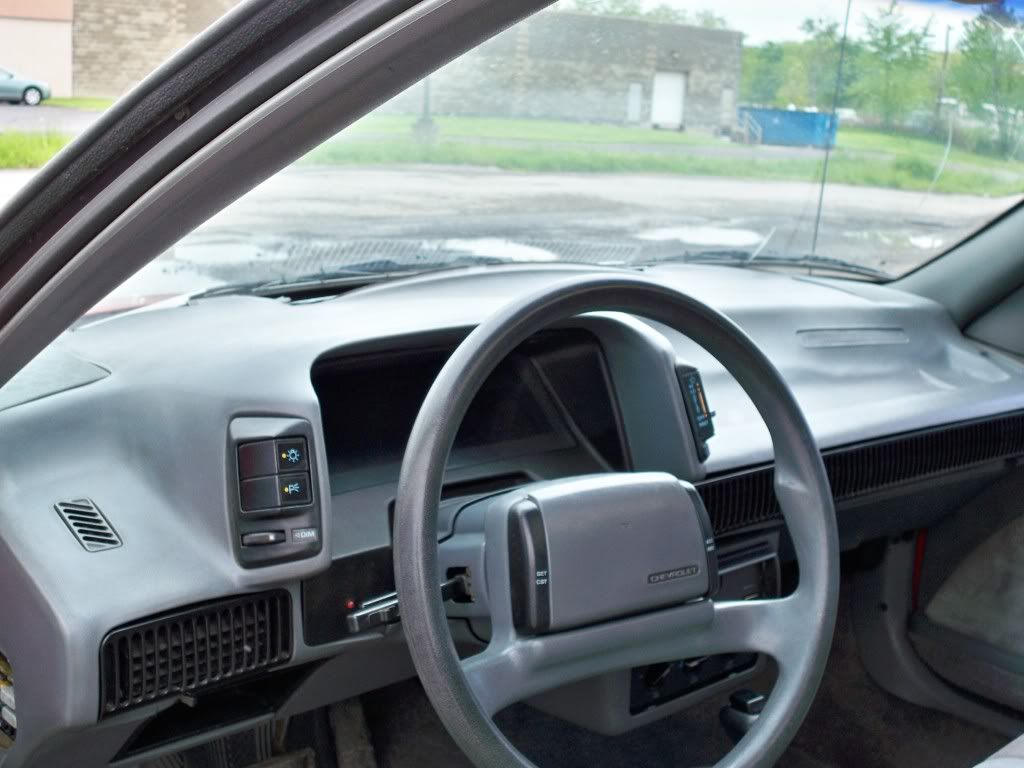
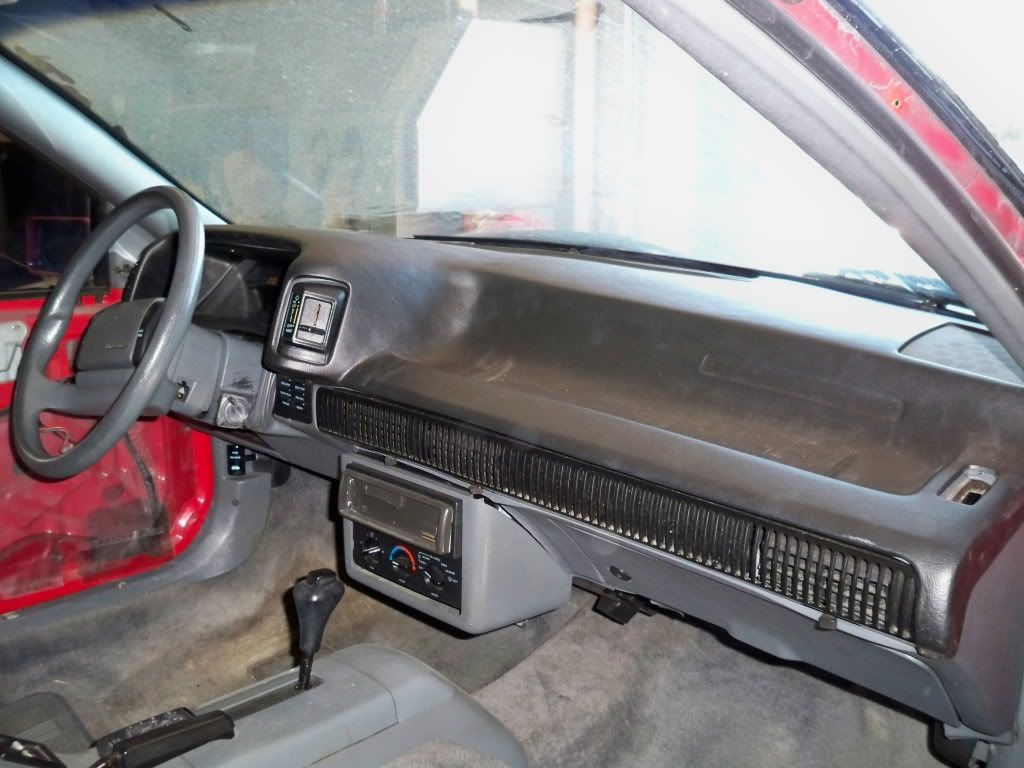
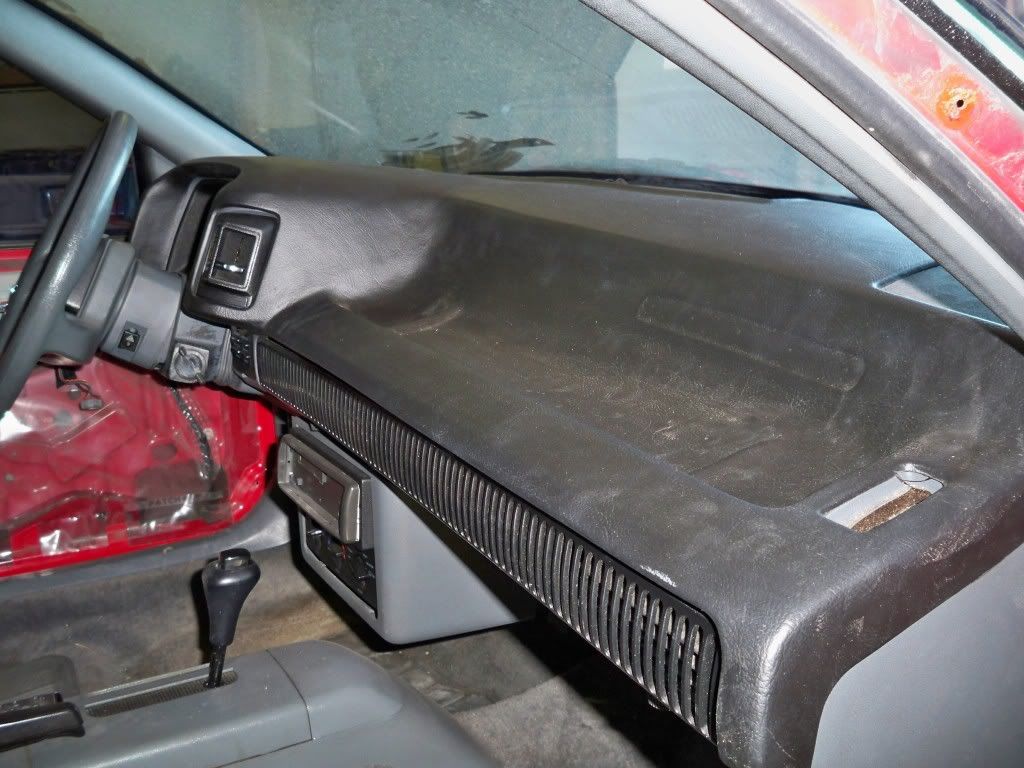
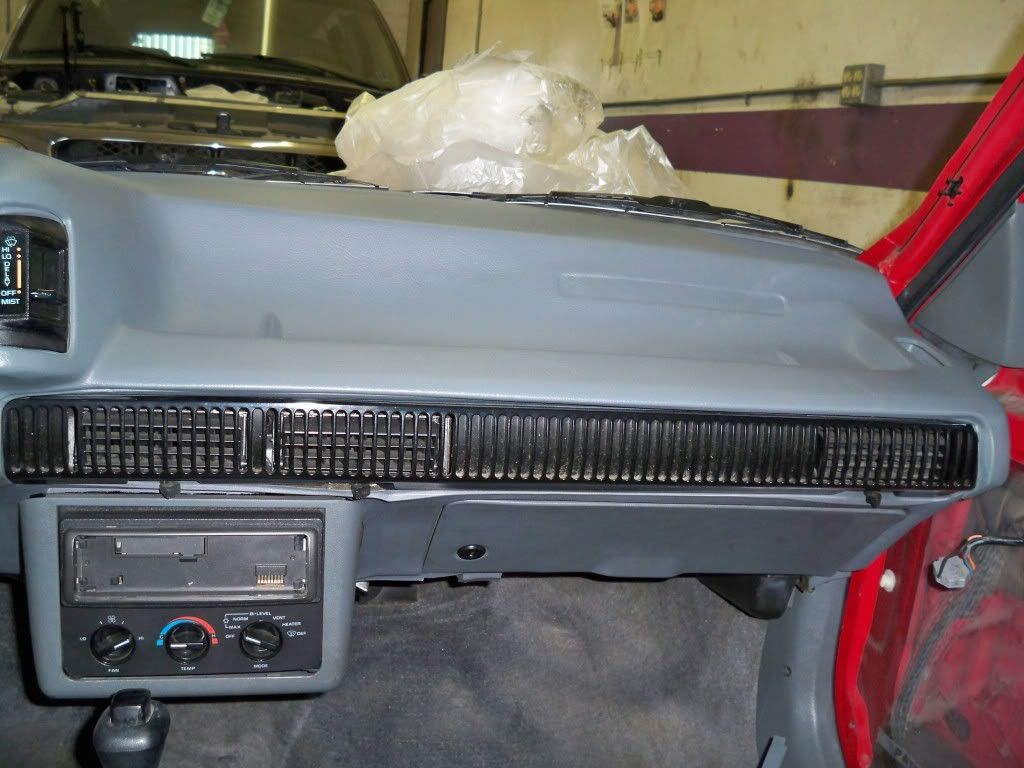
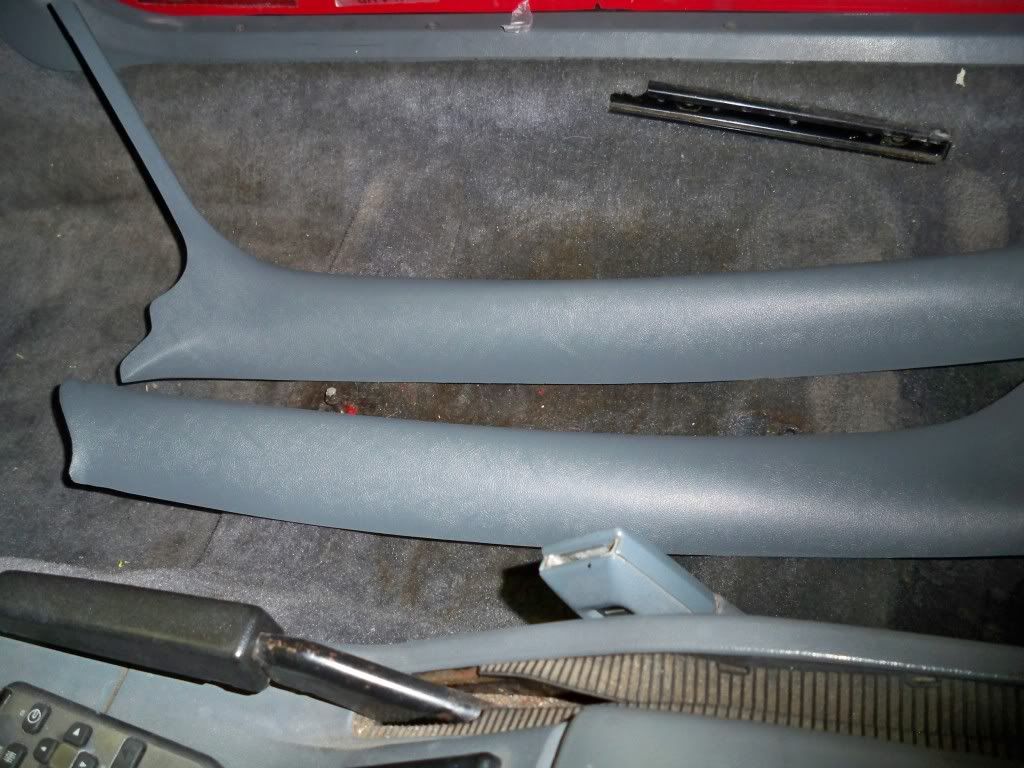
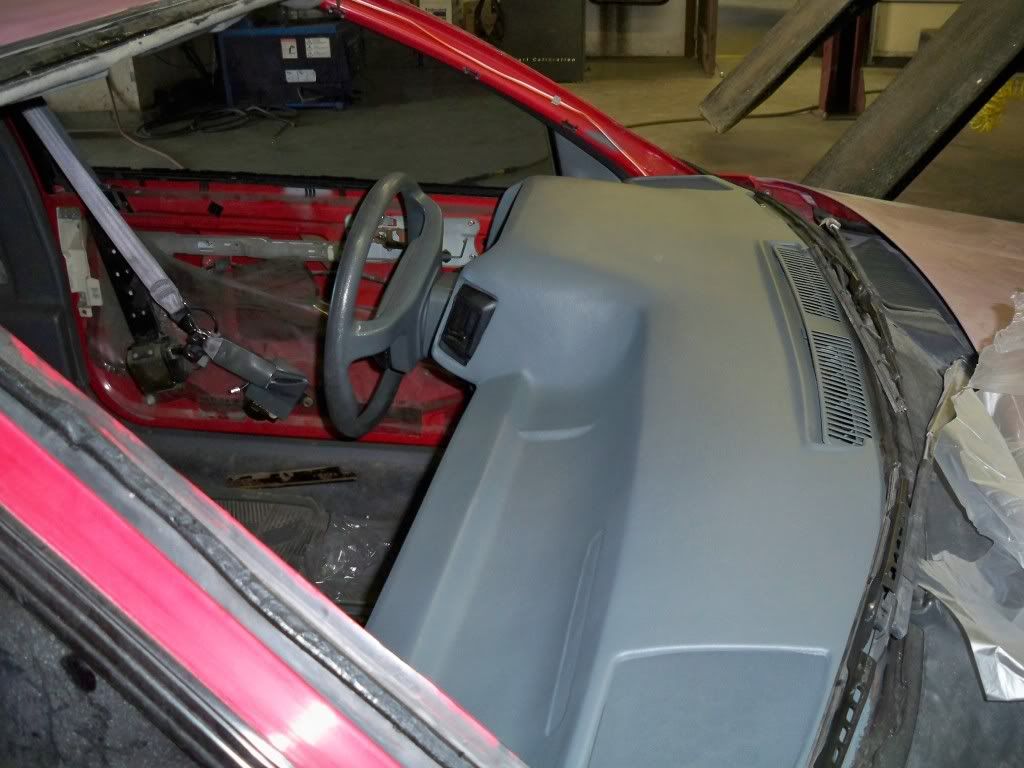
This is the first chance I’ve had to post some pics of the before and after of the dash. To install, we shaved off a small portion of the bubbled area around the defrost vent – but not as much as you might think – only a very, very small amount. We didn’t shave a lot off because we wanted as much surface area as possible for the adhesive from the new dash cap to bite onto.
Then screws were used to secure the bubbled areas down. I don’t have a pic of the screws, but they weren’t long and they were the type that had a washer head to them. We screwed them right down into the fiberglass at the bottom of the original dash.
Oh – we of course did a trial fit before using the adhesive – but I’m sure I didn’t need to tell you that.
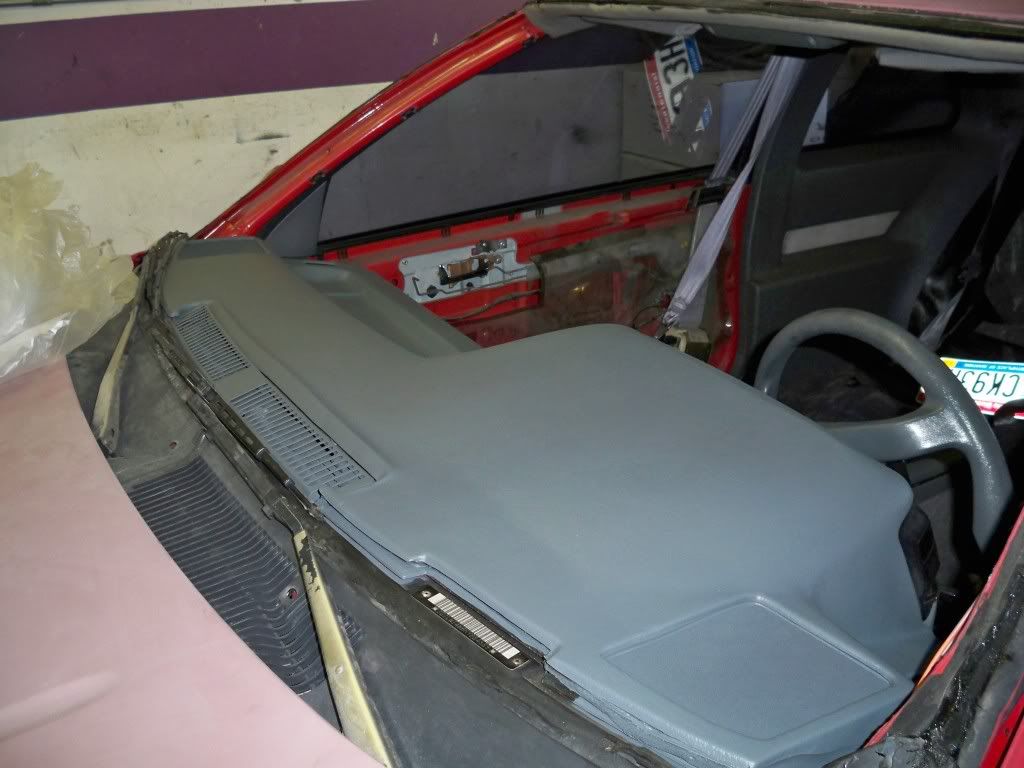
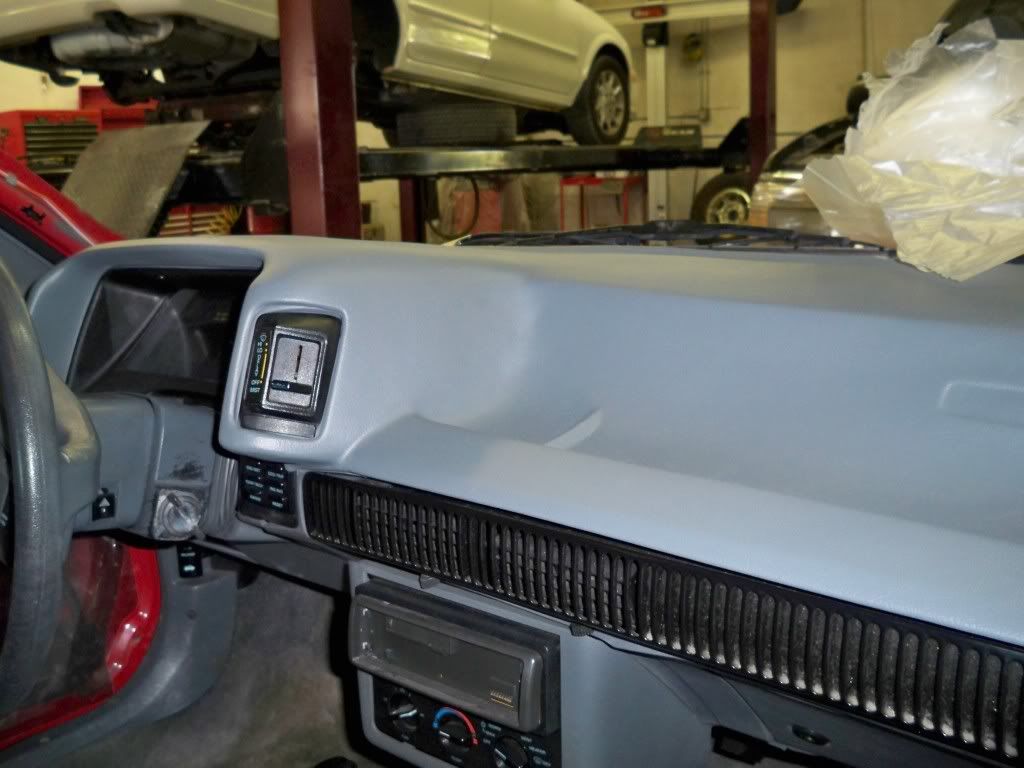
The dash cap was not dyed before installation. IMO, this was key. We dyed it after the installation and blended the dye into the original dash so that there’s not an obvious color contrast.
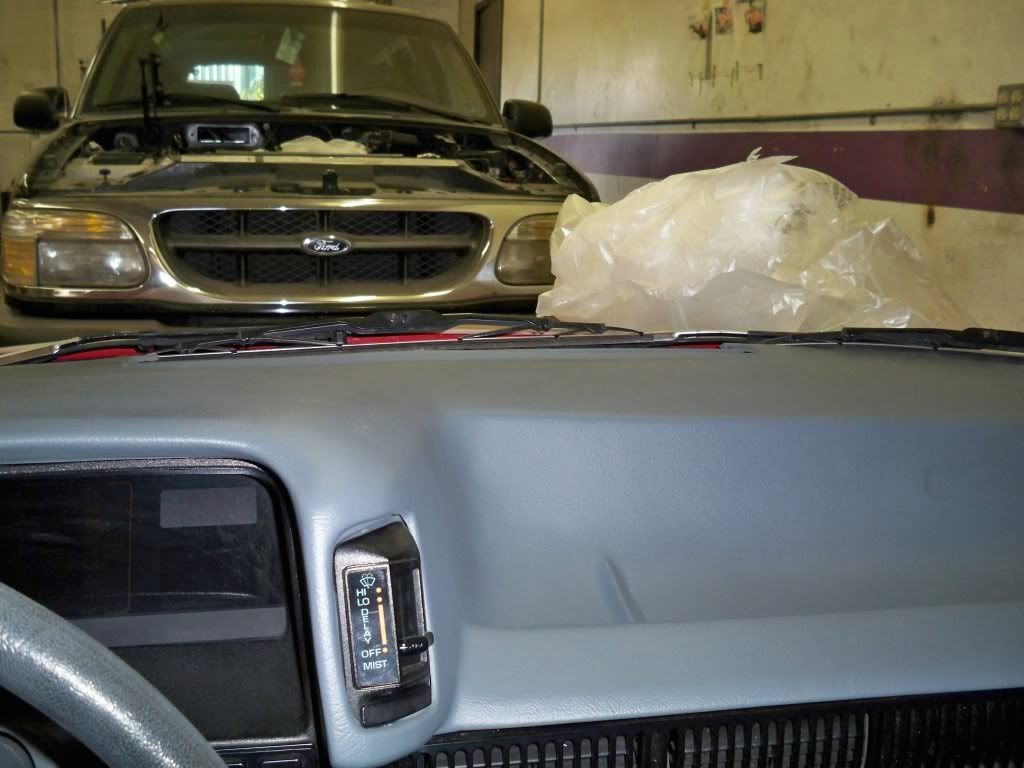
Because I was getting a new windshield as well, we did the dash cap install with the windshield out, made it a lot easier.
A few have asked what dash cap I used, I’m searching for my receipts – I know I have it somewhere. IIRC I bought the dash cap about 5yrs ago. Stay tuned…

Then screws were used to secure the bubbled areas down. I don’t have a pic of the screws, but they weren’t long and they were the type that had a washer head to them. We screwed them right down into the fiberglass at the bottom of the original dash.
Oh – we of course did a trial fit before using the adhesive – but I’m sure I didn’t need to tell you that.
The dash cap was not dyed before installation. IMO, this was key. We dyed it after the installation and blended the dye into the original dash so that there’s not an obvious color contrast.
Because I was getting a new windshield as well, we did the dash cap install with the windshield out, made it a lot easier.
A few have asked what dash cap I used, I’m searching for my receipts – I know I have it somewhere. IIRC I bought the dash cap about 5yrs ago. Stay tuned…
-
Robert 89gt
- Registered User
- Posts: 535
- Joined: Fri Oct 29, 2010 8:52 am
-
jackattack193
- Registered User
- Posts: 140
- Joined: Mon Oct 27, 2008 7:45 pm
- Location: Youngstown, OH
Re: Finally...
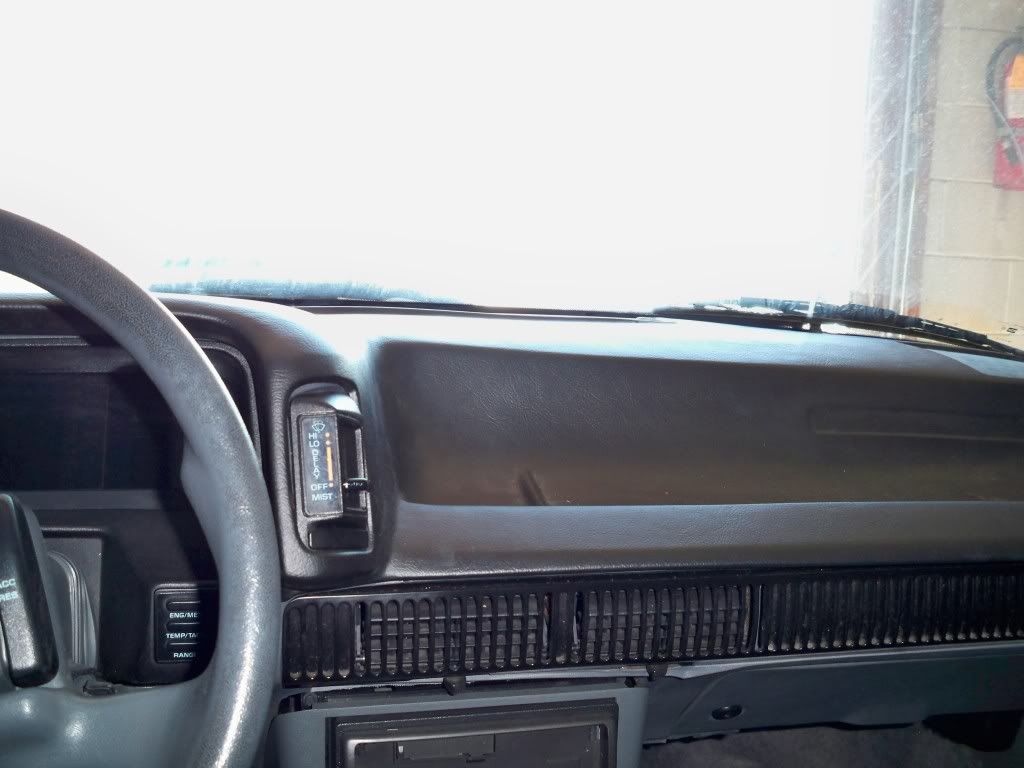
I found the paperwork about the dash cap. Wow, I purchased it 2005 for $104.95 including shipping from 1A Auto via ebay. I checked 1A Auto’s website and they still have these. If you’re interested enter the vehicle info as a Chevy Beretta and search under “Dash Pad Cover” or try this link:
http://www.1aauto.com/1A/Dash_Pad_Cover/Chevy/Beretta
I’ve found there are a few different molded dash covers out there. The one I bought does not have a cut-out where the dash emblem goes – some of them do. This one just has a recessed area for the emblem just like the OEM. For what it’s worth, that might be something to consider if you’re thinking about buying one. I felt that the one with the hole cut out for the dash emblem would be too obvious. Just my opinion.
ALthough this was the only one I ever purchased, I'm happy with it. You might be able to see it in the pics, it even has the same texture as the original dash. I'd recommend it.
-
3X00-Modified

- Administrator
- Posts: 10912
- Joined: Thu Jul 05, 2007 9:18 am
- Location: Brooklyn CT
-
wicked-irocz
- Registered User
- Posts: 1035
- Joined: Thu Feb 20, 2003 11:21 pm
- Location: South Central MN
Re: Finally...
Awesome car. I love that you brought it back to that. Keep it nice.
94 Beretta Z26 57,4xx miles
3100, auto, crank windows, power locks/trunk, A/C,
To many mods to list
-intercooler
Among beretta boards
1st Turbo 4t60-e
1st Turbo 3100
1st Turbo Z26
1st 94+ Turbo
3100, auto, crank windows, power locks/trunk, A/C,
To many mods to list
-intercooler
Among beretta boards
1st Turbo 4t60-e
1st Turbo 3100
1st Turbo Z26
1st 94+ Turbo
-
Burning_Beard
- Registered User
- Posts: 123
- Joined: Sun Jun 17, 2012 1:17 pm
- Location: Ohio
Re: Finally...
She's beautiful.
I'm sold, carpet out, dash cover in!
How did you dye the plastic? Is it a special kind of paint?
Do the pillar caps have to come out for installation, or did you already have the off for the winshield install?
On a side note, you and I both have "ignition key rash." Could that same method used to color the dash cover be used to fix it?
1989 Beretta GTU 2.8 w/77k, auto.
-
jackattack193
- Registered User
- Posts: 140
- Joined: Mon Oct 27, 2008 7:45 pm
- Location: Youngstown, OH
Re: Finally...
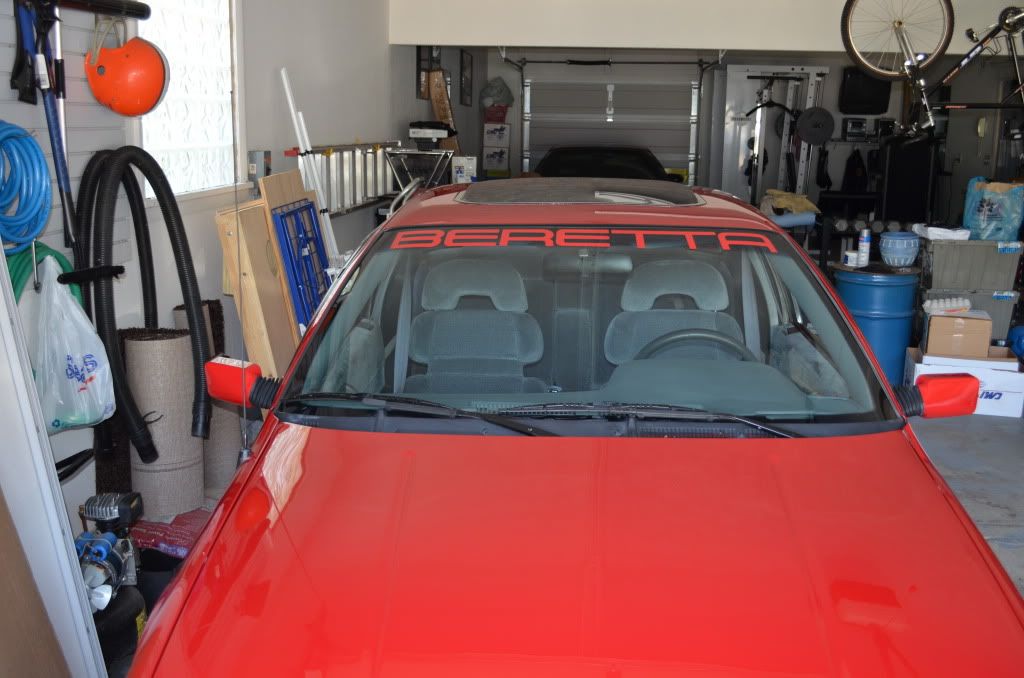
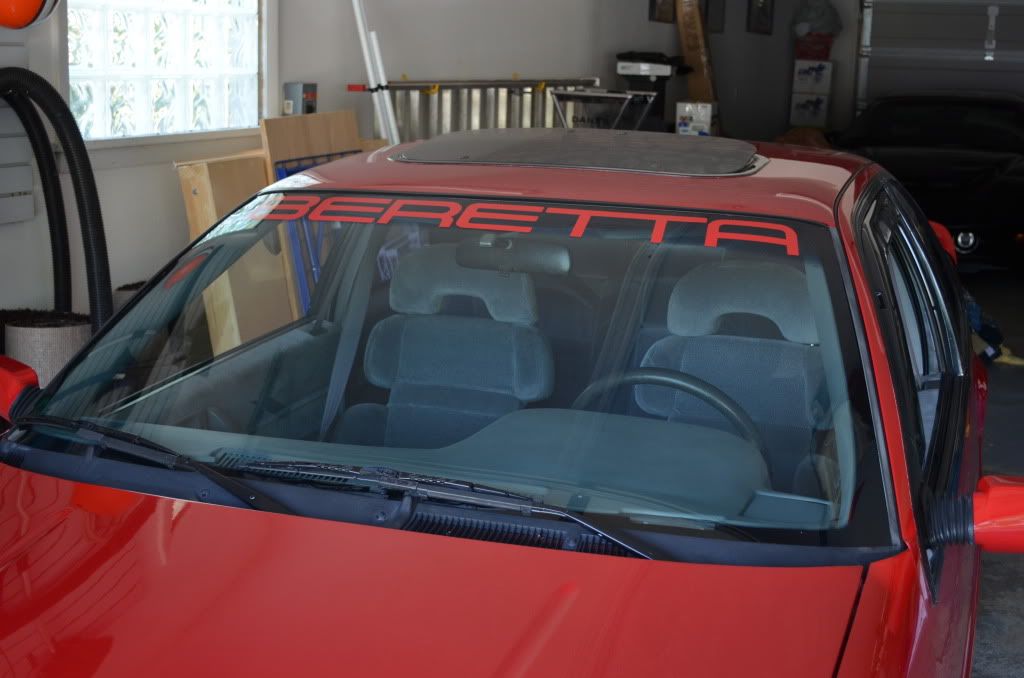
After debating this over for several months, I installed the “factory” Beretta decal for the windshield. I’m going to sell these so visit the for sale section if you’re interested. They’re not cheap, but they are factory replicas.