Page 19 of 33

Re: DTMAce's project updated... June 17th... Going together

Posted: Fri Jun 18, 2010 9:45 pm
by Money pit Beretta
Man you do good work. Hey the drain plugs should not be sealed, it is the only way that water can get out. The main thing is to make sure that they are not rusted shut. There were some friends that did it in high school and ended up with a pool in the back. Just giving you a heads up.

Re: DTMAce's project updated... June 17th... Going together

Posted: Fri Jun 18, 2010 10:28 pm
by DTMAce
Interesting, considering they looked sealed up. I removed a huge piece of sealant off the plugs when I was taking it apart.... And being that I had never removed the carpet before... But I could be mistaken. No matter. I am sure there are probably other holes in the floor I missed! lol

And hopefully I won't get enough water in it to have a pool... But there is always a drill for that! :P

Re: DTMAce's project updated... June 17th... Going together

Posted: Sat Jun 19, 2010 1:23 am
by NMBeretta
Good work!!

Re: DTMAce's project updated... June 17th... Going together

Posted: Sat Jun 19, 2010 6:30 am
by dhenderz
Money pit Beretta wrote:Man you do good work. Hey the drain plugs should not be sealed, it is the only way that water can get out. The main thing is to make sure that they are not rusted shut. There were some friends that did it in high school and ended up with a pool in the back. Just giving you a heads up.
Drain plugs only drain water if/when you need them to and it isn't automatic. You need to remove the sealer and let the water drain. With water capable shop vacs their purpose is of questionable value.

Re: DTMAce's project updated... June 17th... Going together

Posted: Sat Jun 19, 2010 7:45 am
by Asylum
ALL the holes should be well sealed!

How the hell else would you ever drive in the rain?

They should however be removeable in the event you need too drain in the event of something horrible happening.

However as stated a good shop vac can pretty well take care of that.

Re: DTMAce's project updated... June 17th... Going together

Posted: Sat Jun 19, 2010 10:40 am
by DTMAce
I still have a bit more sealant to put on some entrances to the firewall yet, so that shouldn't be an issue. I just hope I found all the places that water was getting in..! Guess the next time it rains and its outside I will know. :(

I did critically examine the firewall best I could the other day, especially around where the rack mounts, stuff like that. That all looks good, as far as I can tell. Rack is solid, mounts have no rust around them, so that's a plus.

Going to be working on it most of today. So updates for you all later!

Re: DTMAce's project updated... June 17th... Going together

Posted: Sat Jun 19, 2010 1:49 pm
by 99GaGT3X00
DTMAce wrote:I still have a bit more sealant to put on some entrances to the firewall yet, so that shouldn't be an issue. I just hope I found all the places that water was getting in..! Guess the next time it rains and its outside I will know. :(
either that or bust out the hose and do some testing.

good work here. my floorboards weren't rotted through actually they were pretty clean it was the rockers and the rear section between the springs or lack there of that killed it.

Re: DTMAce's project updated... June 17th... Going together

Posted: Sat Jun 19, 2010 10:55 pm
by DTMAce
Thanks!

More from today. Carpet is more or less done. Not liking how it is laying on the passenger side, but not much I can do about it. Driver's side laid down GOOD. Passenger side.... Not so well, but its livable. Hoping it will eventually mold itself in over time better. I have to keep thinking... Its been in a box, its been in a box....

Since I had the boys and the girls with me this weekend it was hard to get solid time to work on it, however I have most of the important stuff done. Rear bench is back in. Seats look pretty good after the couple hours spent cleaning them Thursday. Carpet seems to look good against the lighter gray, and I'm happy with it. :P

Here are the pics!

Starting to get the carpet trimmed up on the driver's side. BTW, that piece I cut off WILL be big enough to do the console! YAY! Not doing the kick panels though, not enough time before Bfest. Will get them done later though. Yes the bolts sticking through the carpet are rusty... Don't worry.

Image

As you can see here, they are NOT rusty! Actually the rails I used for the driver's side came in the mail today from 3400! I took them and cleaned off the tiny bit of rust they had (Nothing much really) and repainted them, painted all the bolts for it. Yeah silver, I know. I like it!

Image

Here is after I got most of the carpet done. All trimmed anyway. Still had the kick panels to put in at this point, but both seat belts are installed. Yes the carpet may be cut a tad short on this side. Won't know for sure until I test fit the console and see. But I can fix it if so, since I am replacing the trim on the console. No one said it had to be the same length....

Image

Rear deck panel back in place! YAY! And it looks DAMN nice, if I say so myself... :P

Image

Ugh, I hate messing with this stuff. After I spent an hour cleaning the dirt off the trunk floor and sides and stuff, I put this back in. Getting ready to put the seat back together.

Image

Passenger side is now reinstalled. I had to re-glue a piece of foam rubber that used to be glued on the bottom of the top plastic panel. Both sides had come off over the years apparently. Fortunately they were still in the car.

Image

Seat is DONE. All installed, and looks pretty good. I like!

Image

Image

All I have left for the interior is:

Coat hooks for the rear.
Rear view mirror.
Passenger kicker panel.
Both front seats.
Redo and reinstall the console.
Install the radio, connect the amp wiring.
Install the sill trims.
CLEAN everything, windows, etc.

Then the interior will be done. Also have to reassemble the trunk. Put all the fabrics back, spare, spare kit, etc, subwoofer, trunk netting. Won't be long to finish all this up though. :D

Re: DTMAce's project updated... June 17th... Going together

Posted: Sun Jun 20, 2010 2:43 pm
by Money pit Beretta
Hey man you can make those scratches in your side panels the same color as the rest. Photo #6. They will still be there, but will no longer be white. You just need a small blunt metal or hard plastic "thing"(a putty knife that is plastic or a rounded edge of a key or something that won't scratch it more). Rub the scratch until it turns the same color as it was before. I would go with a hard plastic putty knife or gasket scraper if you have one.

Yeah on the drains it's better to stop the water from coming in, but man that is a PITA to do. I still have yet to get mine done all the way. In the old days the drains were not sealed. They were tight enough to keep rain water out when you were driving in a storm. They just let the water seep out and were not for flood control. If you sat in high water it would come in though.

Re: DTMAce's project updated... June 17th... Going together

Posted: Sun Jun 20, 2010 10:39 pm
by DTMAce
I will see what I can do. Was going to see if they would rub away, dad mentioned something about that, he has this nylon tool for it or something. Wasn't too worried about them, but I should at least try eh? lol

Ok. Today was crazy, as I had to take the family back up north. They were down here visiting with the grandparents while I worked on the car, as I need to get it done.. :P

SO. Not a lot of time today, but I did get two more tasks completed:

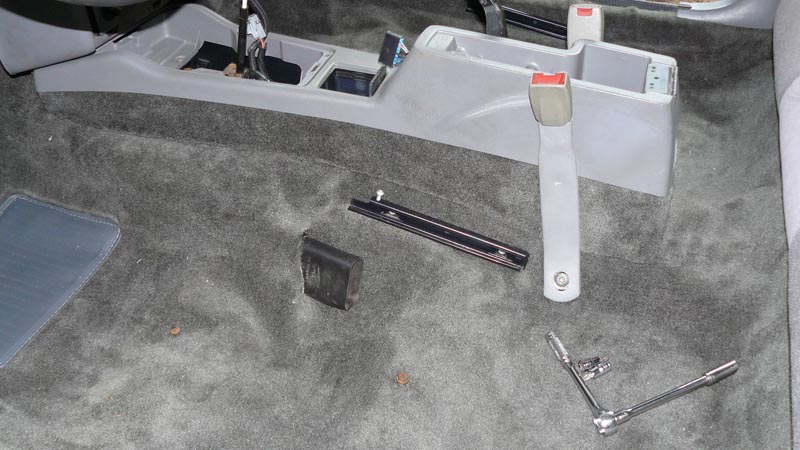
First off, the center console. Oyi, this needed work!

Here is after I took the halves apart, so I could re-carpet the lower piece.

Image

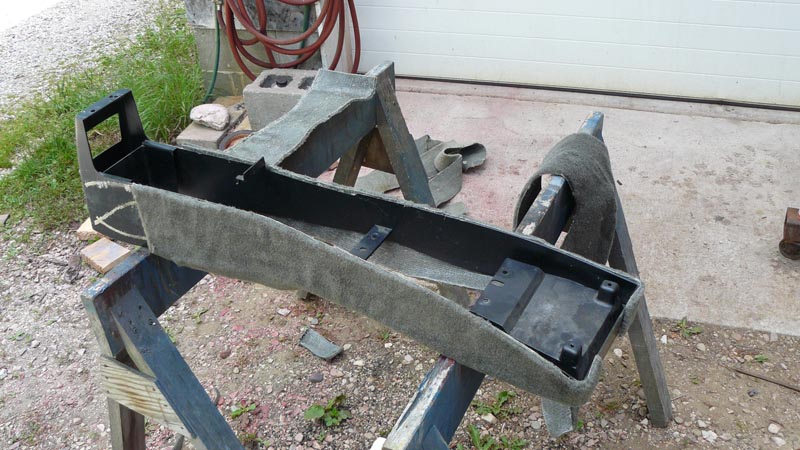
Have some of it done here, you can see the old carpet behind the horses...

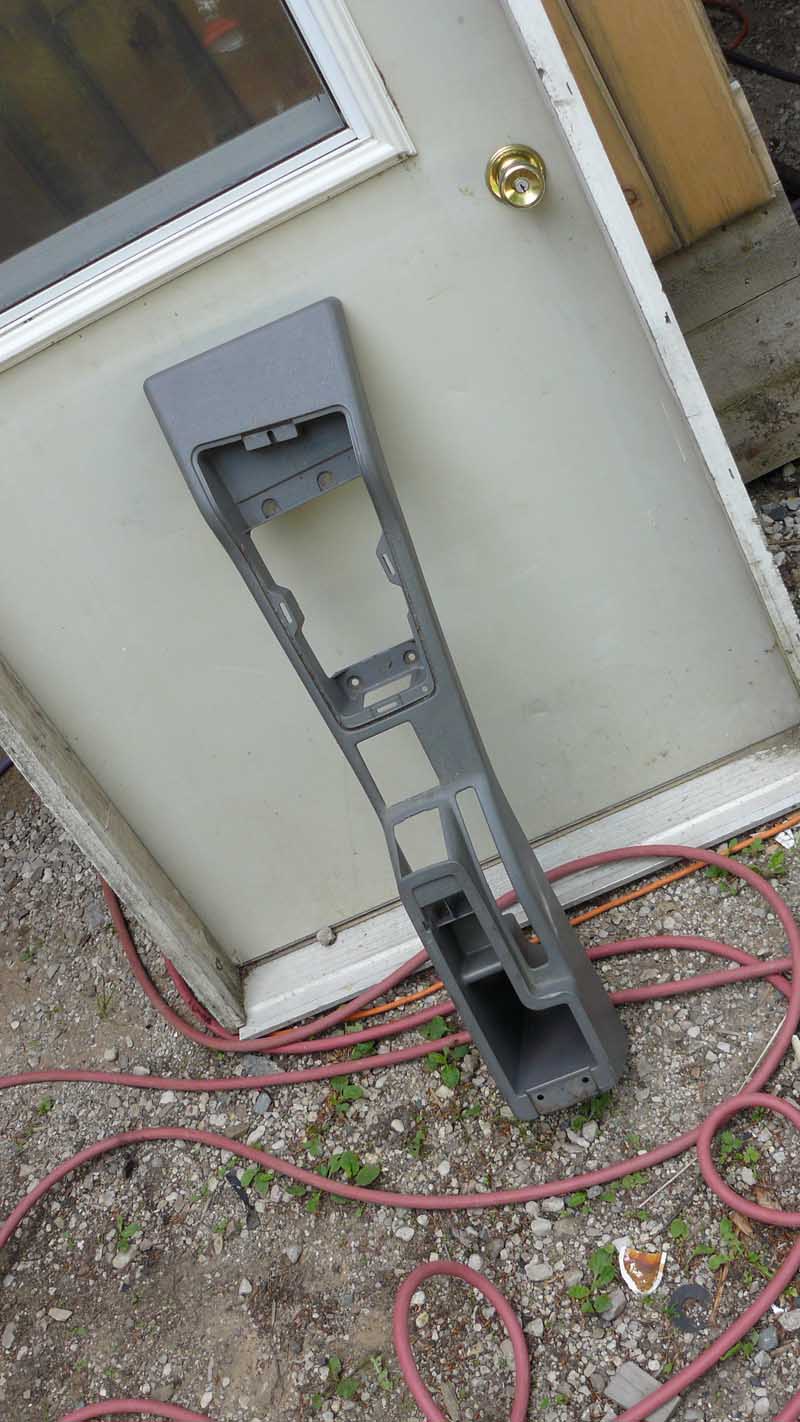
And here is the top half, prior to cleaning:

Image

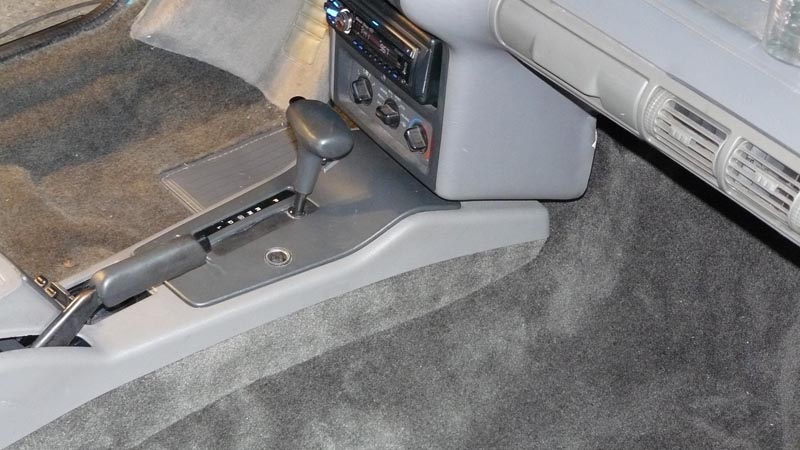
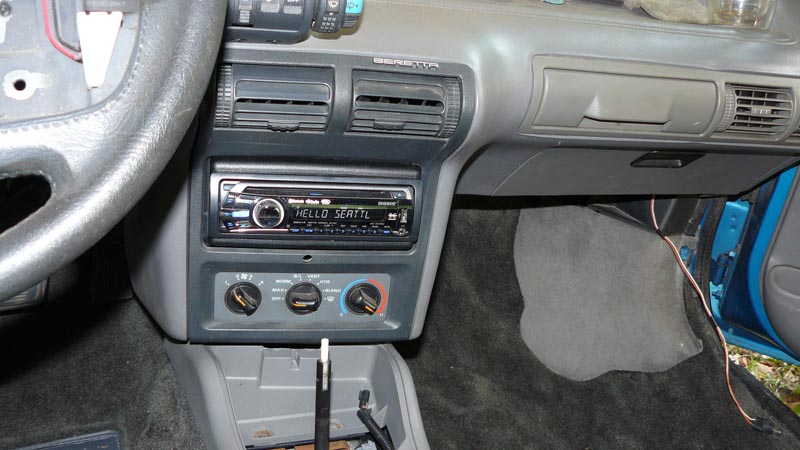
And next, pic of it assembled. Yes I know the carpet is long on the sides, I did that on purpose, JUST in case my little mistake on the passenger side of the carpet was cut too low.

Image

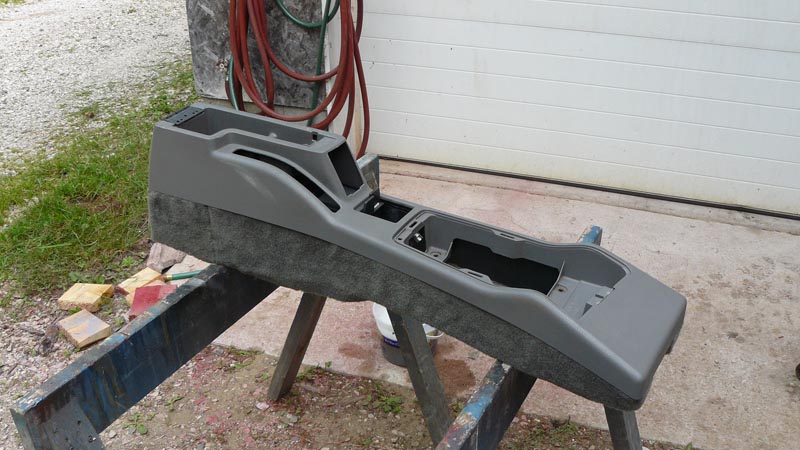
But guess what? IT WAS JUST FINE! lol I was worried for nothing...
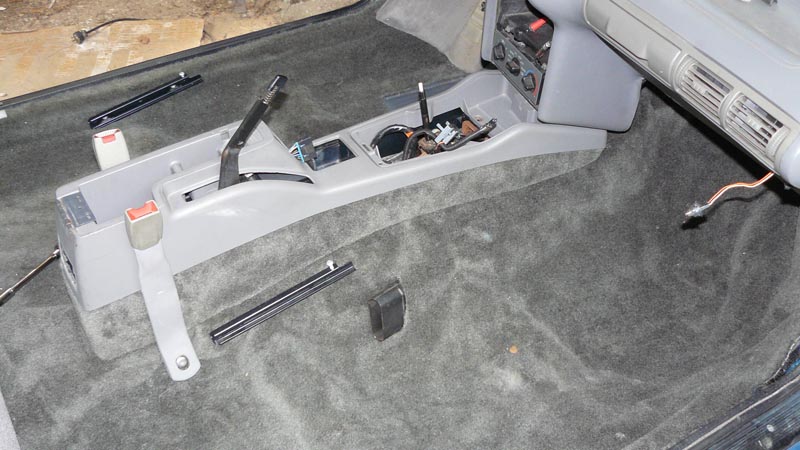
 :D

Image

And the other side:

Image

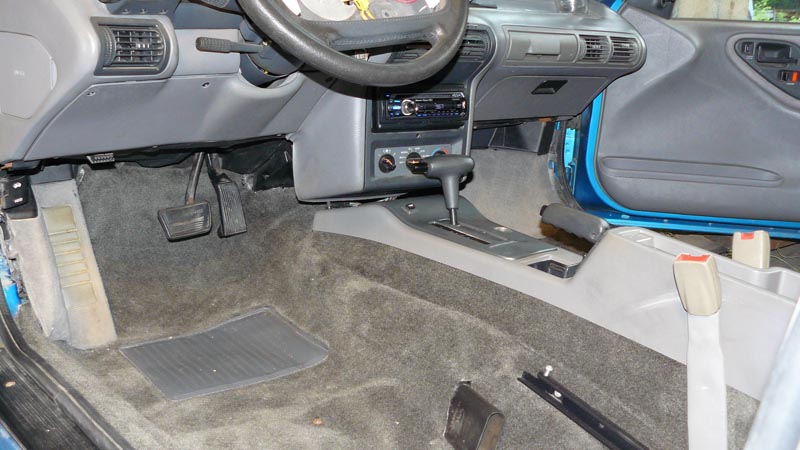
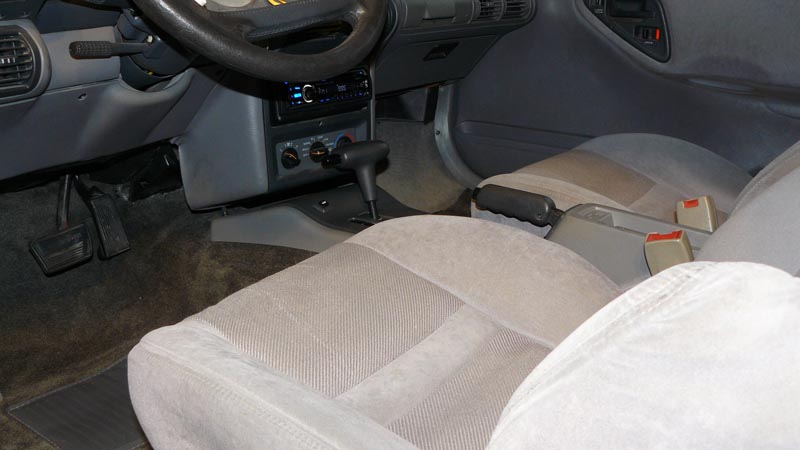
Then I installed the passenger kick panel speaker and the stereo, hooked it up and tested. Works perfectly, as it should.

Image

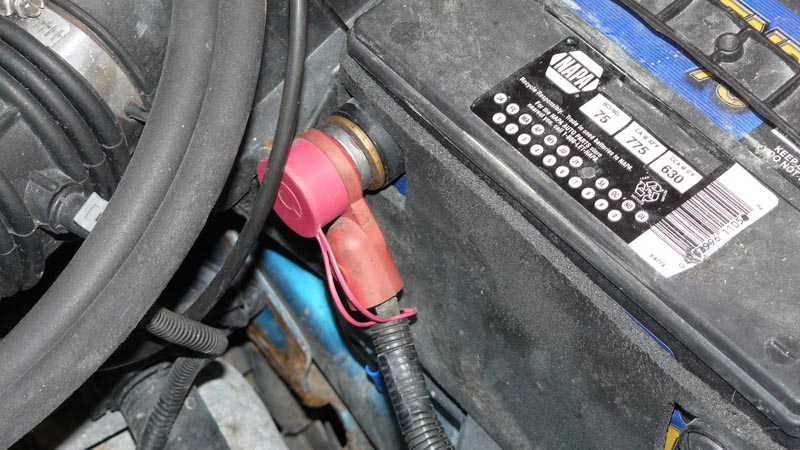
Then I took everyone home, and stopped to pick up a few items, surely most of you can figure what this stuff was for...
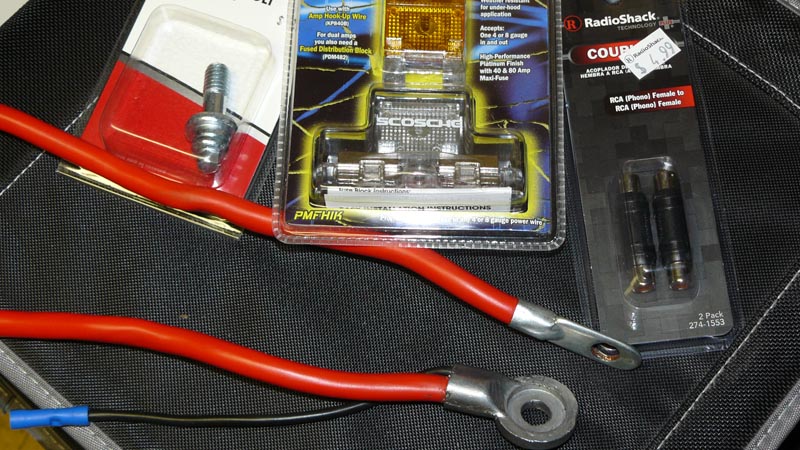
Image


LOL


Anyway, that was what got done today. Tomorrow, I hope to finish installing that, and if I feel ballsy enough, going to remove that shitty alarm. If not, its going to get fastened up till later. I wish I had time to change the carpet on the lower kick panels, but the driver's side is going to be a bitch to do, as I want to keep the foot rest piece and use it somehow on the new carpet. *sigh

I should have enough left over for both panels yet... I think.

Well till tomorrow. I should be getting all of my rockauto stuff tomorrow, that means it goes into the garage Tuesday to have the bearings, brakes and A/C fixed.

OH, one more thing. This is a picture of my son trying to be a big boy and "drive". Keep in mind he is 3.

Image

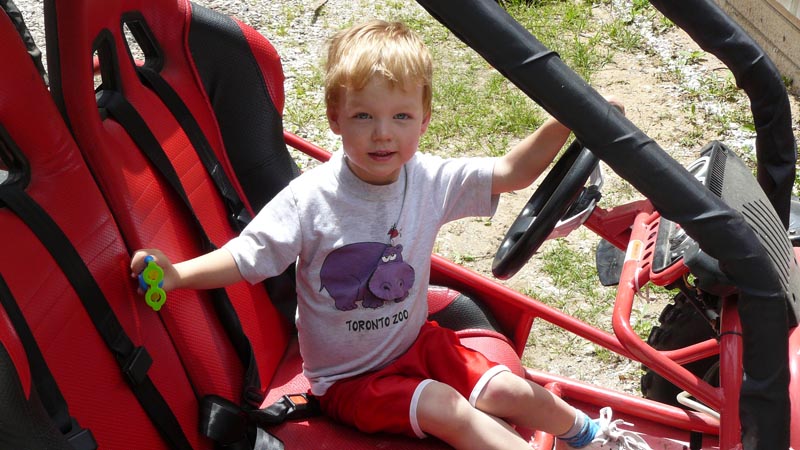
That little buggy he is in is pretty cool. I love driving that around the small dirt track we have out back.

Re: DTMAce's project updated... June 17th... Going together

Posted: Mon Jun 21, 2010 1:11 pm
by DTMAce
Yay! Brake parts and bearings arrived today! :D But then I knew they would. Should have heard the FedEx guy complain about how heavy the box was! LOL

More later tonight, going to go finish the interior!

Re: DTMAce's project updated... June 17th... Going together

Posted: Mon Jun 21, 2010 1:22 pm
by 3X00-Modified
DTMAce wrote:Should have heard the FedEx guy complain about how heavy the box was! LOL
He delivers packages for a LIVING... STFU and bring it to me that's your job! It bugs me when they whine about doing their job, after the ass hats in the sorting facility played soccer with your package.

You should have asked him, "What would you think about a waitress who complained about the size of the order your table had?" And if he replied with something like a Lazy worker that needs to do her job... Then I would just say, "Think about that one ;)"

LOL

I hope to see a summit box when I get home with my fire jacket in it.

Re: DTMAce's project updated... June 17th... Going together

Posted: Mon Jun 21, 2010 3:01 pm
by DTMAce
If they had played soccer with THIS package they would have broken a foot! LOL

And it all looks correct, and to be all there. Yay.

Can't wait to get the bearings done so no more god awful road noise... Its bad when your people on speakerphone can't hear you over it!

Re: DTMAce's project updated... June 17th... Going together

Posted: Mon Jun 21, 2010 9:48 pm
by Money pit Beretta
Yeah man get on those bearings. I got a kick in the butt to get mine done on my old 90GT. I got my car back from a shop and was on the way home. I stopped at a light and there were three high school kids with big eyes to the right of me. The wheel, rotor and caliper were gone on the front drivers side. I looked, but could never find the wheel. I said "that's it, I'm doing my wheel bearings next weekend". They were lucky that they were not on the highway. The funny thing was they were stopped right at the line for the light. Once those things go they take everything with them. Repalcing them could save your life and your car.

Re: DTMAce's project updated... June 17th... Going together

Posted: Mon Jun 21, 2010 9:57 pm
by DTMAce
OK, as promised, more work done today. I actually didn't get as many pictures of stuff throughout as I normally do, but I can take some of the trunk later on. But then many of you will be able to see it in person anyway!

OK, on to the pics!

Here is the result of the wiring and fuse block stuff I showed you in the previous set of pics...

Image

Image

Yes, I properly wired and fused the feed for the amp. And that runs properly through the floor conduit to the trunk too! And the way its mounted to the battery is non-permanent, meaning I can remove it at any time. :D

Console installation is completed, outside of the armrest cover. That will be put in soon.

Image

Image

SEATS! Yes, this was after I finished installing the front seats. There were many other things done as well...

Image


So, to sum up for today:

Installed battery feed for amp.
Installed 40AMP fuse block for amp wiring.
Installed ground for amp.
Bolted the turn lamp resistors to the inner frame in the trunk.
Reinstalled all the trunk fabric, spare tire (checked its pressure) re-installed the jack and wrench block, spare quart of oil, belt.
Put the subwoofer back in, fastened on the wiring, strapped it down. Tested sound system. Works perfectly now. Had issues before.
Removed the POS alarm system. Actually it was way easier than I thought it would be.
Cleaned and reinstalled lower dash panels.
Installed door sill covers.
Installed the front seats.

Still to do:
Steering wheel replacement
Rear view mirror
Passenger side visor
Arm rest for console
Thoroughly clean the remaining interior

Then:
Front bearings
All 4 brakes
A/C pump swap and charge A/C system

And finally:
Detail entire exterior

I think I will get this thing completely done, more or less as I wanted to. There were a few things I wanted to do "extra" but not for this bfest. Maybe next year, who knows.

Don't worry man, bearings are a priority, and getting replaced tomorrow or Wed. Don't sweat it!