Page 20 of 33

Re: DTMAce's project updated... June 17th... Going together

Posted: Mon Jun 21, 2010 10:19 pm
by Money pit Beretta
Wow you work fast and hard! Lots of things done there. I'm ok, but I do sweat things like that. I don't want to hear about any more bad things happing to your car. The deer was enough.
Oh, I used some carpet cleaner (carpet cleaner with oxy or whatever it's called) and it took most of the yellow crap off the drivers kick panel where your left foot goes. Then some Armor All to make sure that it didn't crack later because it got too dry.

Re: DTMAce's project updated... June 17th... Going together

Posted: Mon Jun 21, 2010 10:33 pm
by woody90gtz
The kick panels look funny now contrasting the dark carpet. I like the 2-tone you have going, but the kicks do need to match IMO.

Re: DTMAce's project updated... June 17th... Going together

Posted: Mon Jun 21, 2010 10:54 pm
by DTMAce
Yeah, I don't like how they look either, but I will be re-doing them later on. Just not enough time to do them the right way before fest. :p

Outside of that, the color works. Camera doesn't really do it justice.

Re: DTMAce's project updated... June 17th... Going together

Posted: Wed Jun 23, 2010 10:35 am
by DTMAce
Getting closer actually. Tearing the front passenger wheel down at the moment, ran into a problem. It seems the 30k mile ball joints are junk. I can move it up and down in the socket like 1/4 inch almost. Not good. So, going to Napa to get me two new ones, not taking chances. I had previously replaced them myself as I said 30k ago, so these are just the bolt on's, which will make it easier, I think. Damn thing was so rusted around the knuckle housing it wasn't even funny. Had to air hammer the damn bearing off.

Anyways, PICS!

Image

Image

Image

Image

Image

Well, now to get to town and get the joints! Later!

Re: DTMAce's project updated... June 17th... Going together

Posted: Wed Jun 23, 2010 1:52 pm
by 3X00-Modified
Better hurry up... running out of time... LOL

I go back and forth between the boards when replying to your thread... Its great!

Re: DTMAce's project updated... June 17th... Going together

Posted: Wed Jun 23, 2010 2:27 pm
by DTMAce
Too bad you aren't here, I could use an extra set of hands to get the damn ball joint bolt back in the knuckle! Working on the rear brakes at the moment, till some hands get back home. Actually the rears were good on pads, but the drums were rusted to crap on the backside... No worries. Well back to it.

Re: DTMAce's project updated... June 17th... Going together

Posted: Thu Jun 24, 2010 12:48 am
by DTMAce
Here are the pics!

Pass rear brake, after pulling the nasty rusted drum. Actually the brakes looked pretty good in here. Changed them anyway though.

Image

Pass rear is done. :D

Image

Getting ready to put everything back together on the pass front.

Image

Ain't it pretty?

Image

Image

Pass rear wheel finger bolted after being washed. Wheels were dirty! Plus I had to rotate them.

Image

Center cap rattle a problem?

Image

This is what you do, use a bit of the GM tar strip sealant, and it can keep the cap from rattling when you hit bumps in the road. I know some of you have this issue.

Image

Last one done, driver's side front. It was a bitch too.

ImageAnyway, the skinny:

Replaced both front bearings, both rotors, both drums, all new brake pads around, and due to a bad ball joint on the pass side, replaced both ball joints while I had it apart. Driver's side seem tight still, but figured better safe than sorry.


Took it for a drive, much much better now. Smooth, brakes are great and quieter ride. Ok, bed for me now. Night.

Re: DTMAce's project updated... June 17th... Going together

Posted: Thu Jun 24, 2010 10:03 am
by woody90gtz
Peeling clear on the Z wheels...I remember those days!

Re: DTMAce's project updated... June 17th... Going together

Posted: Sat Jul 31, 2010 9:10 am
by DTMAce
Well, someday with all the time I have and money burning holes in my pockets I will be redoing these wheels. LOL

Among other things. Been awhile since I updated I guess.... Just been DDing the car during the week, and keeping it out of the weather for the most part. Stupid thing has been running fine. Did some WOT runs the other day, basically held it on the floor till I hit 100. Videoed it too, but will get that uploaded later. Thing was shifting between 6500-6700 approx, looking at the gauge which we all know is dead accurate. HA.

Amazing. Too bad I didn't do some drag runs in Chicago. Maybe it would have held up after all. OH well. I just didn't like the idea of being stranded like Ron almost was. I wouldn't have had the luxury of Chad. LOL

:D

Re: DTMAce's project updated... June 17th... Going together

Posted: Sun Aug 01, 2010 11:41 am
by woody90gtz
Rev limiter is 6000, so your tach is way off.

It will cut the RPM in gear...my 95 did that to me on the 1-2 and 2-3 shift before. Stock shift points are around 5700.

Re: DTMAce's project updated... June 17th... Going together

Posted: Wed Oct 06, 2010 4:53 pm
by DTMAce
Actually I mispoke myself, I was not going that high at all, I was just being stupid and not reading it right. LOL


Anyway, more updates today, finally crawled under the car and started working on taking the oil pan off... UGH. That thing is a pain in the ass.

Image

More to come, already have pulled the starter and skirts, belt, and loosened the A/C compressor... Next is the lower dogbone mount, then drop the sub frame on that side. Then I can finally start taking the oil pan bolts out. OH, and I was looking, I don't see that I have to remove the oil filter adapter, but someone said I need to? Just checking. And yeah the backside oil pan bolts next to the tranny are going to be a major bitch, I CAN see that!

More to come as I get time to take more apart...

Re: DTMAce's project updated... June 17th... Going together

Posted: Thu Oct 07, 2010 10:30 am
by 3X00-Modified
What on earth is that a picture of?

OH crap, its the bottom of the oil pan...

Damn your so close my eyes were inverting the image and making me think it was a floor mat covered in something.

Re: DTMAce's project updated... June 17th... Going together

Posted: Thu Oct 07, 2010 11:44 am
by DTMAce
Its sitting at the folk's mill right now. Damn sawdust is stuck to everything under there. Wasn't going to be able to get it all the way to his shop with the way its leaking, so I'm tearing it apart on the stock room floor. Only reason that there is sawdust in the first place is because we needed to put something down to absorb the oil that was still leaking out when I parked it there.

The yellow stuff is what was left of the putty I used to temporarily seal the hole enough to get it home. lol I was so pissed cause I couldn't find the radiator/gas tank leak kit I had.

Edit:

Is this any better for you Jon?

Image

Re: DTMAce's project updated... June 17th... Going together

Posted: Thu Oct 07, 2010 2:27 pm
by 3X00-Modified
lol, yeah now I can reference something else in the photo to see what I'm looking at... LOL

Re: DTMAce's project updated... June 17th... Going together

Posted: Fri Jan 14, 2011 2:07 am
by DTMAce
What's this? AN UPDATE? NO WAY!!!!

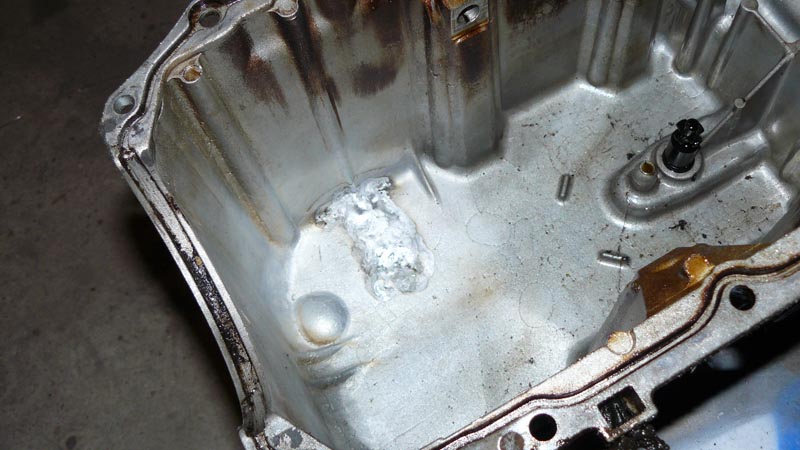
Yeah, its about time anyways. Beretta is fixed, patched the pan, reinstalled. Damn that thing went together a HELL of a lot better than it came apart, that's for sure.

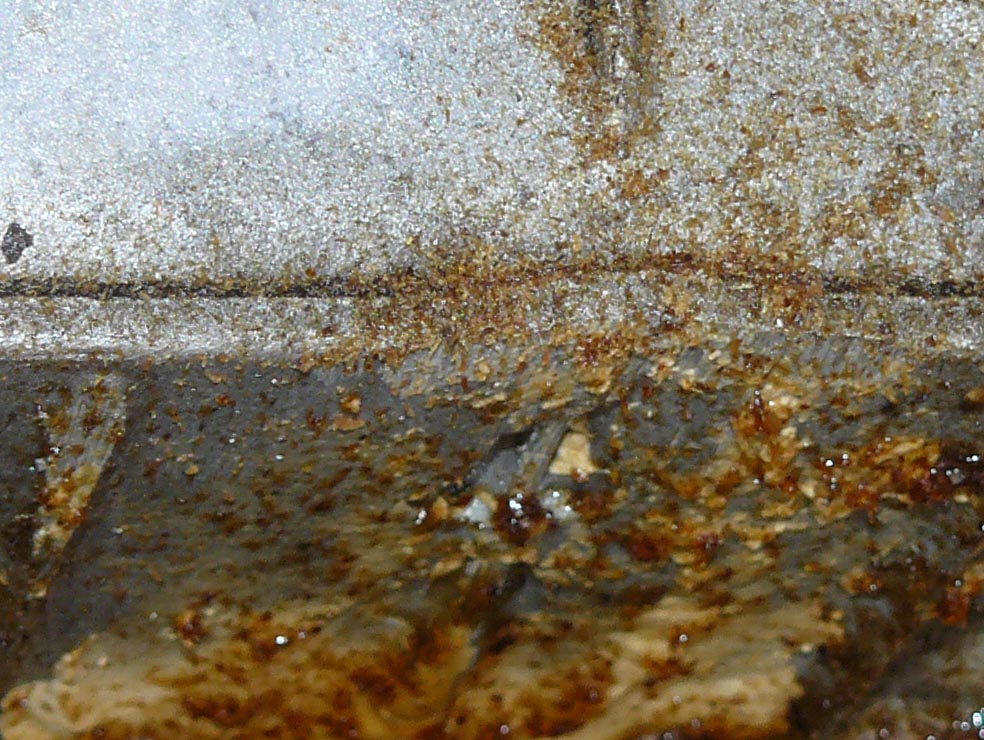
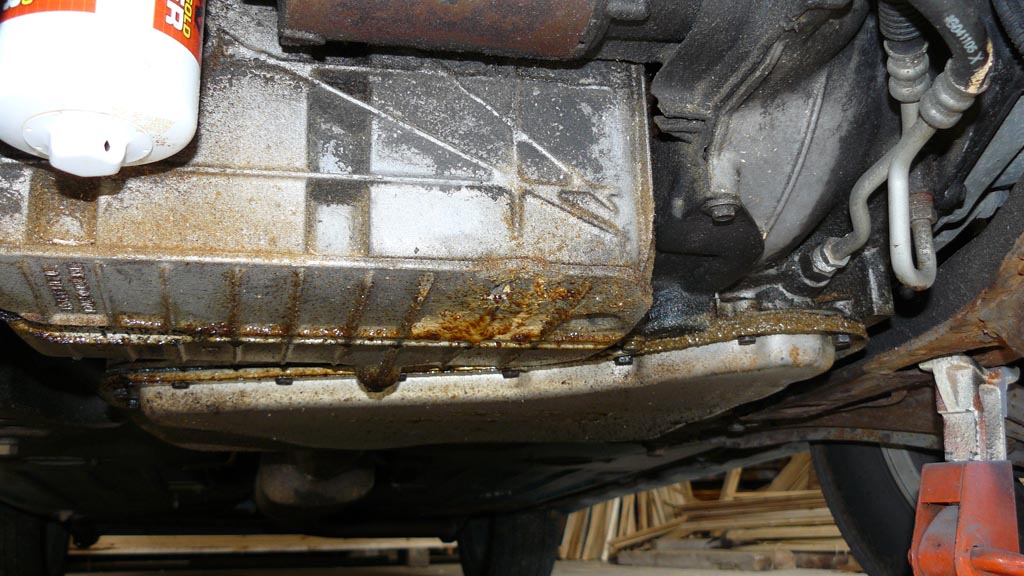
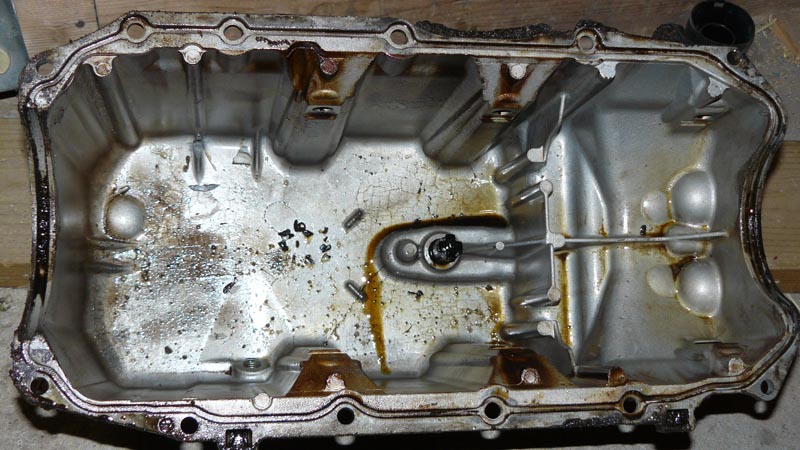
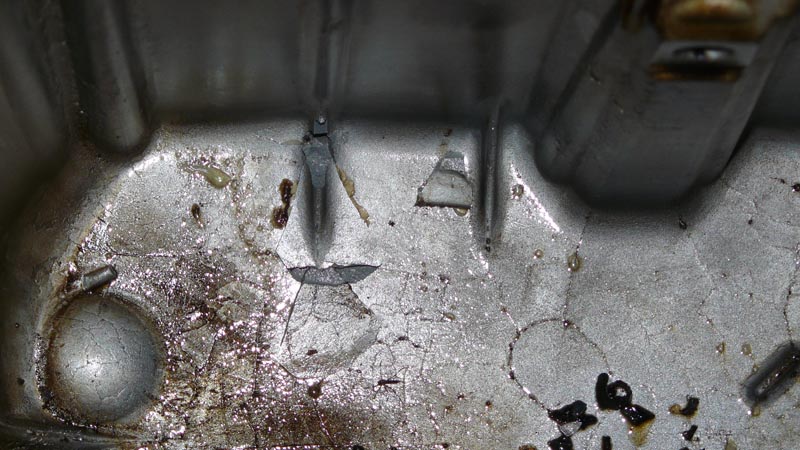
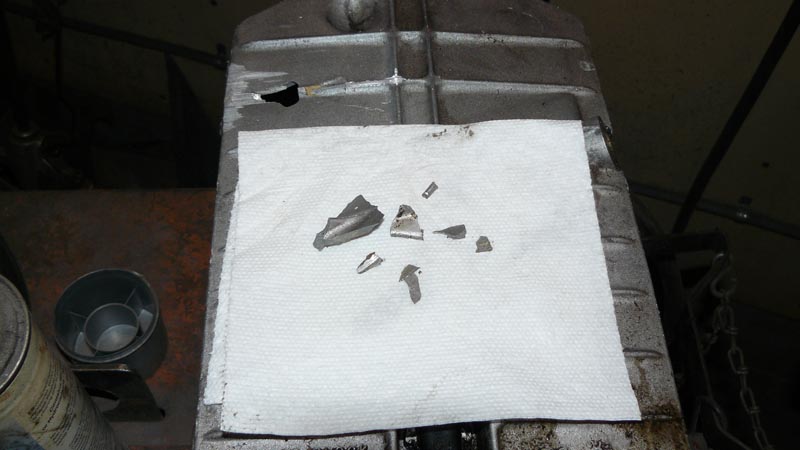
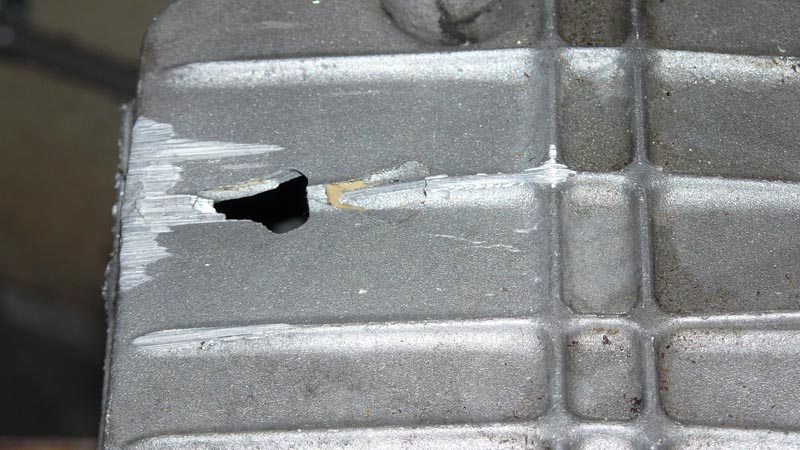
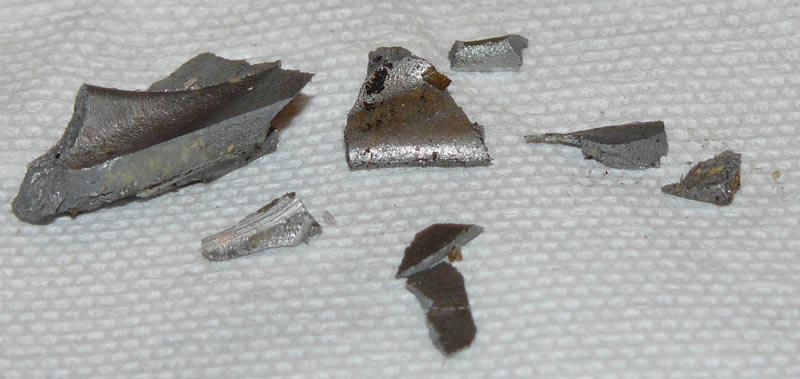
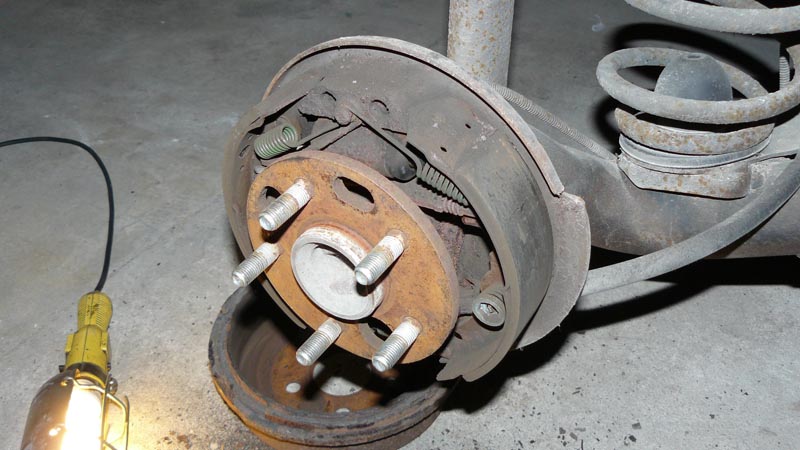
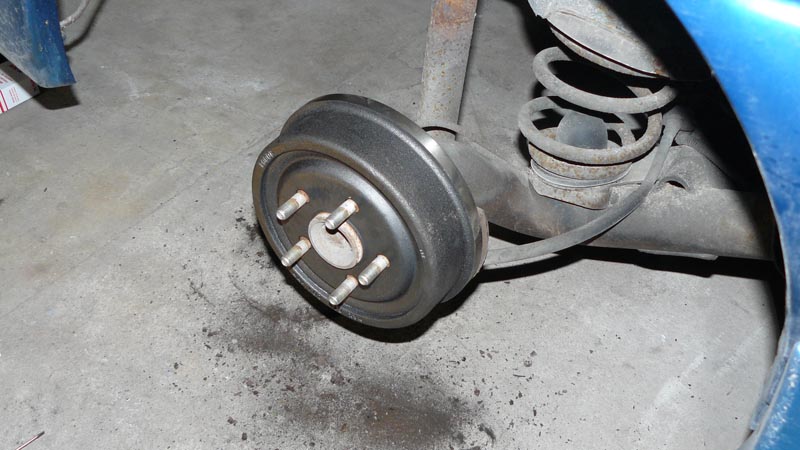
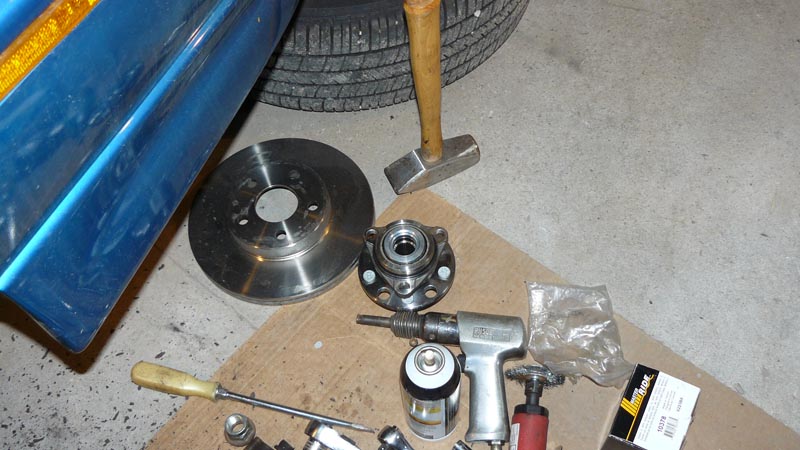
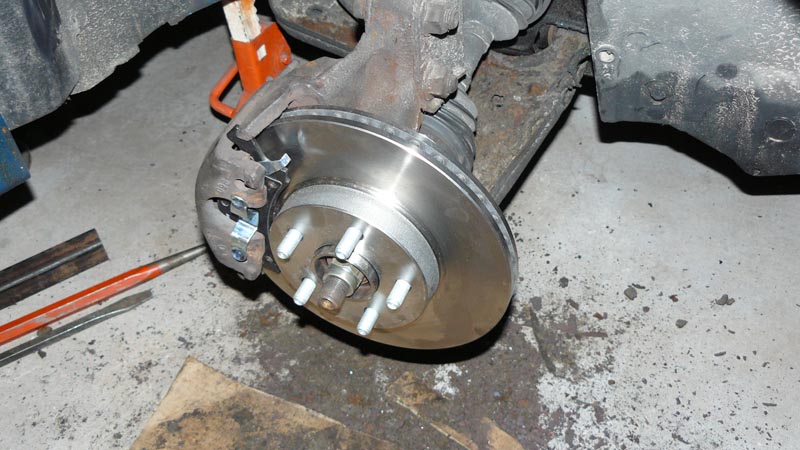
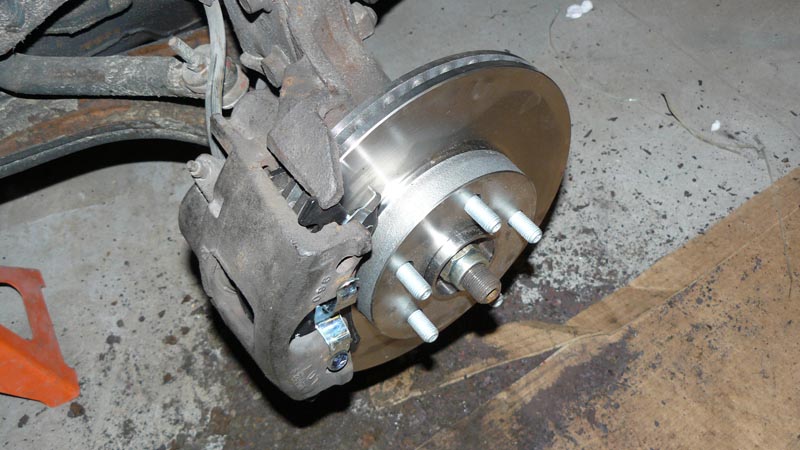
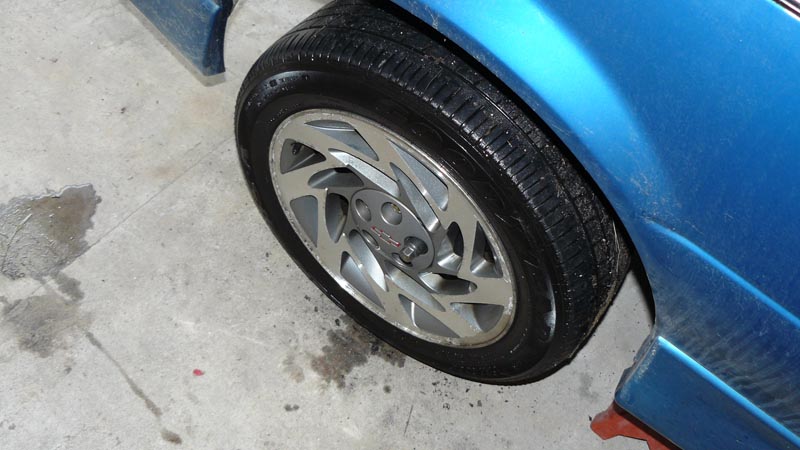
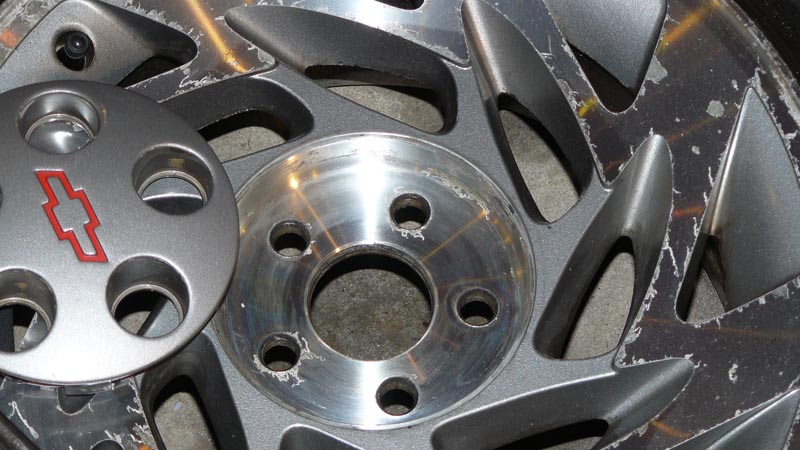
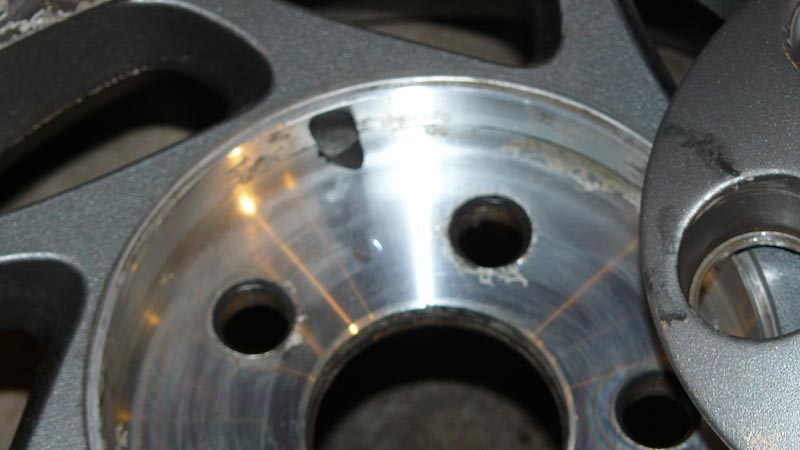
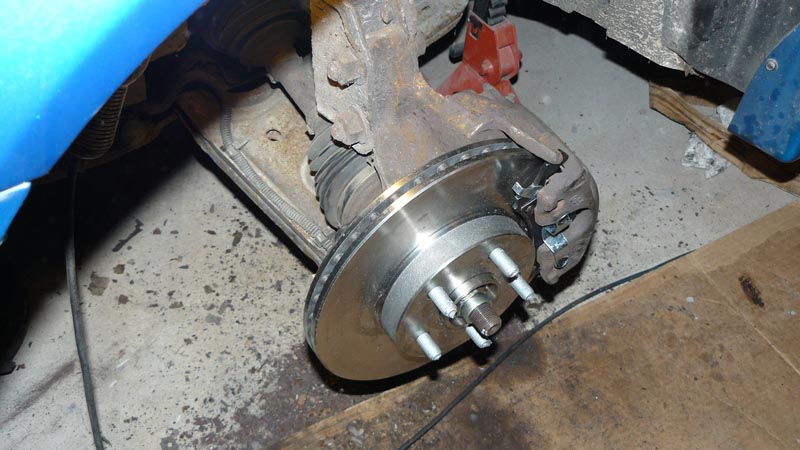
Pics? Sure, have those too. Here ya go. Just before and afters of the pan.

Image

Image

Image

Image

Image

Image

Image

Image

Image

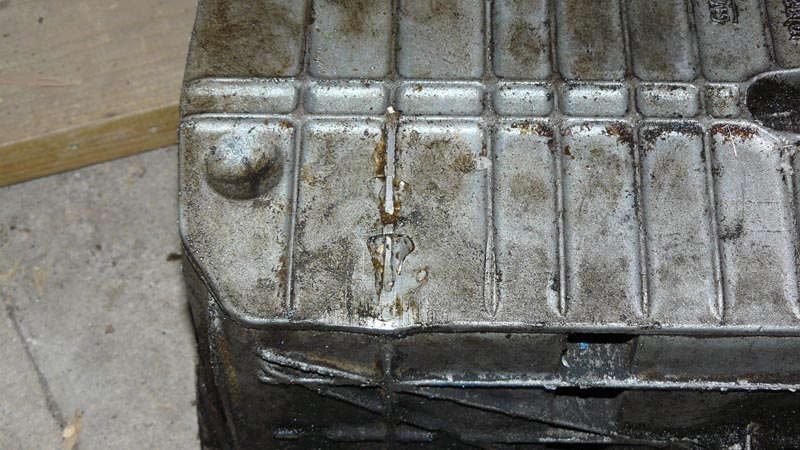
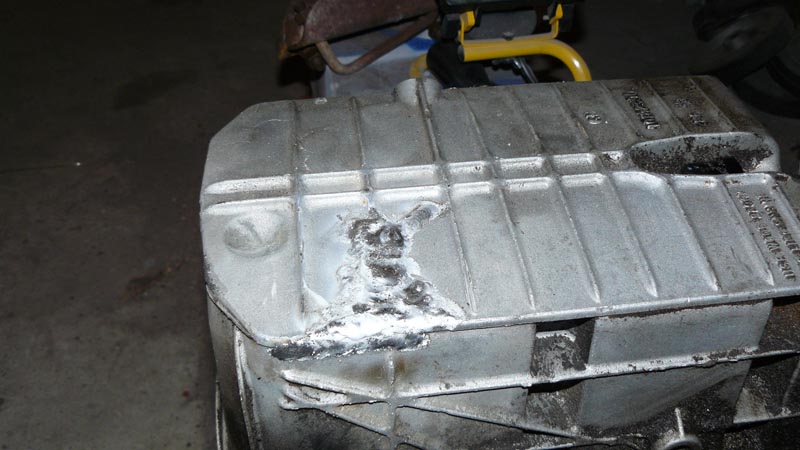
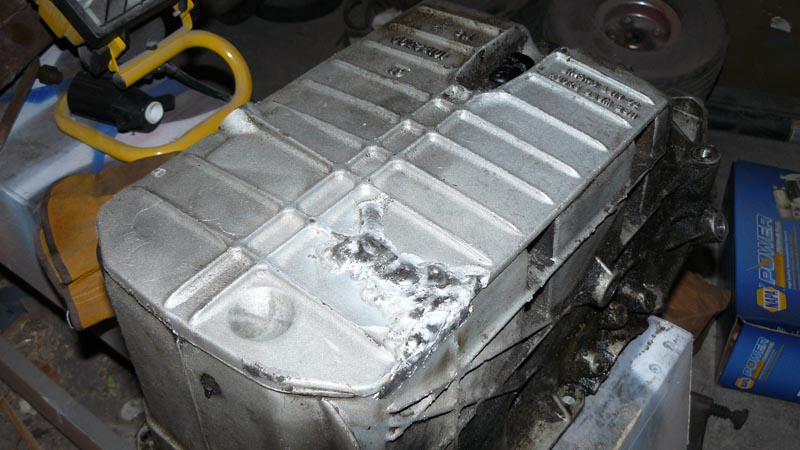
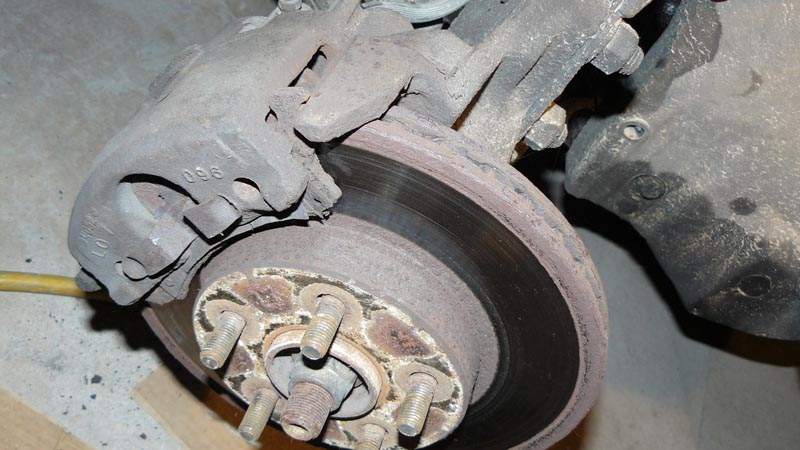
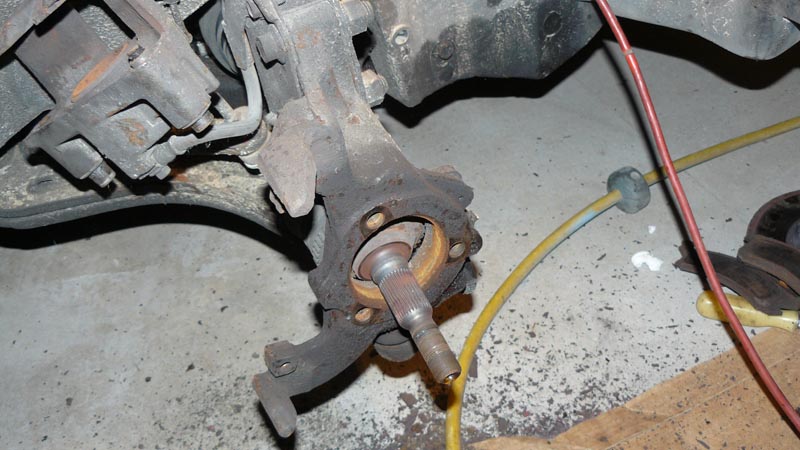
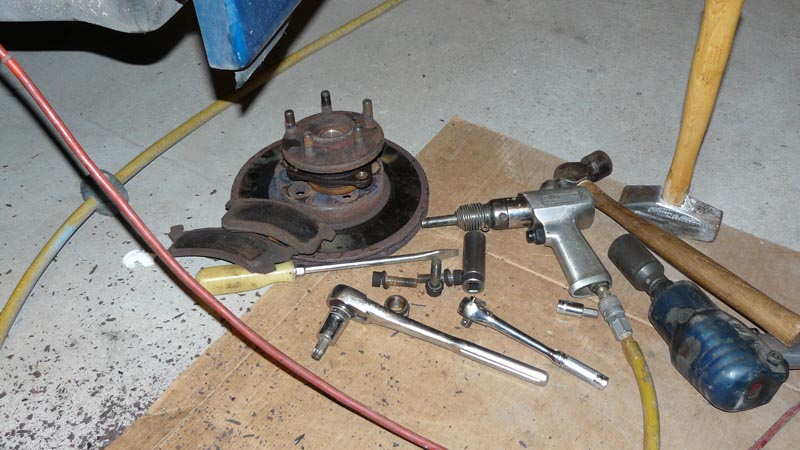
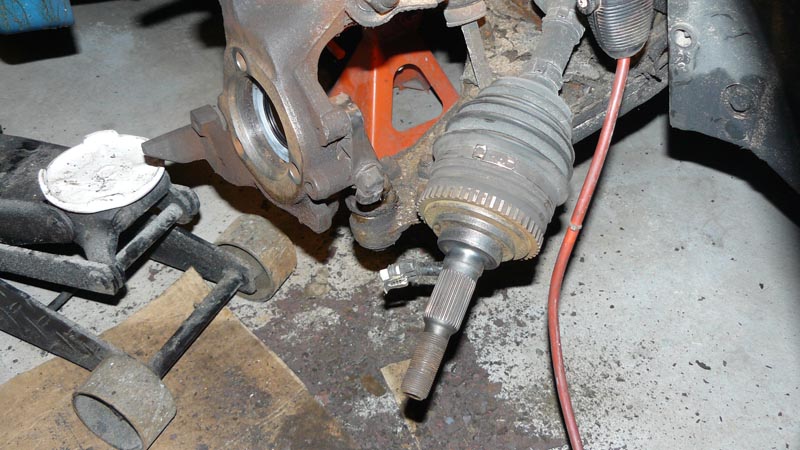
Lets see. Had to drop the starter, the oil filter, the oil filter adapter, the A/C pump mount, the belt of course, the lower plastics on the pass side, the dogbone, the mount on the bottom of the engine for the dogbone, which also bolted into the transmission diff housing and several points on the block, the 6 damn bolts going through the side of the pan were a pain in the ass, especially on the backside, and finally of course the bloody lower passenger subframe thing that the control arm bolts into. Good lord. I know damn well it had to drop like 10 inches to clear that pan. But I got it done. As I said, it went back together a hell of a lot easier than it came apart, that's for sure.

Anyways, it was fixed, then I drove it a week, then it was put into storage before winter hit. I have to replace the rear heater hose and hose fitting coming from the backside of the T stat junction, its seeping down the back of the block, and I think I just need to try to tighten the oil filter adapter a bit more, have a slight oil seep hopefully coming from that and going down the pan. I say hopefully, cause it could also be the weld that is weeping for what I can see. lol But its not serious, just a small thing.

Seems to run fine. Then come Dec, the 03 van's transmission acted up. Basically it went into limp-in mode for no apparent reason. No prior hint, just one day it flipped. Odd. Went to take it into the dealer (was going to trailer it) and tested it again to be sure it was still broke, the damn thing was fine. Still trailered it and had it checked out anyway. Something about the speed sensor circuit had a code tripped, but nothing mechanical. They couldn't duplicate it, so not sure if it was the sensor, the cable, or the computer. Cleaned and resealed the connections on each and its has been fine since.

Anyways, for 2 weeks, I had the beretta out in the snow, pulling duty as a spare. Poor car. It did well though. Once I had the van back, I washed the car and put it back to bed. :D

There ya have it.

As for me personally, I have simply been buried and occupied with things more important than the site, such as kids, job, fire fighter duties, and other various things.

More to come as it happens!