Page 1 of 3
The Tim German Project. Updated 02-05-13
Posted: Mon Jan 07, 2013 7:41 pm
by DTMAce
Yep.
With his permission to share with all of you of course.
I'm going to be doing a large LED conversion for Tim. This includes:
All 4 side marker lights.
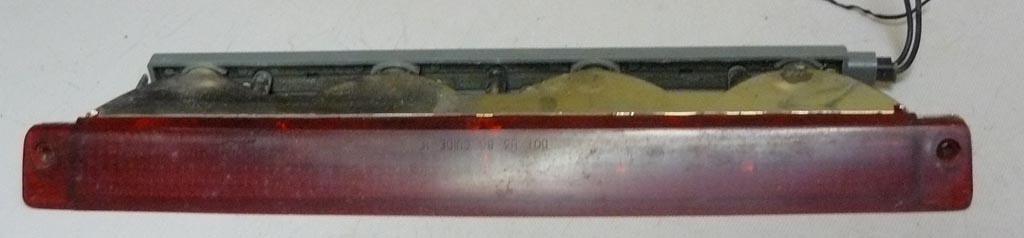
3rd brake, Z26 style.
Rear tail light inserts.
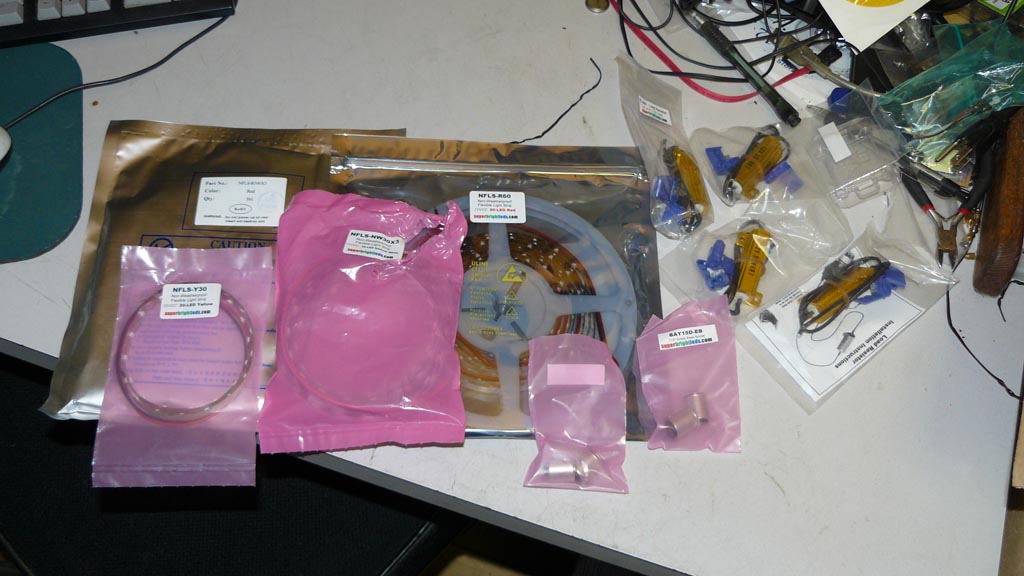
I have already ordered and received the LEDs and other parts for this project, pics below. Those got here last Friday evening.
This is day one of work to be done. lol
Today was about solving the tail light issue. Tim sent me a set of tails, along with his 3rd brake. I already had several markers here, so providing those. However during shipping, one of the posts got broken from the passenger side tail light. Also on further inspection the lens has that haze cracking going on. So I spent part of the day going through my tons of parts to see if I had a spare tail that was in good shape and a good back to match. I did find one, off of the black base. However it has a small vertical center crack starting in it. I think I can seal and repair that, may even be able to blend it in entirely, but I am putting the word out, to see if I can obtain an outer housing that is in nice shape or a passenger rear tail light complete. Time and cost is an issue. I need it soon, and it can't be expensive. I need at least an outer panel. I have the rest of the parts. Euro ones won't work, they have a slightly different look. (not talking about the reflector).
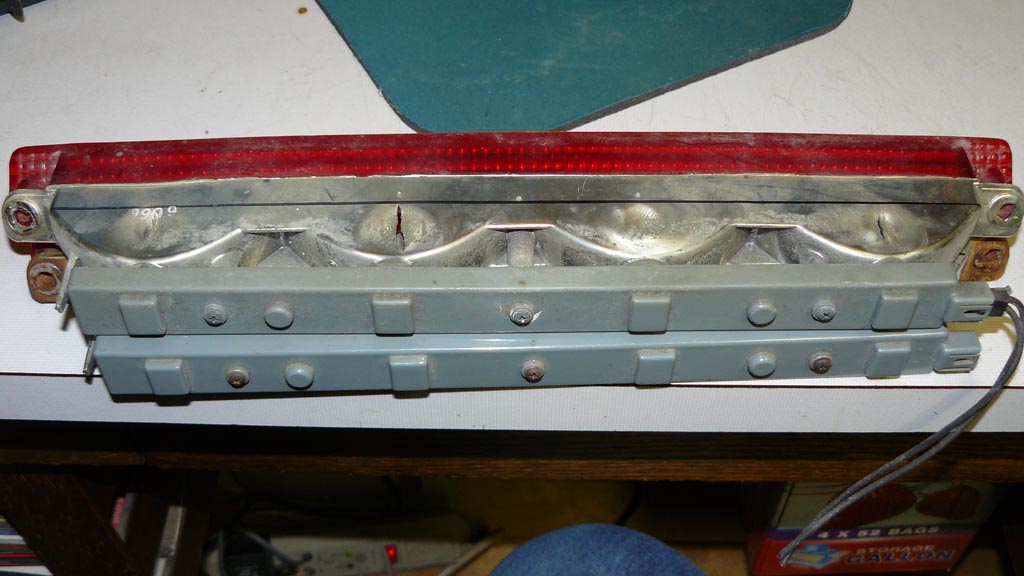
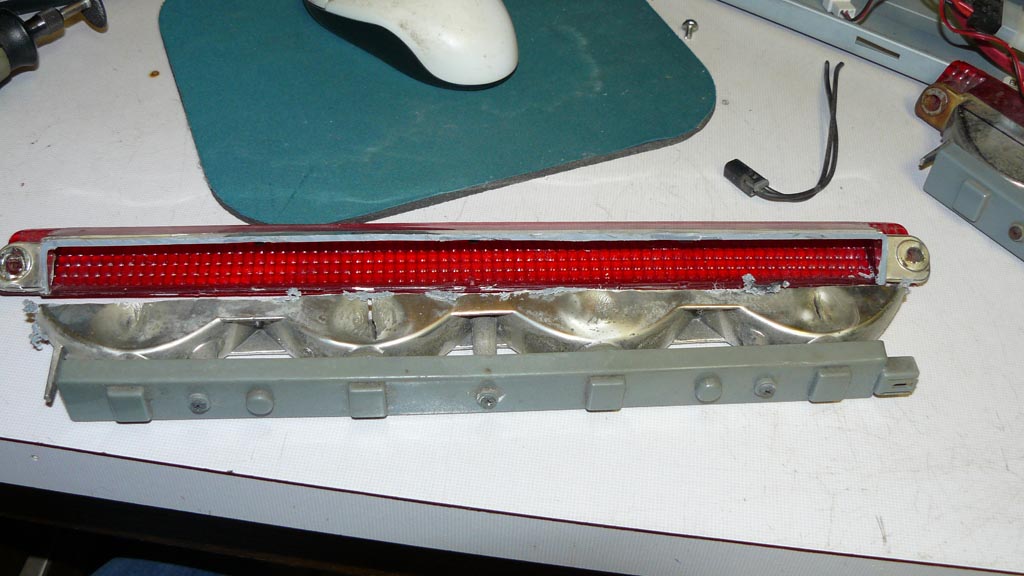
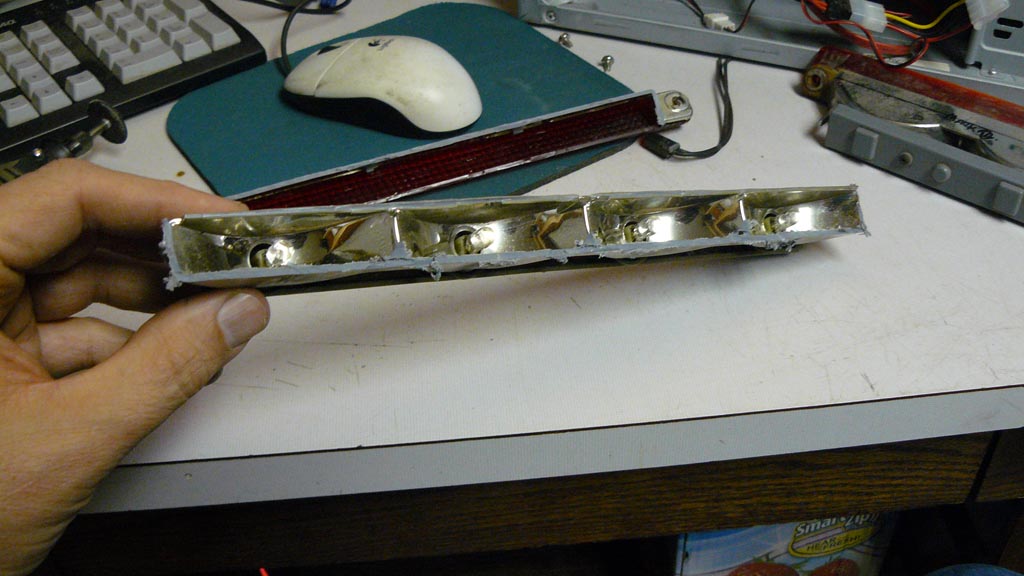
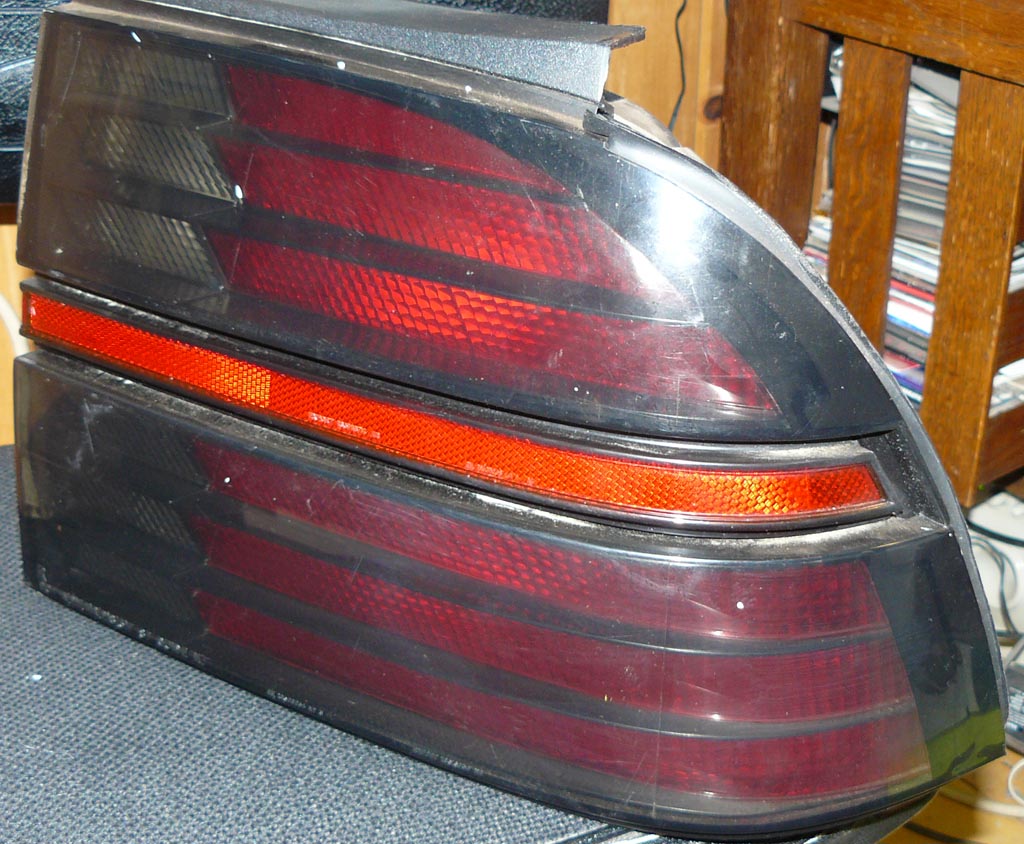
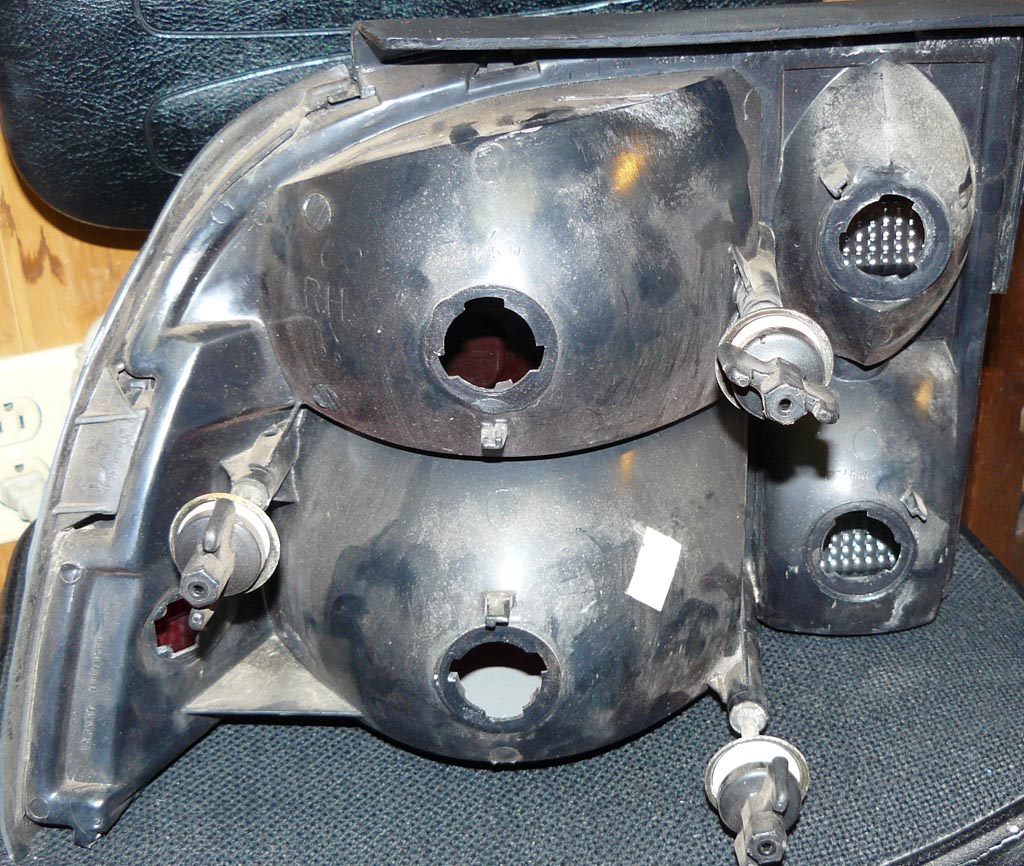
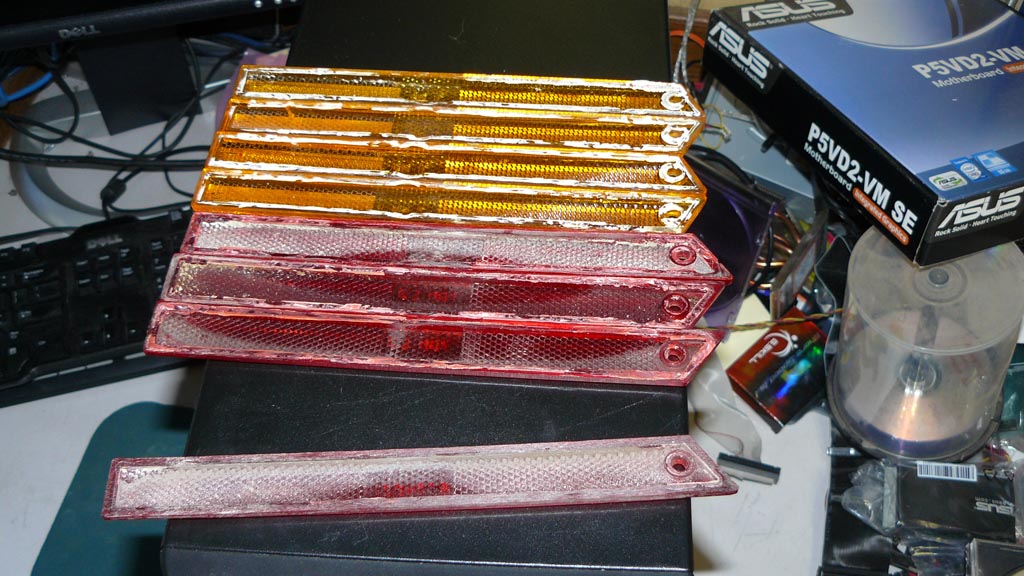
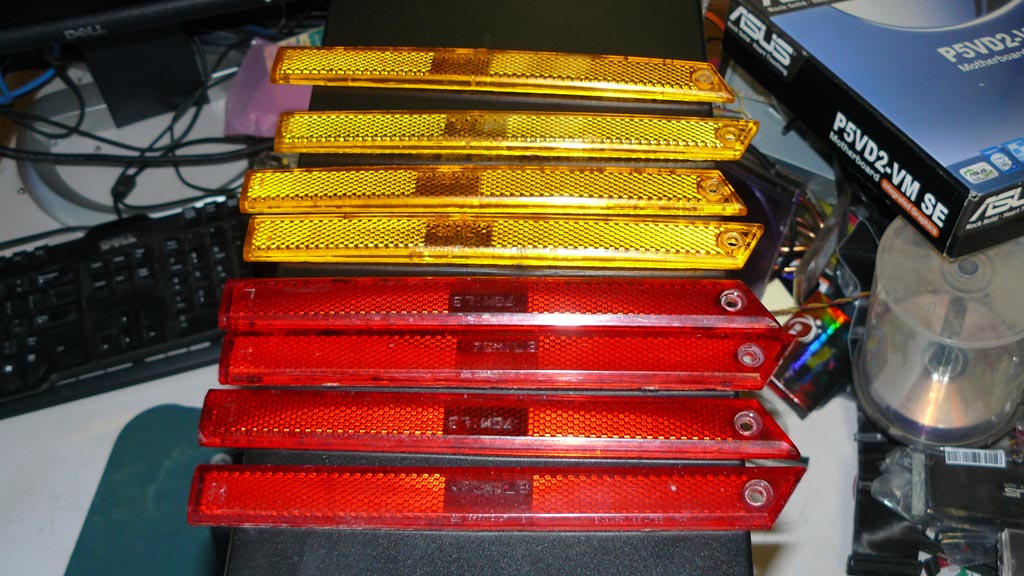
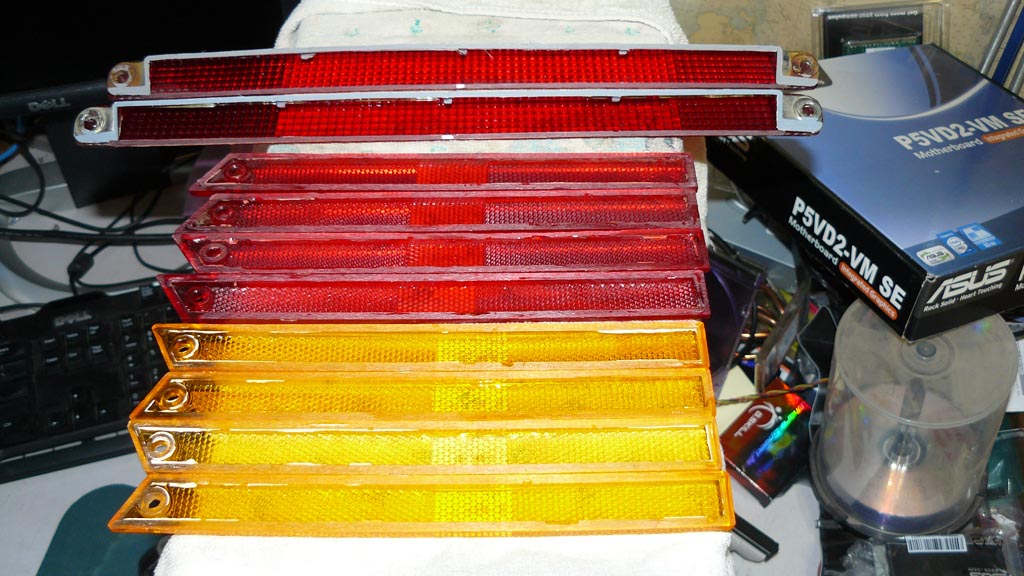
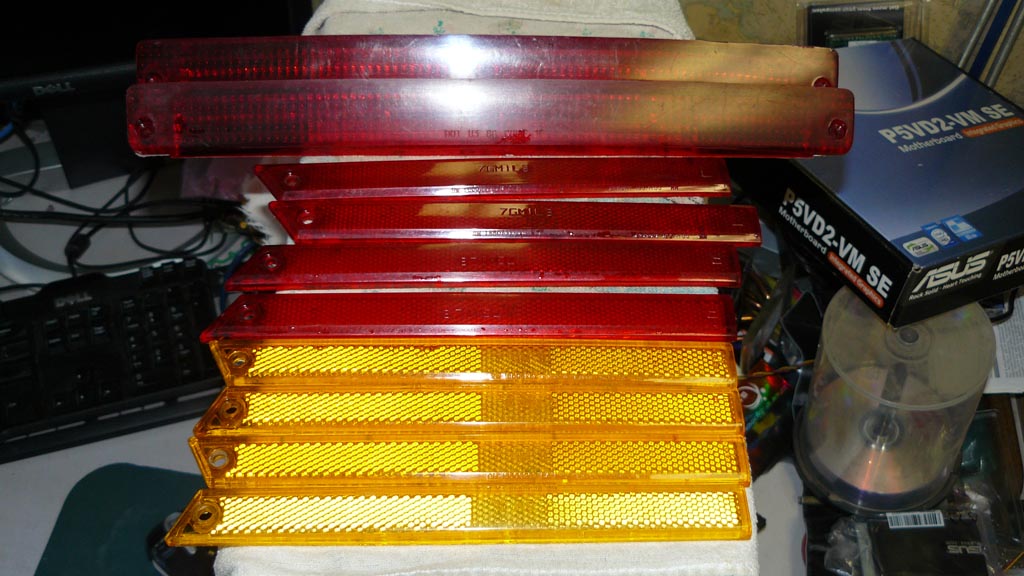
Here are pics of where we are today, with parts and lights:

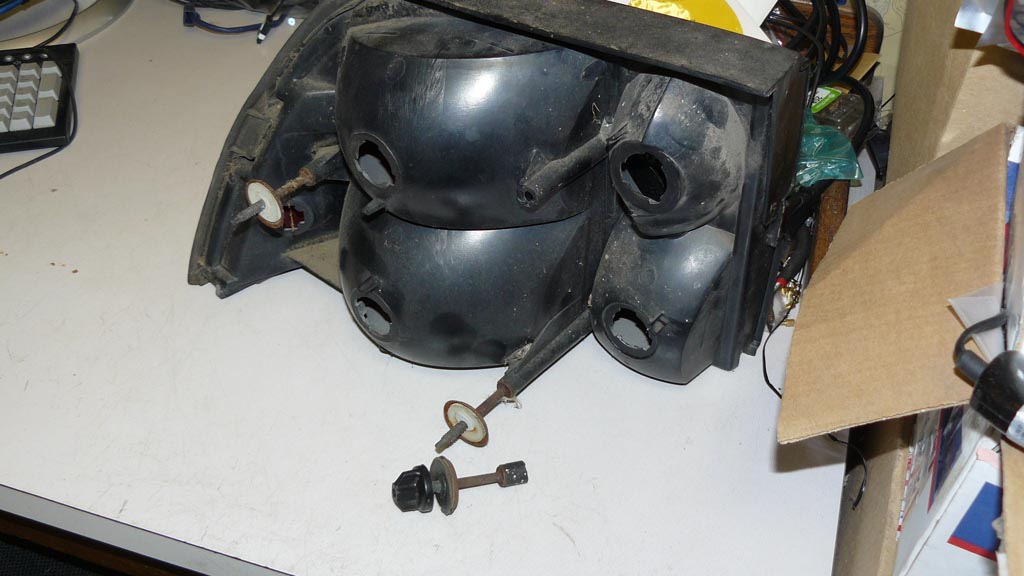
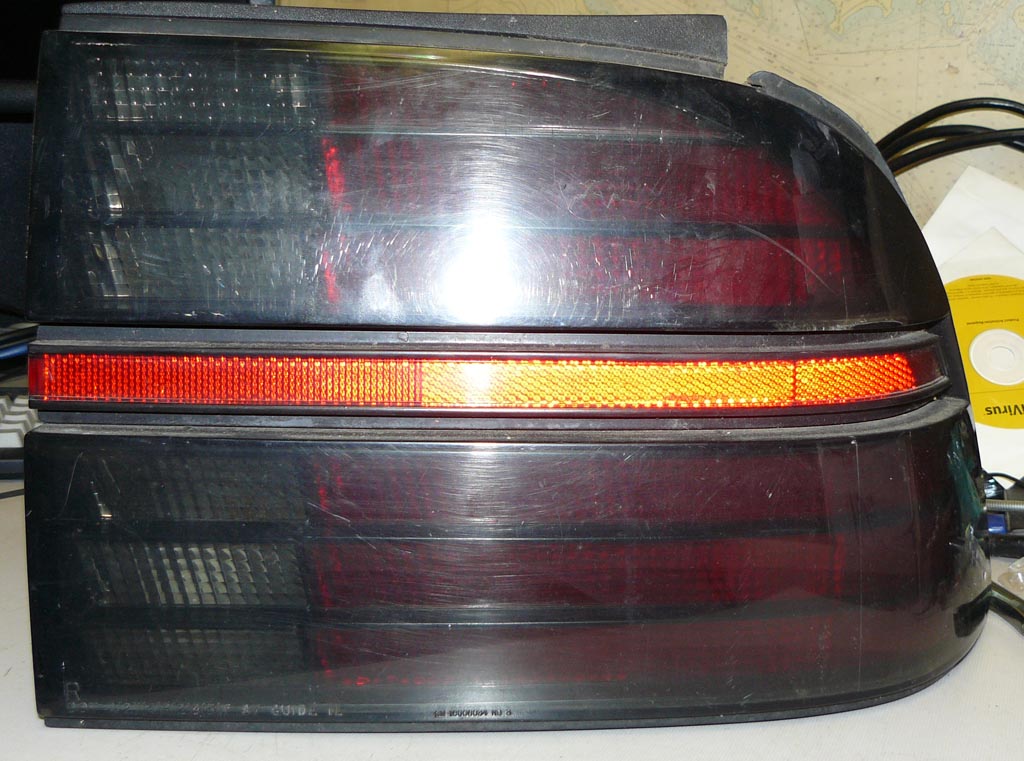
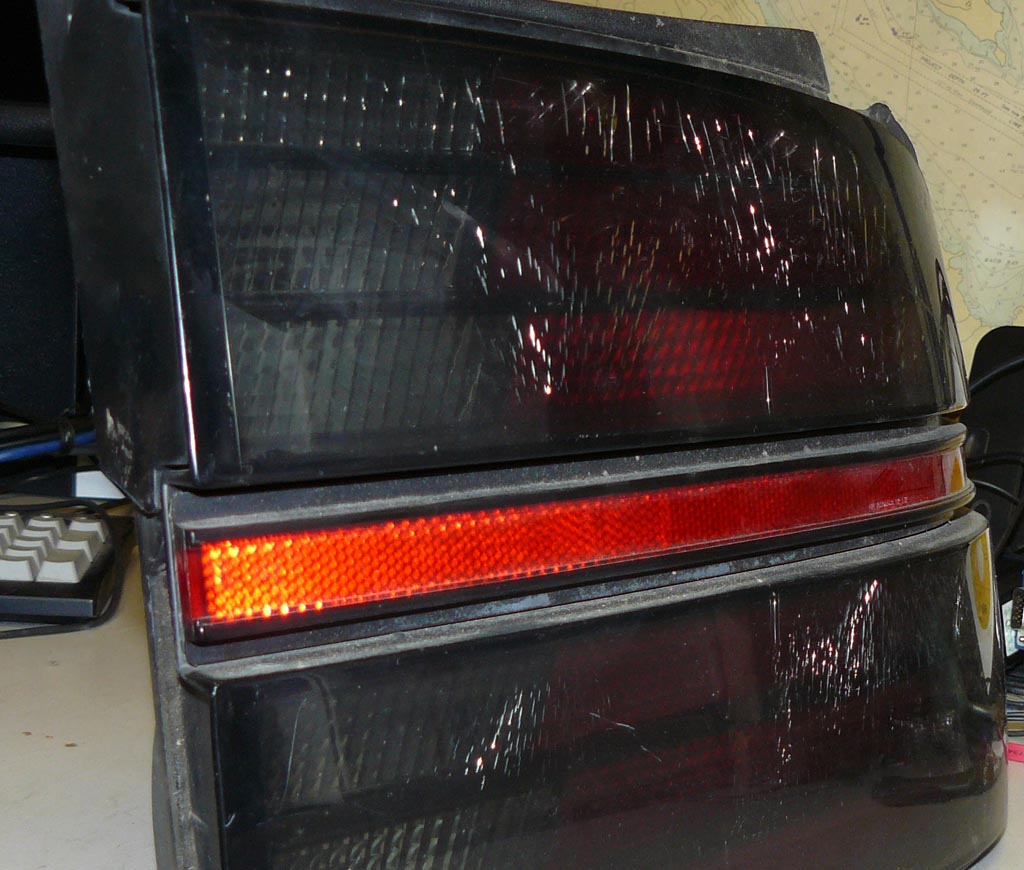
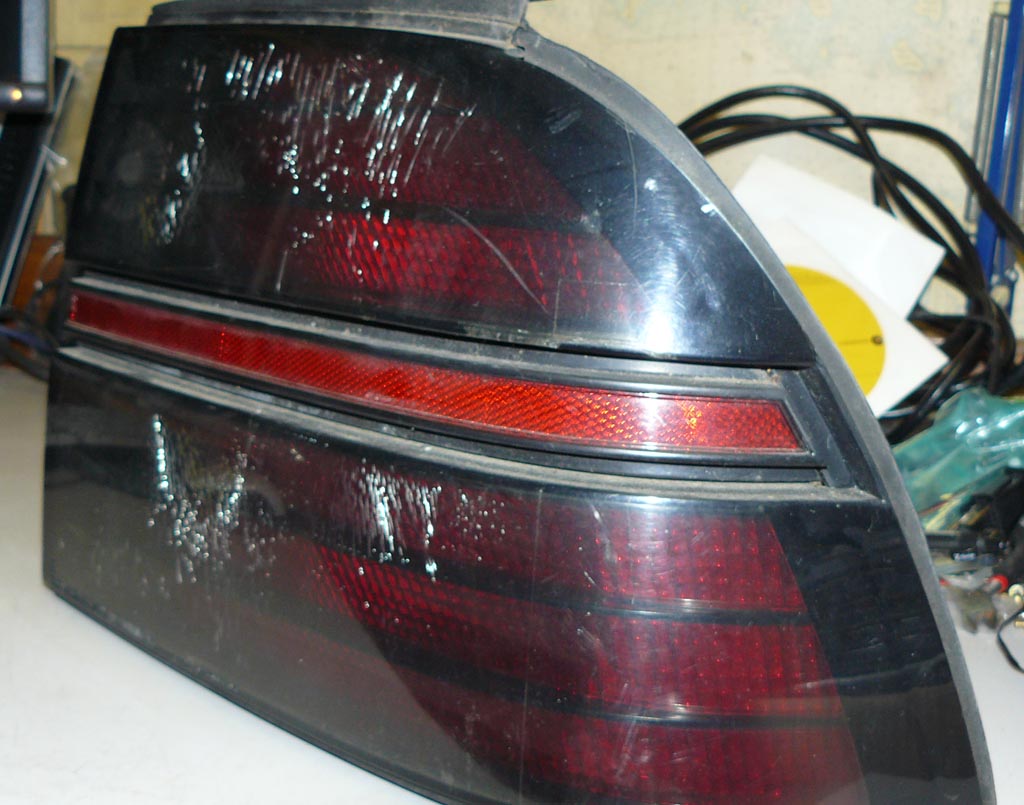
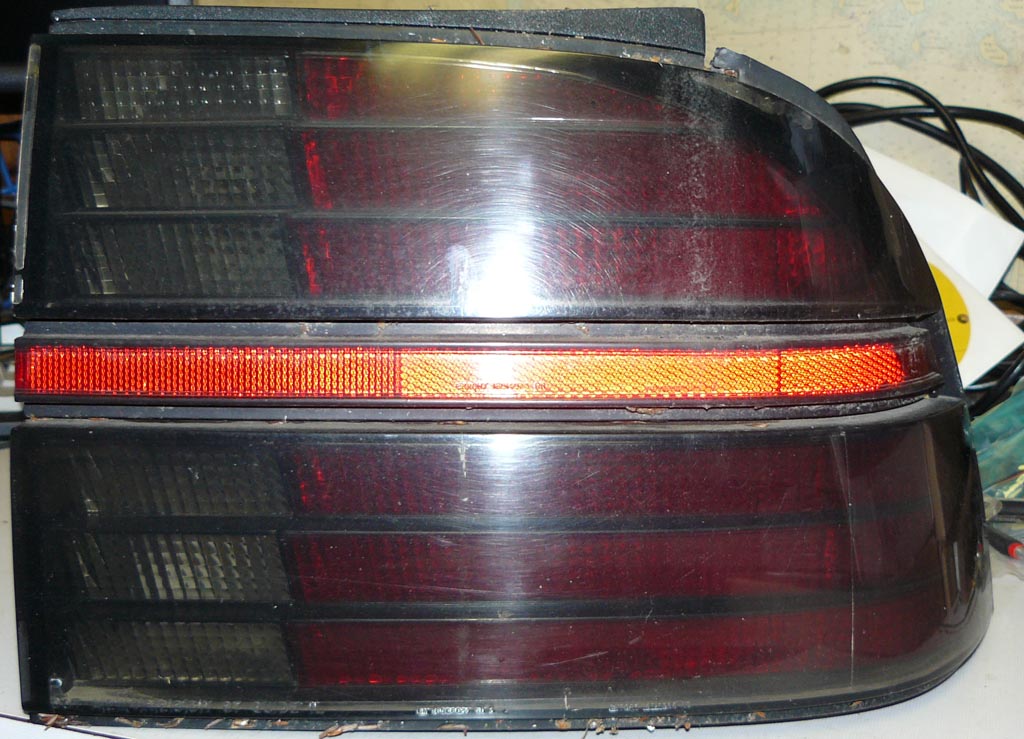
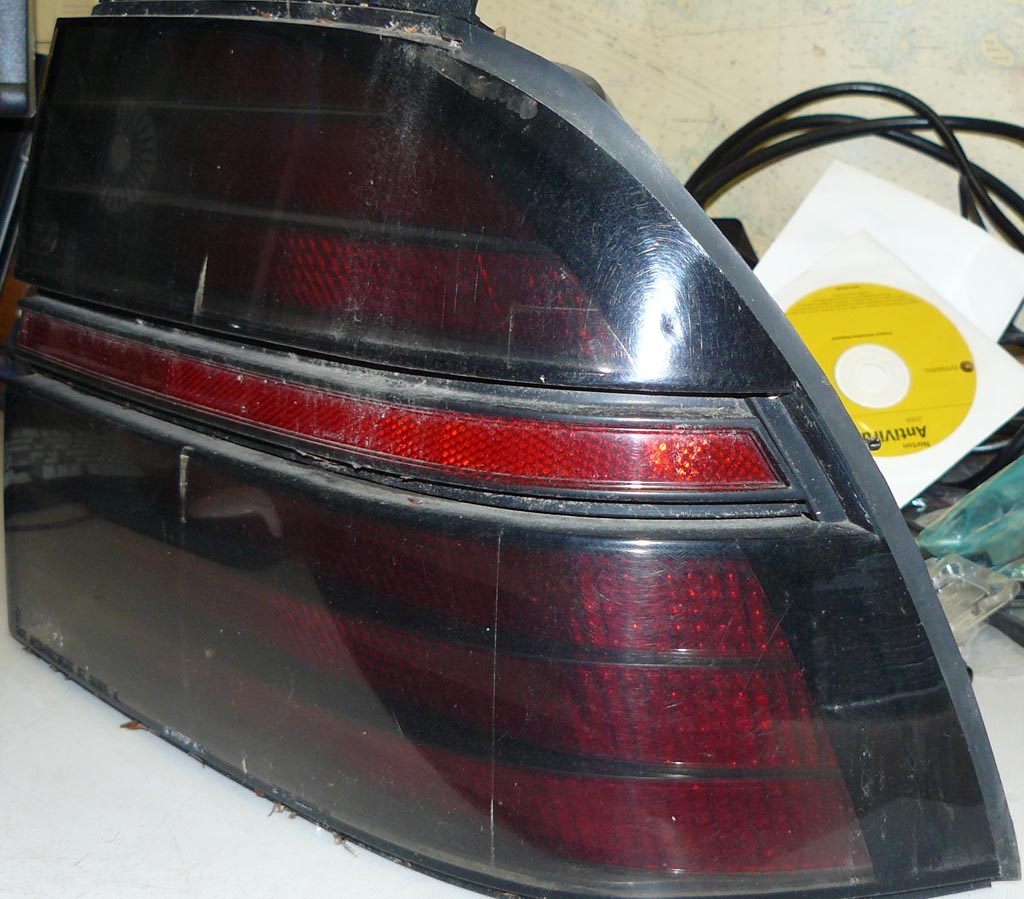
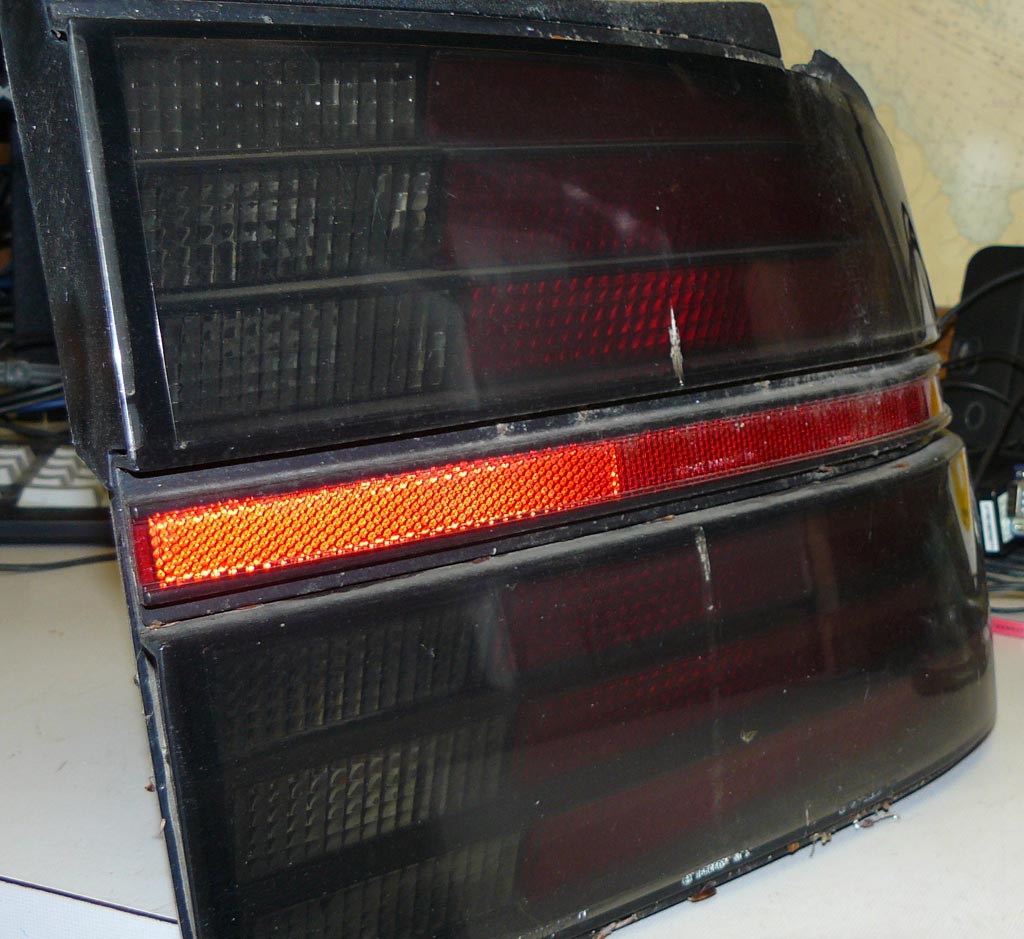
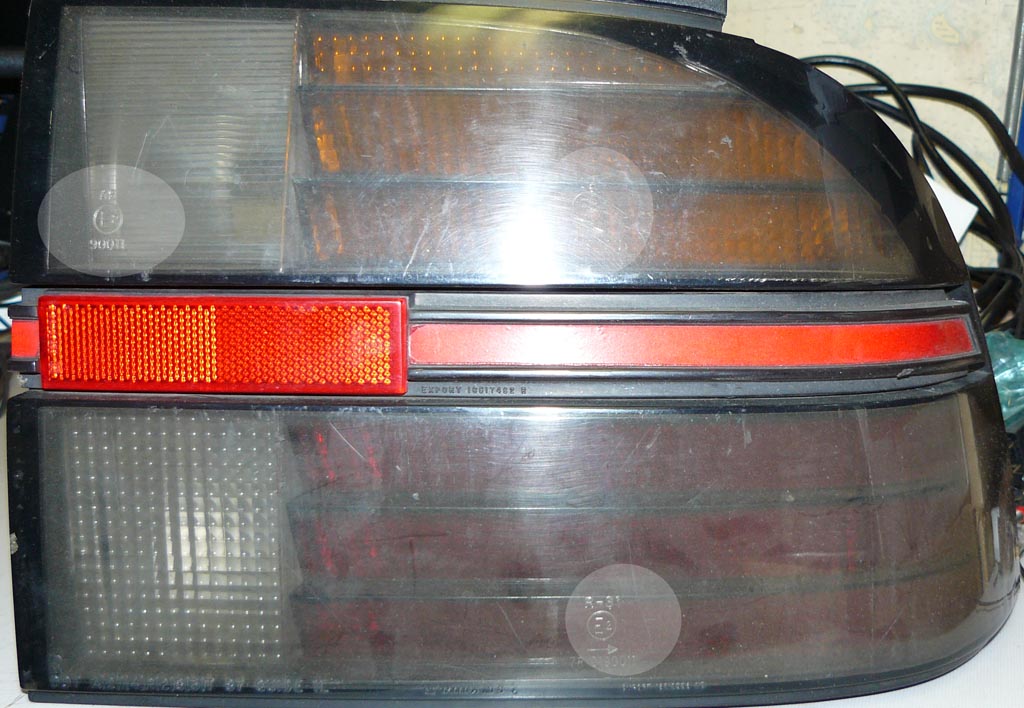
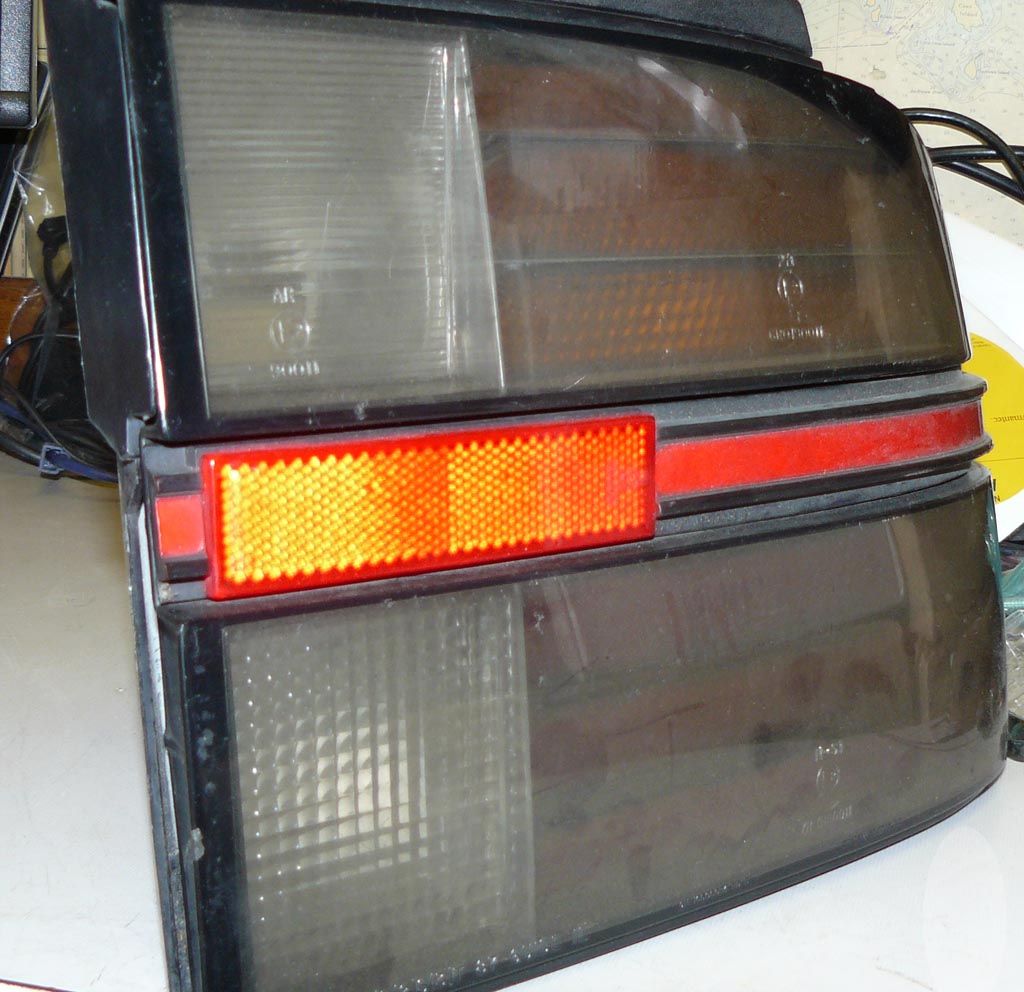
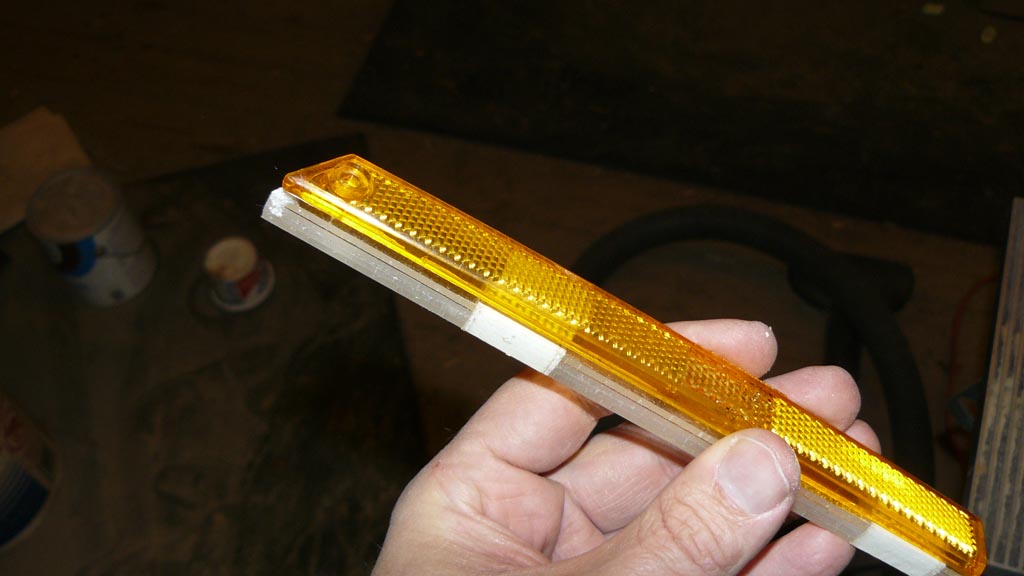
These are pics of parts, other lights, then his light starting with 05-08, then the base tail light at 09-11, then the Euro, but as you all can see, it just looks too different to use.
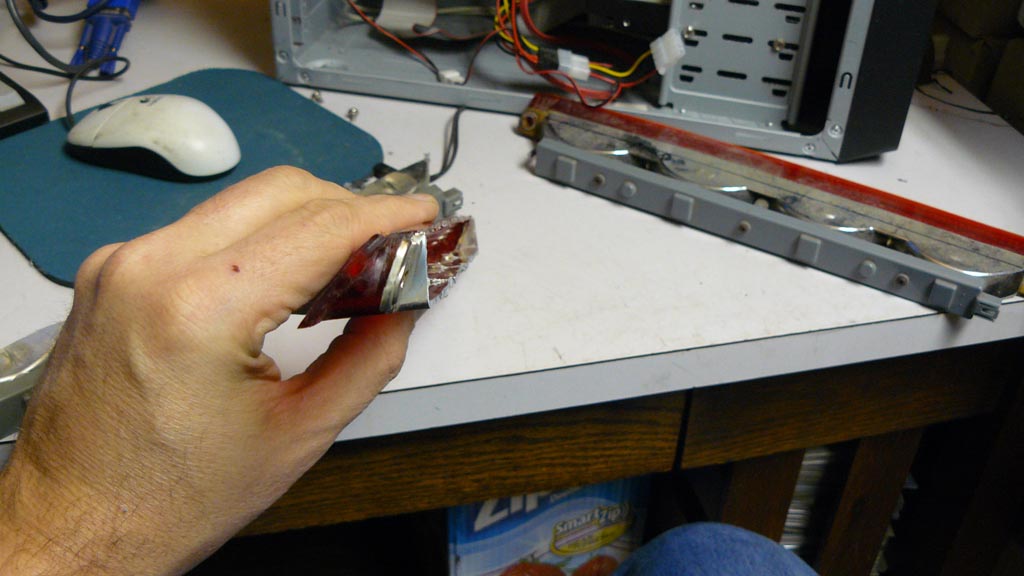
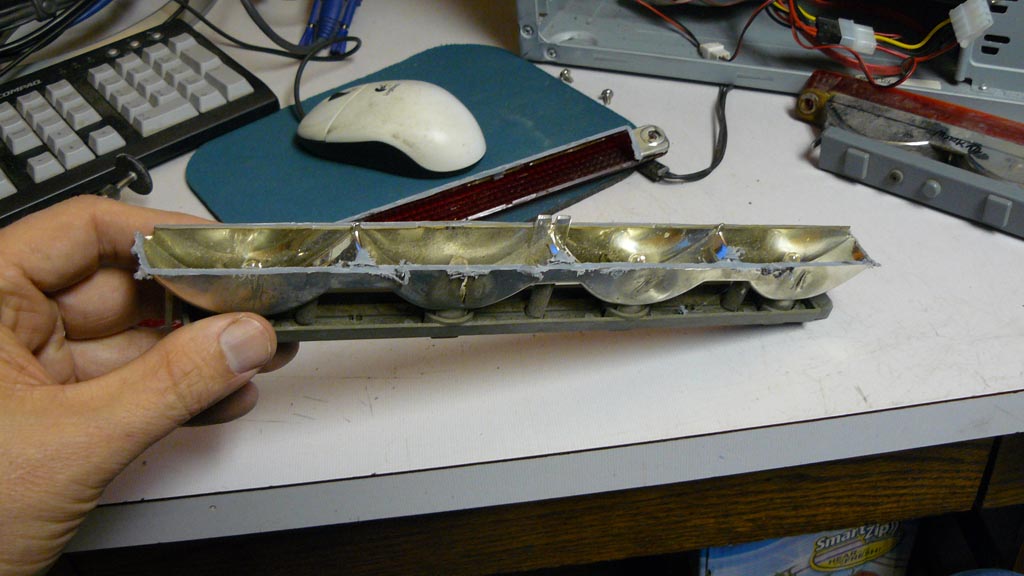
This is where I'm at right now. Hoping to have some of these cut apart later tonight and prepping.
Again, if any of you can kick me in a passenger tail light to help his build, let me know. Thanks.
Re: The Tim German Project.
Posted: Mon Jan 07, 2013 8:44 pm
by DTMAce
Re: The Tim German Project.
Posted: Mon Jan 07, 2013 9:19 pm
by Travelor
Eww, you actually CUT it?! When I did mine I just worked on the joint between the housing and lens.. How do you plan to reattach the two together as it sits?
Re: The Tim German Project.
Posted: Mon Jan 07, 2013 9:57 pm
by DTMAce
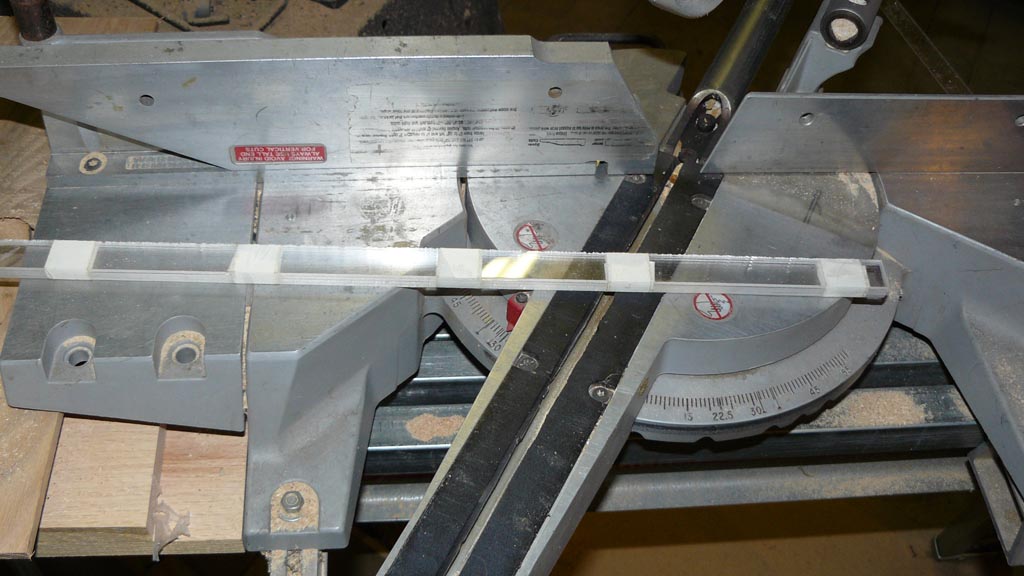
They don't go back together, I don't use the light housing portion with the bulbs. You'll see. And I can't use the joint all the way around, as it gives the LED panel an angle and the lights won't shine directly back at the rear. This way I can retain the correct panel angle. There is a method to my madness, honest. LOL
Re: The Tim German Project.
Posted: Fri Jan 11, 2013 10:30 pm
by DTMAce
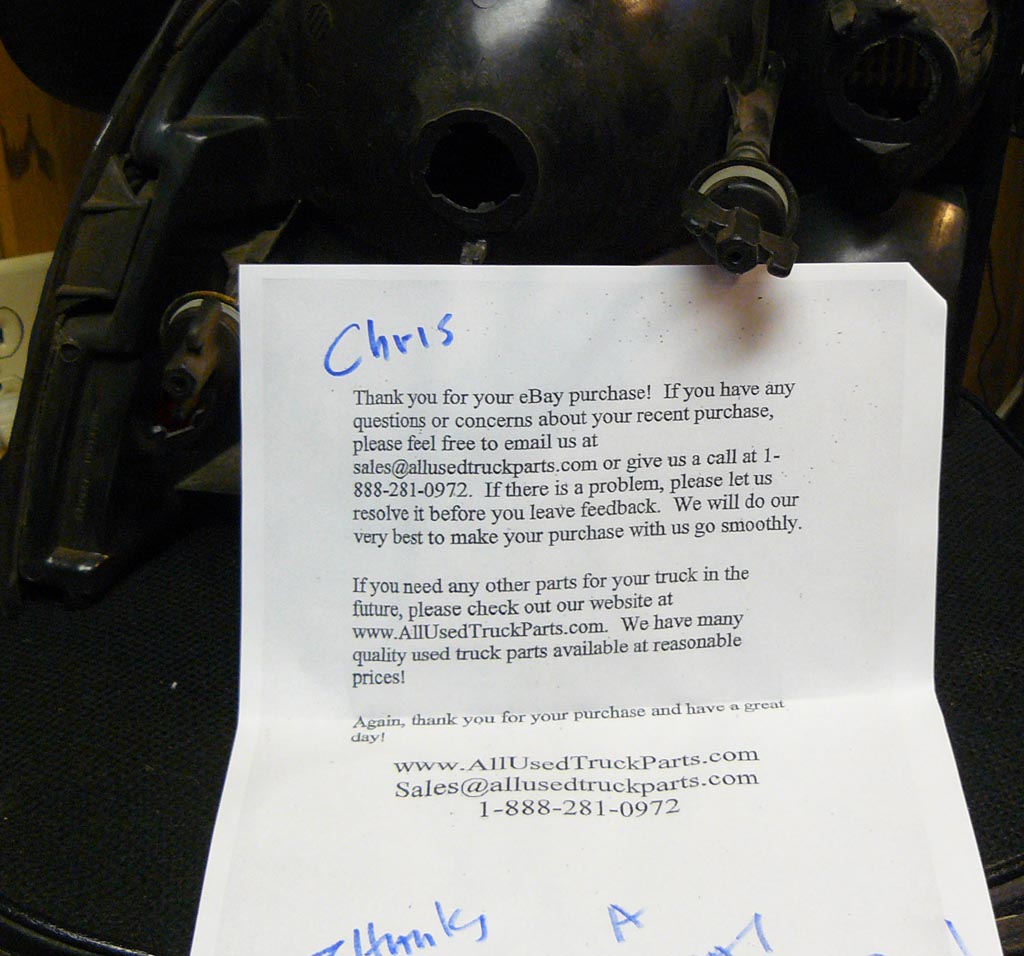
Ok, updates today! We found a replacement on Ebay for 40 bucks! Not bad either.
http://www.ebay.com/itm/261050325012?ss ... 1497.l2649
Just bought it for Tim, so that's settled. This week has been super busy with the computer stuff, so hope to get cracking back on the lights some more this Sunday night/Monday. Next step is to finish splitting apart the side marker lights and then getting both those and the 2 3rd brake lights sanded flat on the split side, and cleaned and inner prep work done. Then trim the backing, install the LEDs and put them together. Those will be fairly simple. More pics will be coming soon!
Re: The Tim German Project.
Posted: Wed Jan 16, 2013 5:09 pm
by DTMAce
Re: The Tim German Project. Updated 01-16-13
Posted: Wed Jan 16, 2013 5:12 pm
by DTMAce
And no, those streaks on the top left are not cracks they are marks. They will buff right out. These are just before pictures anyway.

Re: The Tim German Project. Updated 01-16-13
Posted: Sat Jan 19, 2013 10:08 pm
by DTMAce
Today I picked up the circuit boards for the customizer for the tails. Also some solid .22 gauge wire for the project. The boards I have to cut down, so they will fit through the bulb openings. They are going to be mounted right on the 1157 bulb bases. Now to find some dip switches. Oh Ebay....
Re: The Tim German Project. Updated 01-16-13
Posted: Sat Jan 19, 2013 10:34 pm
by DTMAce
And BAM. I found exactly what I wanted. HAHA

And this is the circuit board, but I have to cut these up, so they will be skinny enough.

Re: The Tim German Project. Updated 01-19-13
Posted: Mon Jan 21, 2013 11:17 pm
by DTMAce
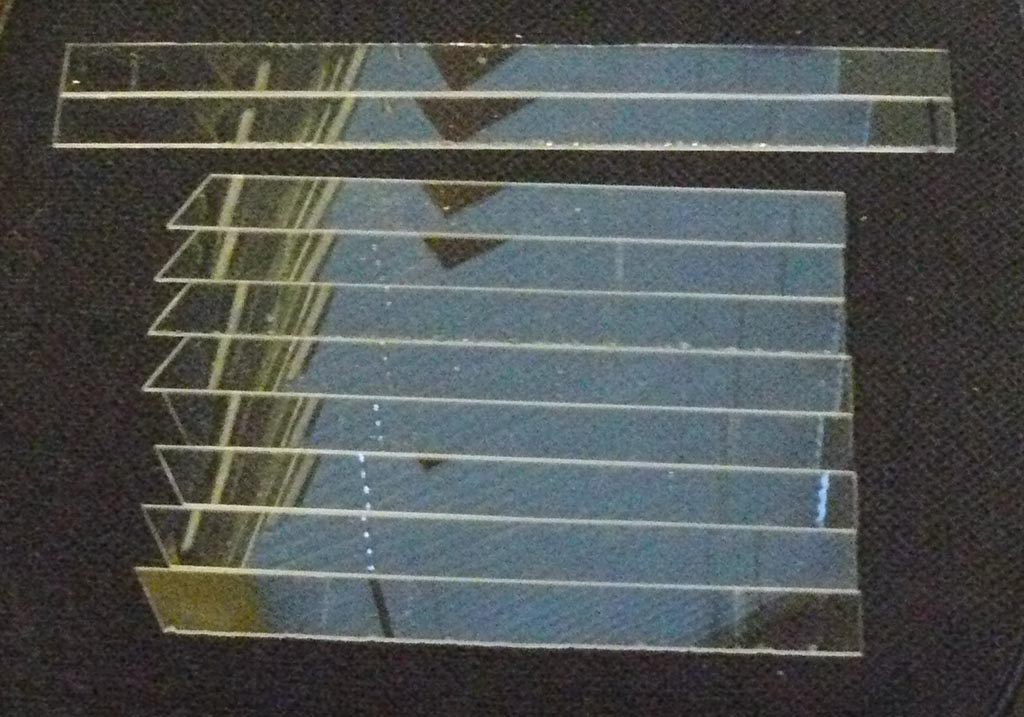
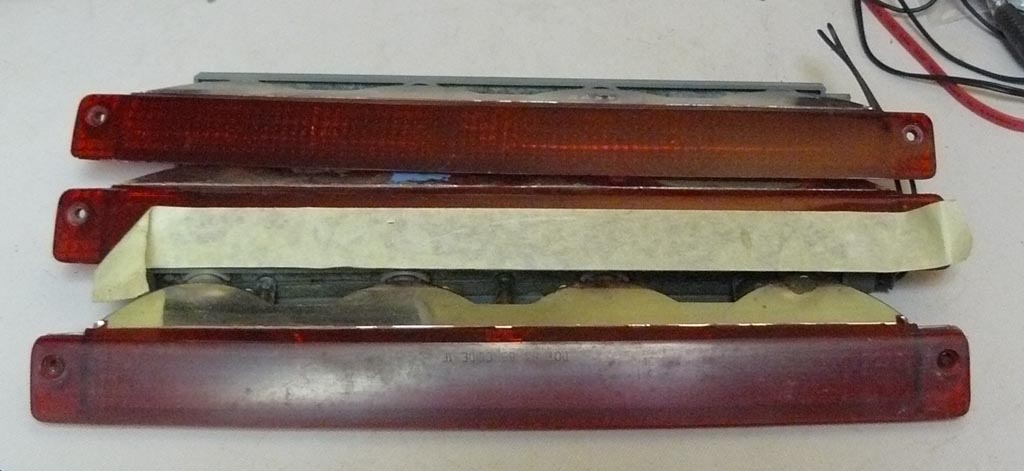
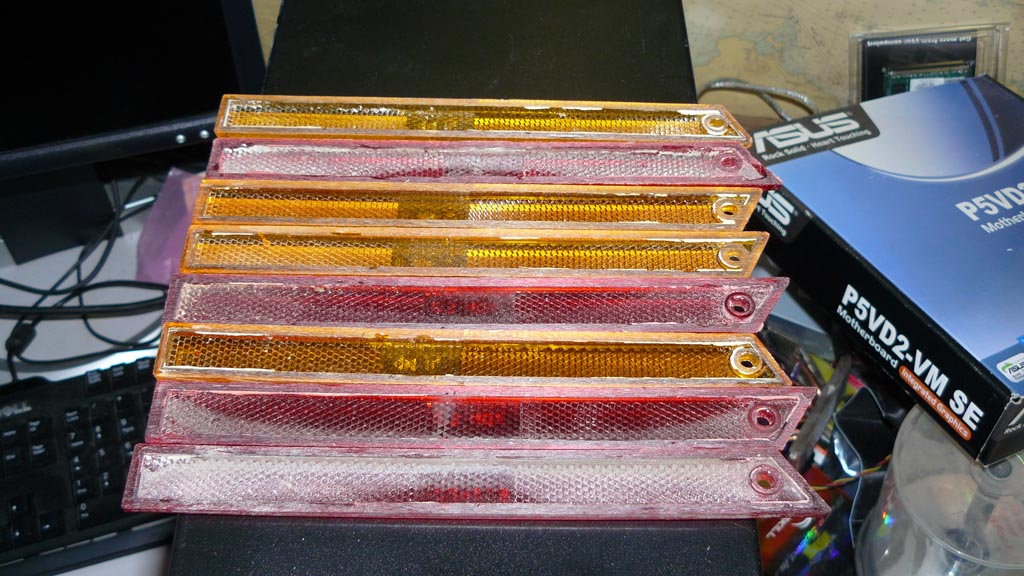
Tonight I spent time dealing with the side markers. Cut them all apart, so they are ready to be sanded, cleaned, etc. Here is what they look like after separation:
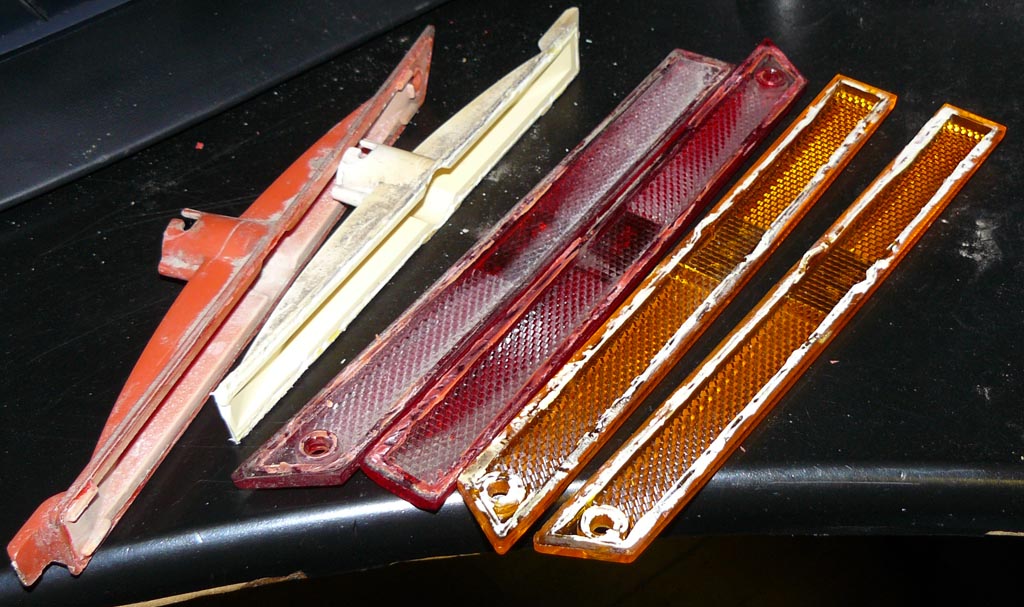
Getting there. Been busy doing computer work too, its been abnormally crazy around here. But that's all good for me.

Re: The Tim German Project. Updated 01-21-13
Posted: Mon Feb 04, 2013 1:57 pm
by DTMAce
Ok, after a very busy couple of weeks, I have done some more updating. Here are all the sidemarkers and 3rd brakes currently being built, with after dissassembly, after sanding, and after cleaning:
Before being sanded:
After sanding:
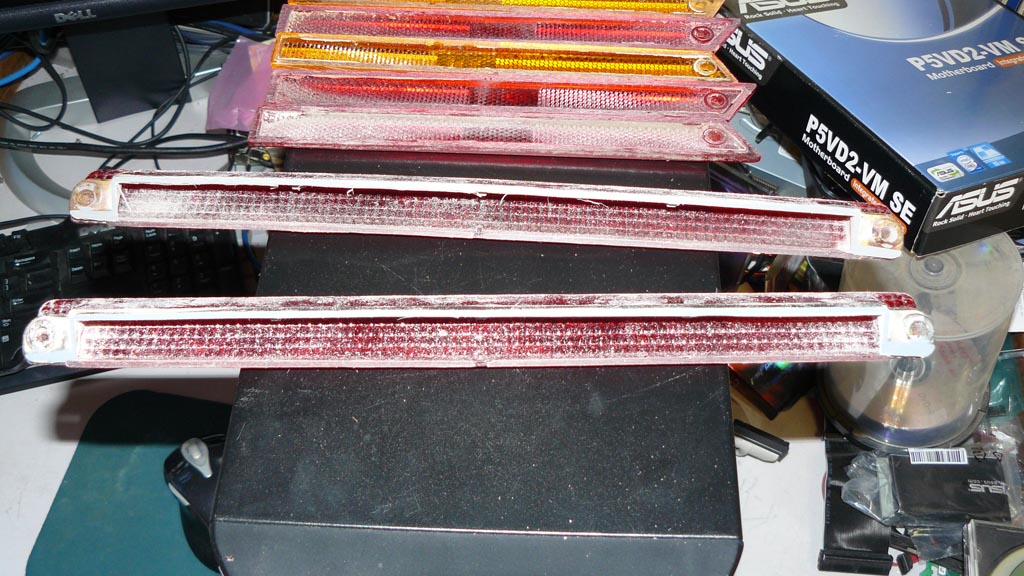
After cleaning:
Now they will go through a drying spell, then any cracks or seam problems (on the 3rd brake lights) will be addressed, then they will get the LED panels installed. Making those next, more once I have some together today. I hope to get these assembled today, or at least ready to assemble.
I want to get these done (as they are the most tedious) before I get to the fun task of doing the rear tails!

More to come!
Edit:
For those wondering, Tim has asked me to make him two complete sets of markers instead of just one, so that is why we now have two sets as pictured. The second 3rd brake light is for Mark, just included here for the sake of simplicity.
Re: The Tim German Project. Updated 02-04-13
Posted: Mon Feb 04, 2013 5:34 pm
by DTMAce
Re: The Tim German Project. Updated 02-04-13
Posted: Mon Feb 04, 2013 7:06 pm
by DTMAce
LED strips mounted on the backing:
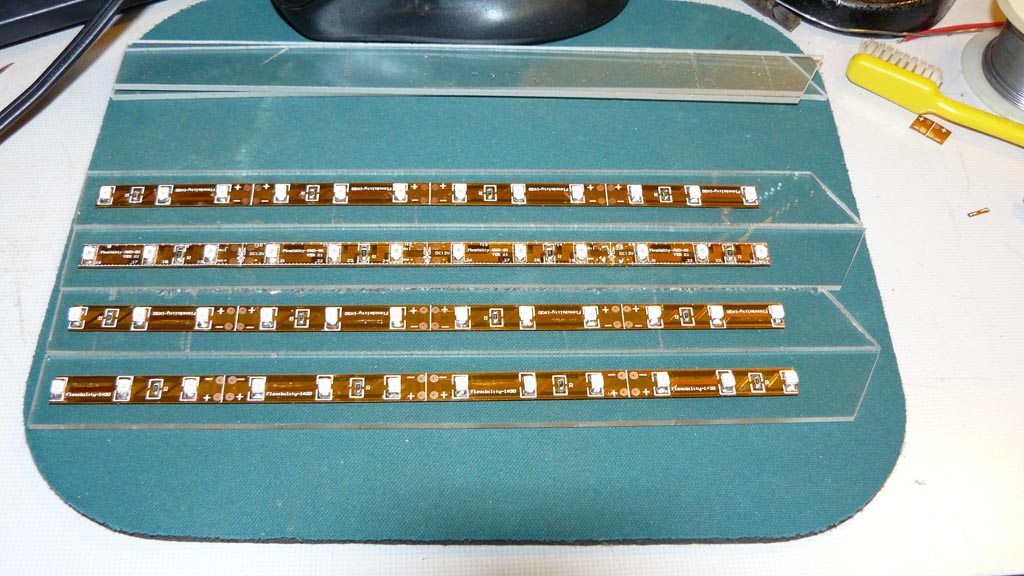
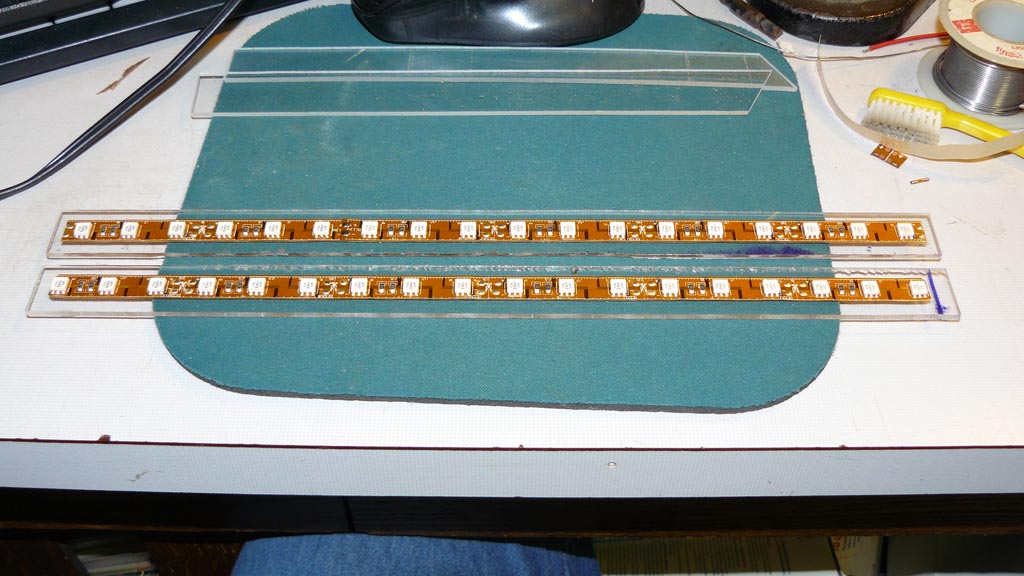
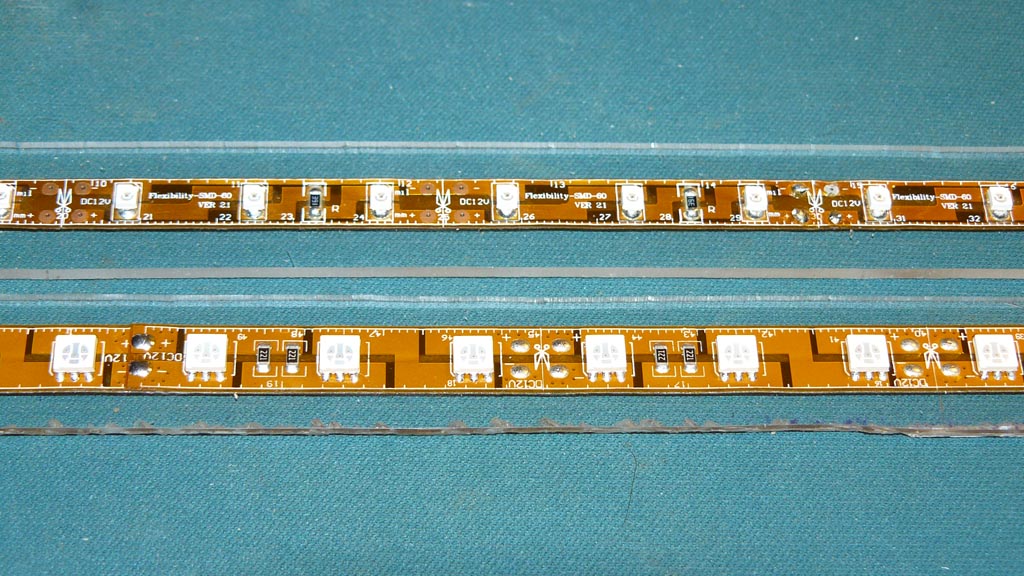
I had to change the 3rd brake design yet again. The newer brightness LED strips will not fit side by side allowing 2 rows. So I simply went with one. These are approx 3x the brightness of the previous strips, (and you can see the size difference in the last pic) so actually its still a way brighter light, even though I dropped a strip from the build. This also means I will have to recalculate pricing. Ugh, but its not a large difference. Ah well.
And if some are wondering, this is why I cannot use the brighter LEDs for marker lights. One, they are bigger & thicker and two, they put out some heat. For lights where they aren't on all the time, no biggie, but with the marker lights, they could actually cause damage over time due to heat.
Once I get the rest of the amber LEDs in for the second set of markers, will get those mounted. Now I have to drill holes, solder in the wire. Then paint the strips black.
Re: The Tim German Project. Updated 02-04-13
Posted: Tue Feb 05, 2013 2:02 pm
by DTMAce
Crafted the first of the two style switches. Pics!
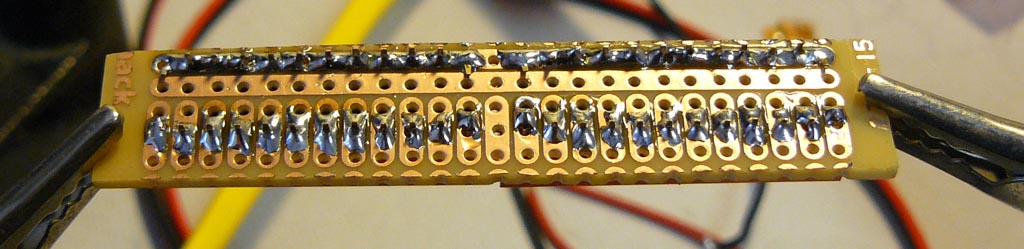
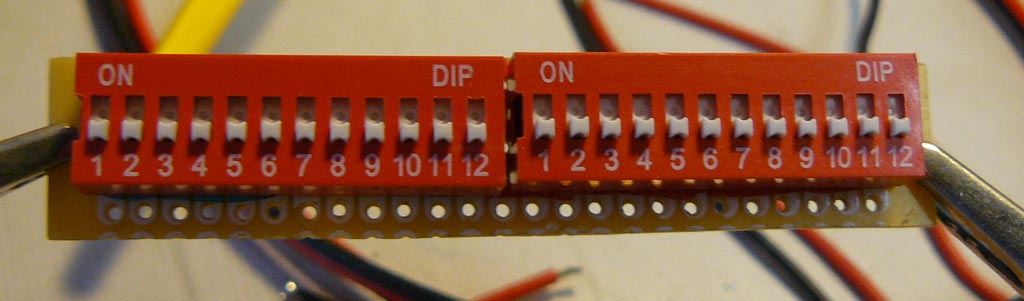
Those will control the sections of the light, so that it can be customized, even changed later if tired of a style. Let the patterns commence. Pretty sweet.
Re: The Tim German Project. Updated 02-05-13
Posted: Tue Feb 05, 2013 2:16 pm
by DTMAce
Here is what we are going to be able to do with this setup, or very similar at least. Remember these were mockups in Photoshop:
For those that may not remember, here were the original concept ideas for lighting patterns:
Stock look
With running lights:
Horizontal with brakes/turns on the bottom half:
With running lights:
Split:
And Vertical:
Not to mention that you can setup your own patterns. KEEP in mind, you only have 2 circuits. One for running lights. One for everything else. So whatever you see blinking in these patterns are also the same sections that light up for brakes.