How to: Mach 1 lip install
Posted: Mon Aug 24, 2009 3:43 pm
Supplies needed:
Mach 1 Lip Here
5/8 self drilling sheet metal screws
Cordless drill
Something to cut plastic with.
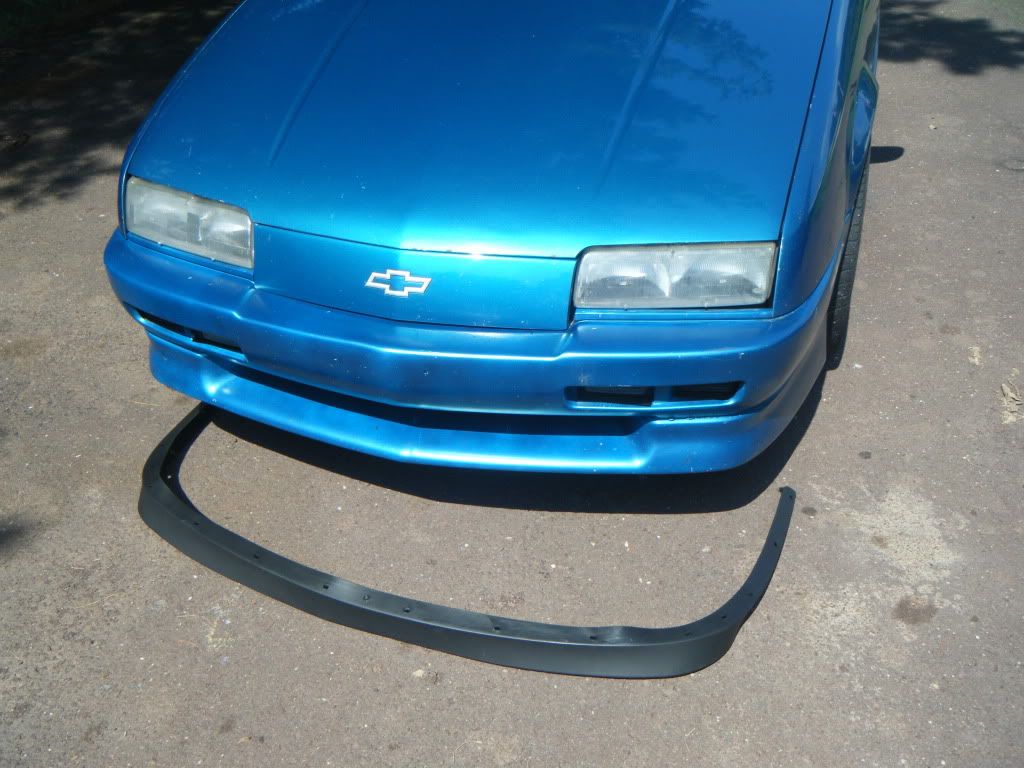
Step 1:
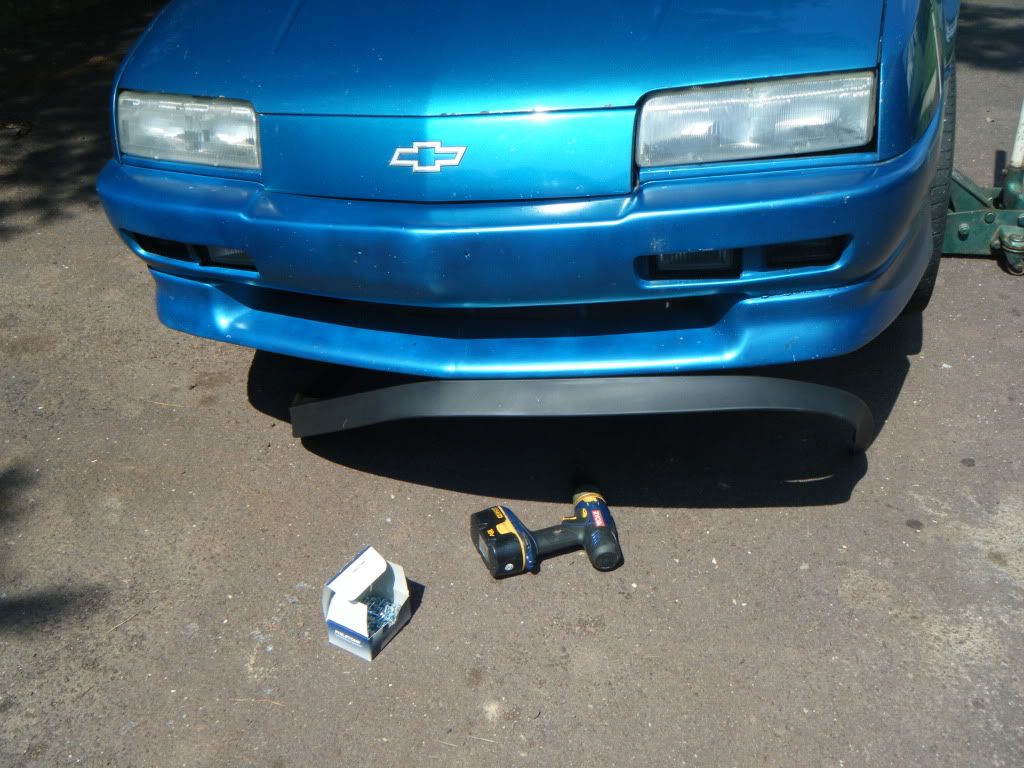
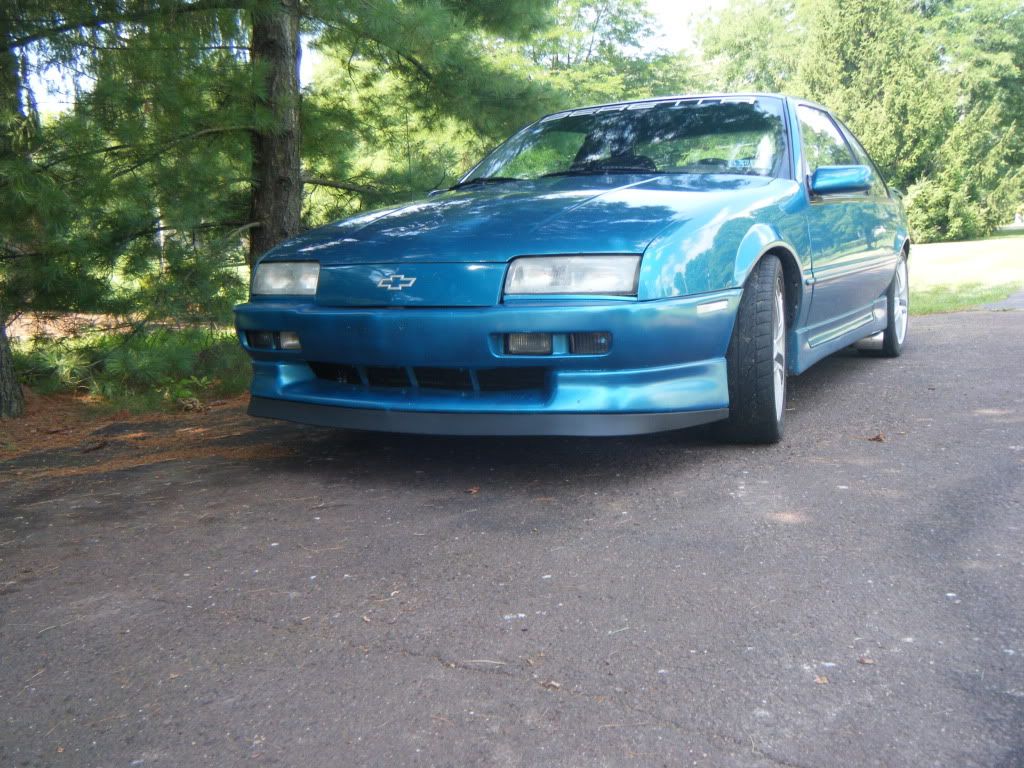
Pull lip out of box and allow it to straighten out in the sun. It comes folded in 3 peices and its kinked badly.
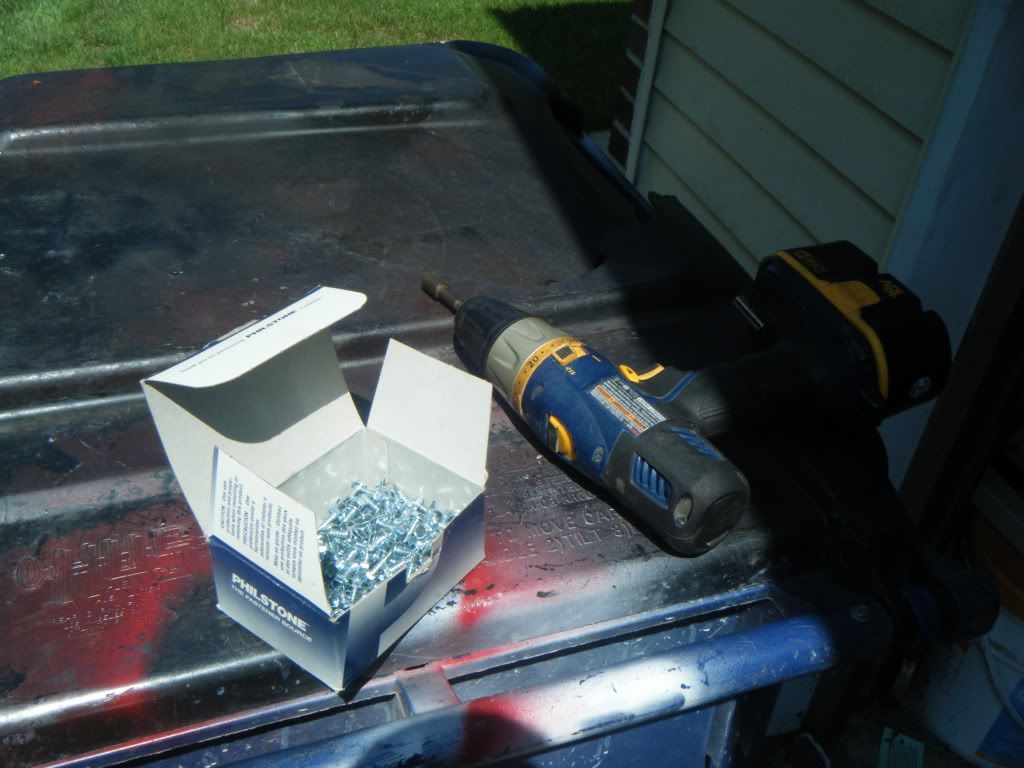
Find the screws you want to use. You can use anything really, but I used 5/8th's long self tapping sheet metal screws.
Step 2:
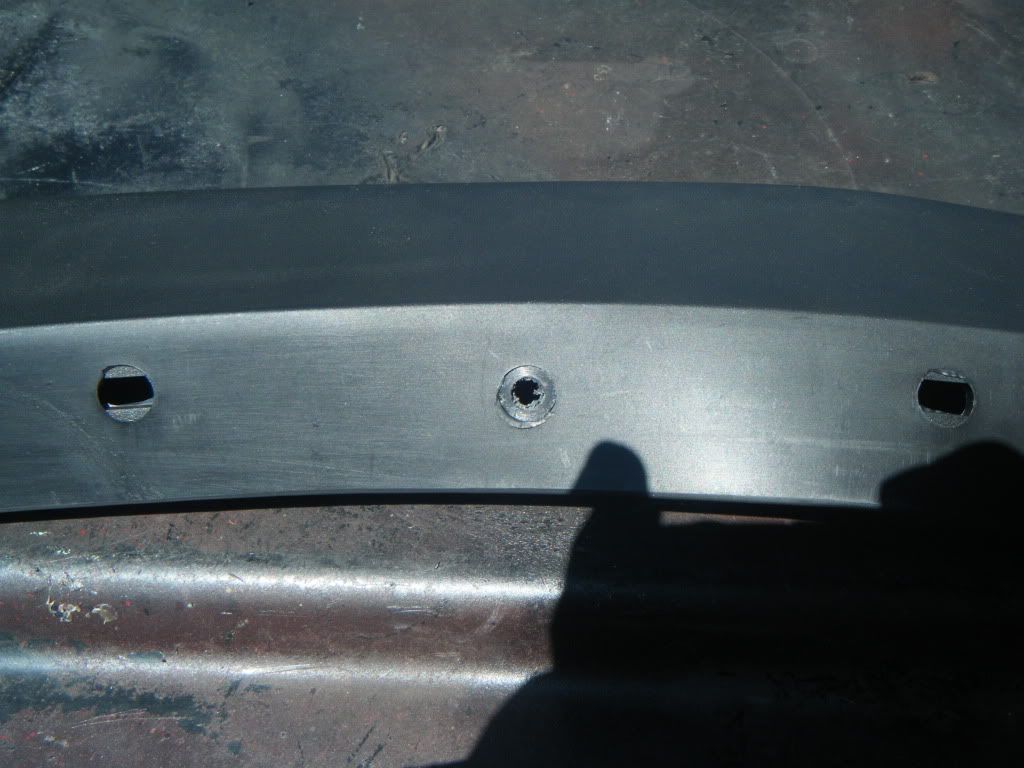
Locate the center of the lip. It is easily marked by the center hole(non slotted)
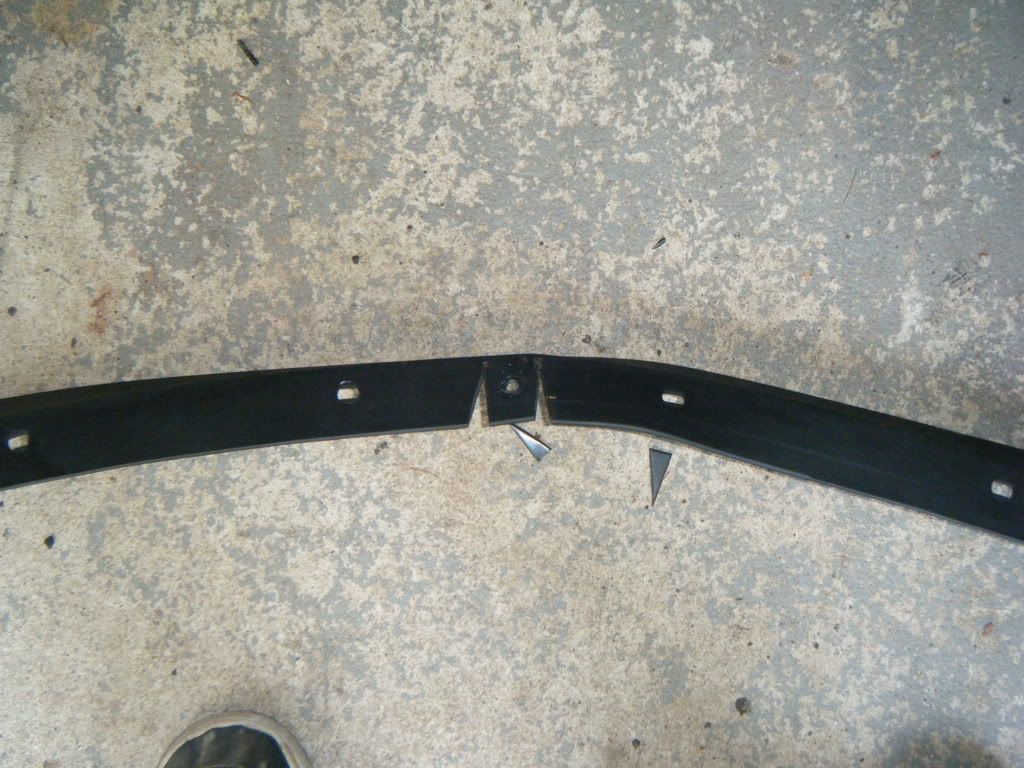
Step 3:
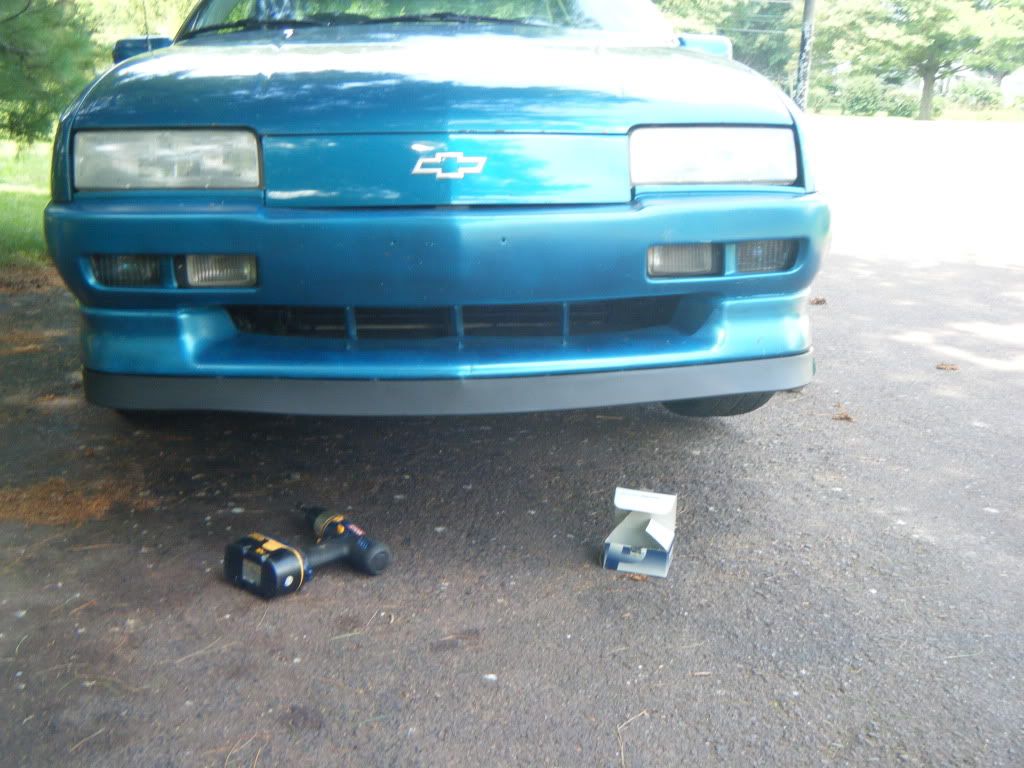
Make a releif cut. This is necessary because the z04 bumper comes to a "point" where the mustang bumper is one smooth curve. You dont HAVE to do this, but in order for it to look decent I reccomend it...
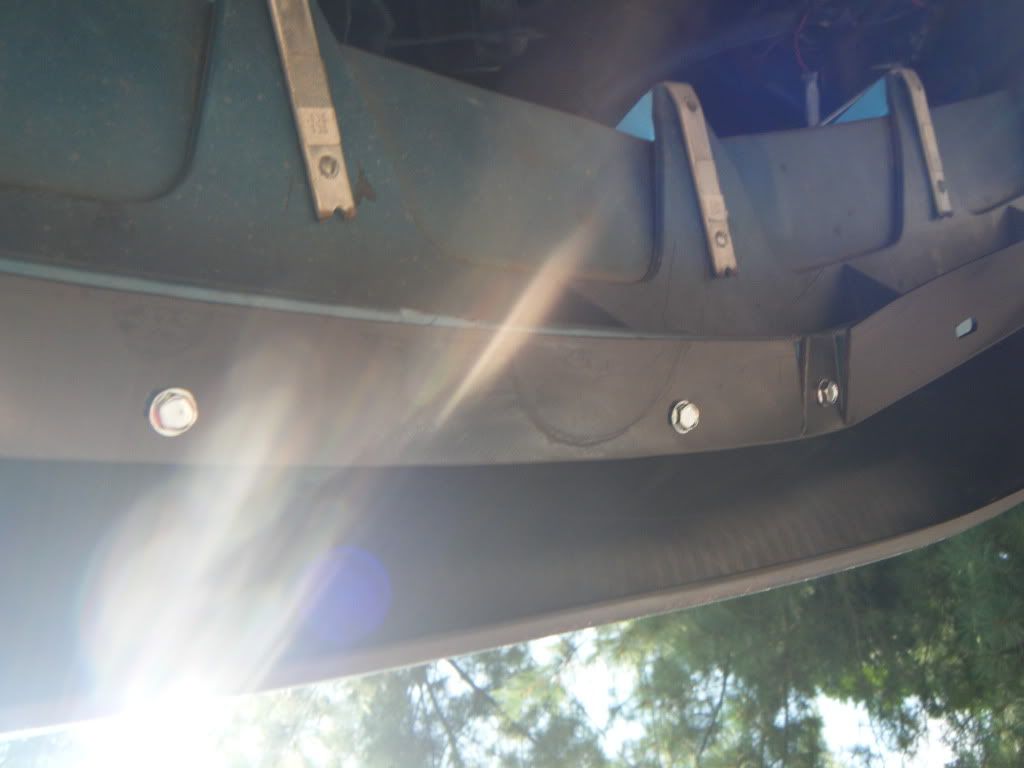
Step 4:
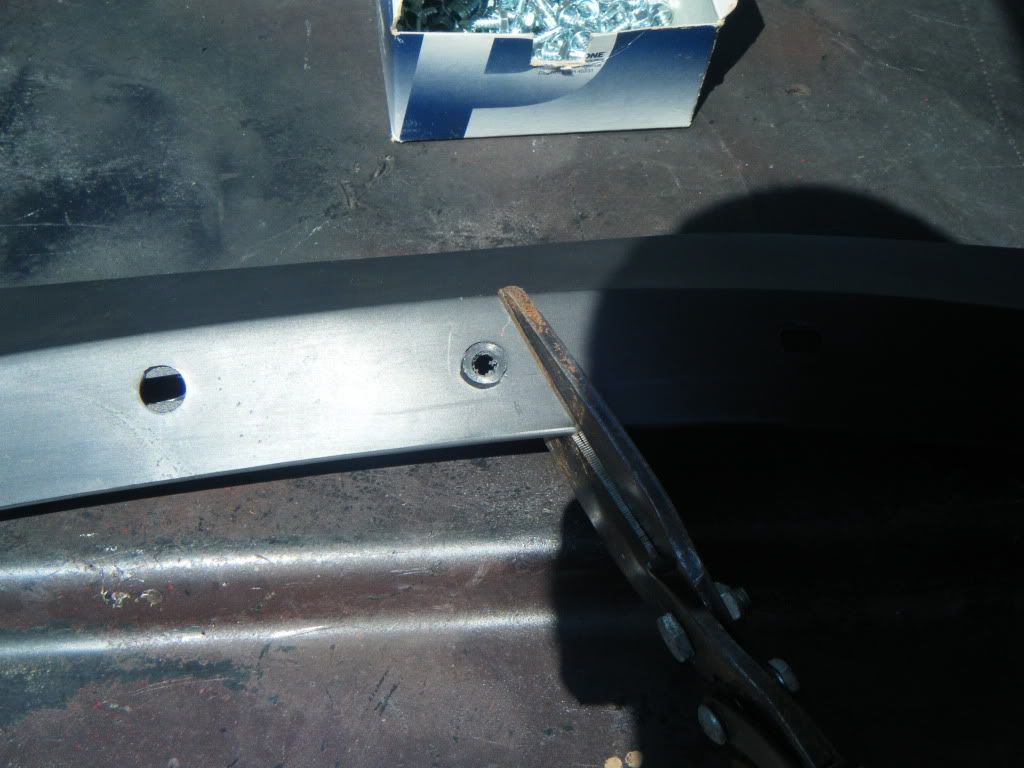
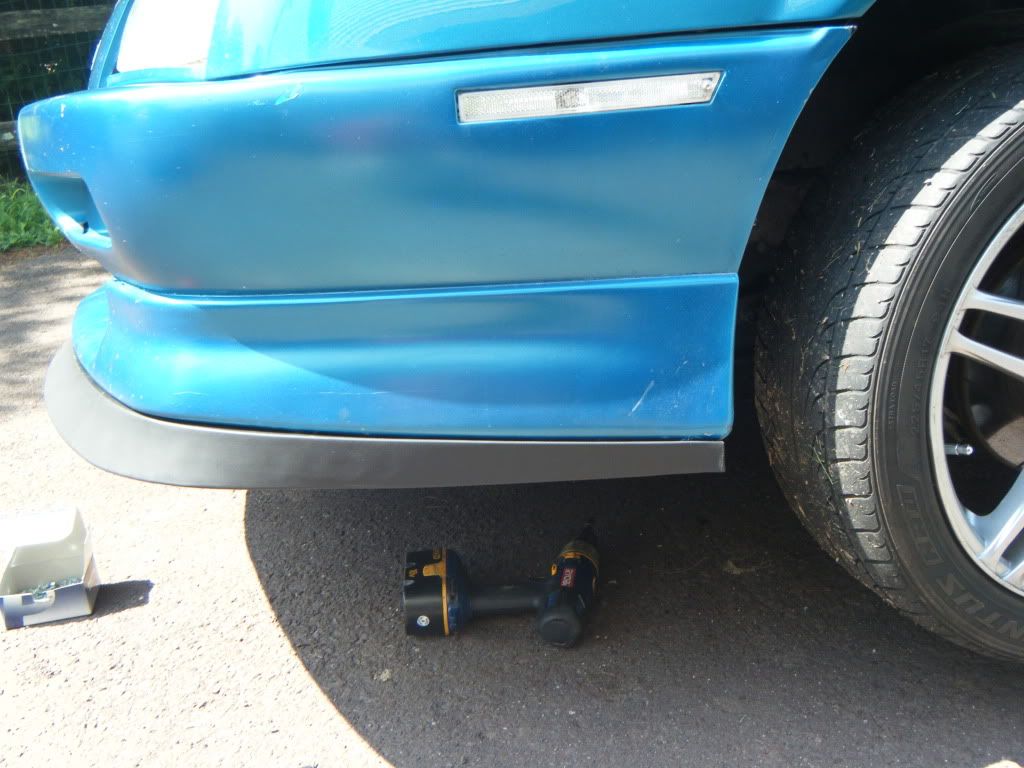
Center the lip on the bumper and install 3 screws. 1 in the center, and one on each side of it. This is crucial that you get this perfect. Keep the lip back about a 1/8th of an inch, the z04 bumper has a rounded edge and it dosent look good up flush with it.
Step 5:
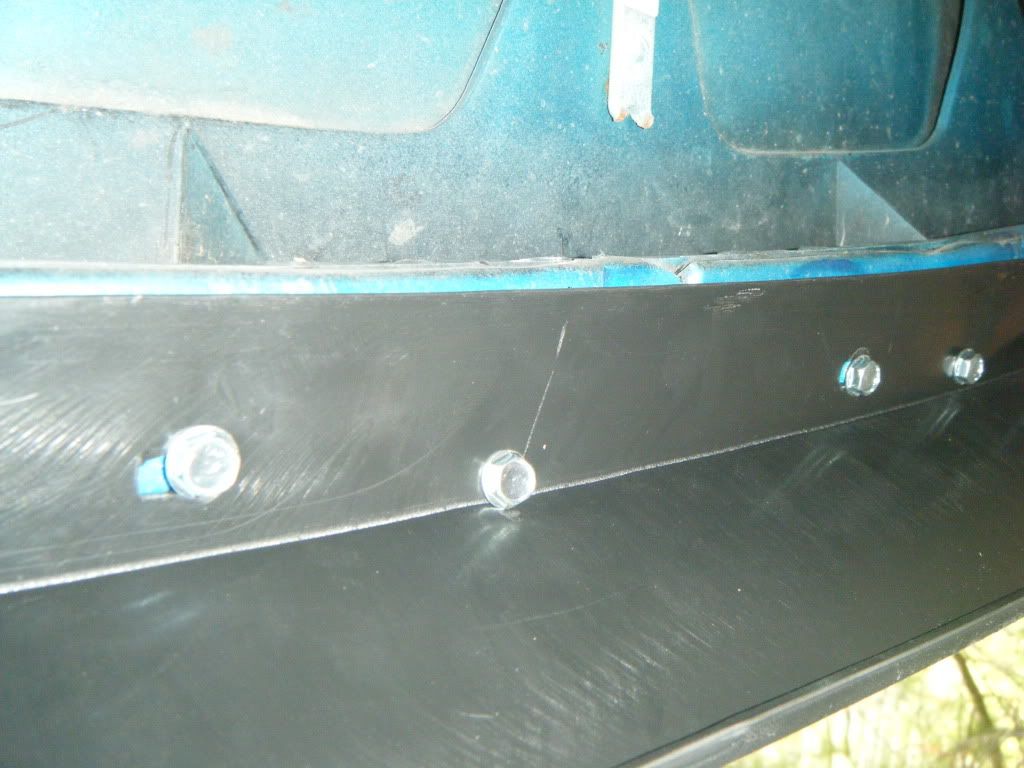
Begin working your way out from the center installing more screws. Keep working the lip with each screw making it fit with the body line of the car. WOrk your way out to the corners then move on to step 6
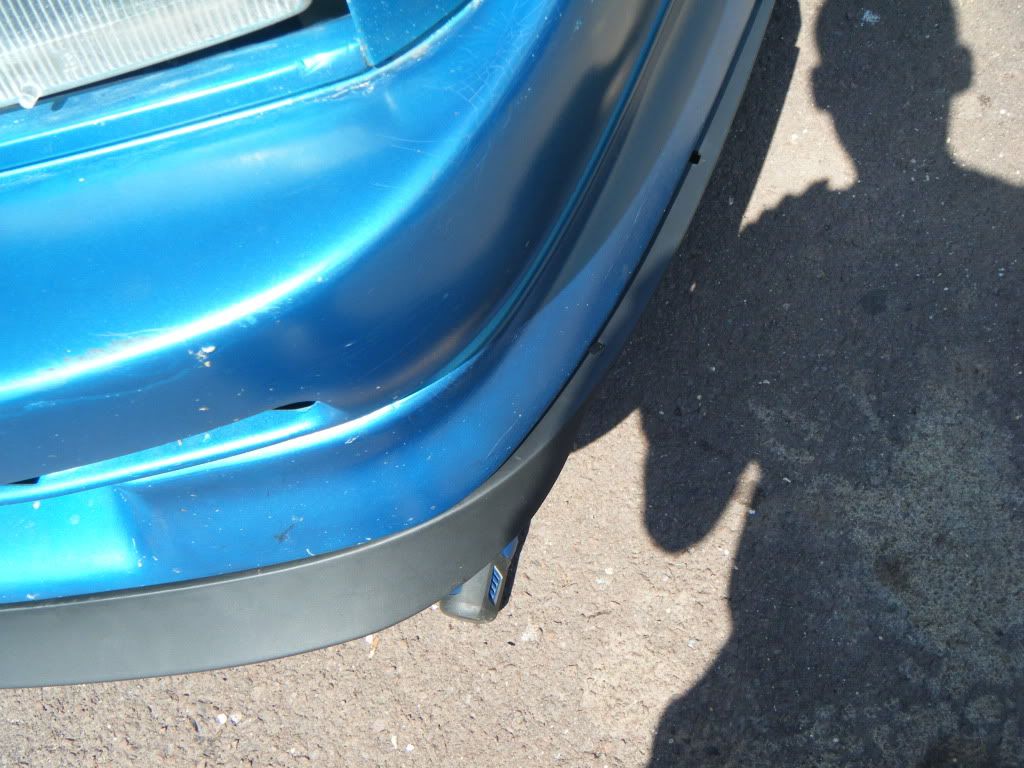
Step 6:
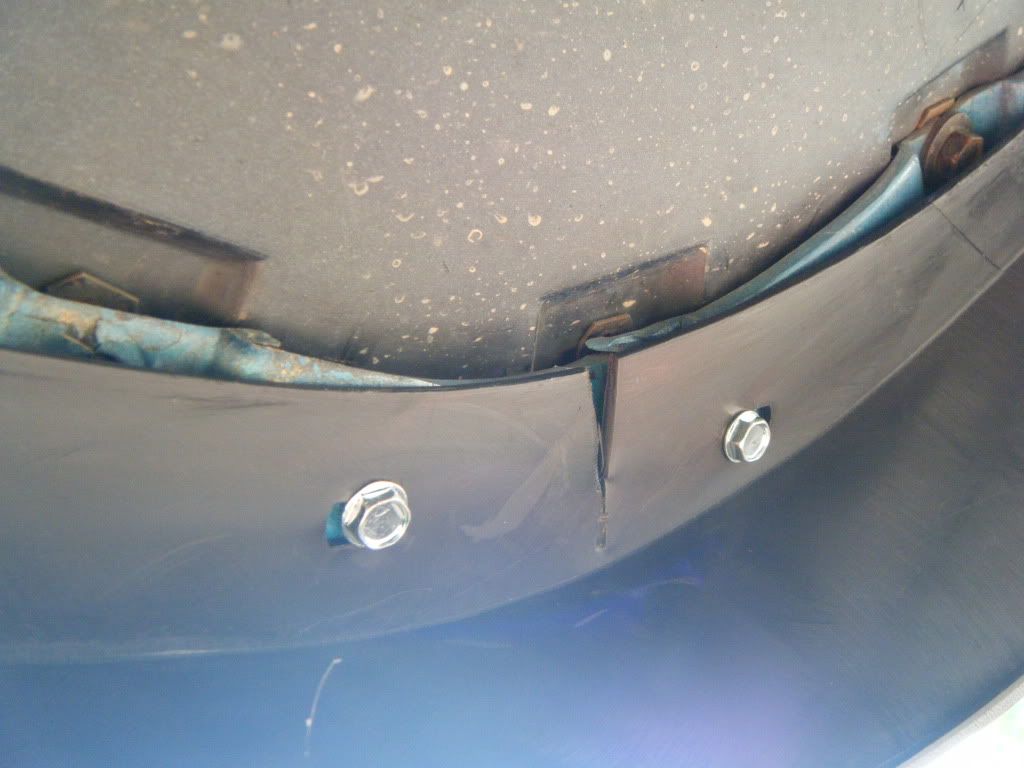
The corners also need releif cuts to follow the body line properly.
Here is how it looks with no cut, you may be able to make it work, but I prefer just to cut it.
Make a cut like this
I actually made 2, but I didnt get a pic.
Mach 1 Lip Here
5/8 self drilling sheet metal screws
Cordless drill
Something to cut plastic with.
Step 1:
Pull lip out of box and allow it to straighten out in the sun. It comes folded in 3 peices and its kinked badly.
Find the screws you want to use. You can use anything really, but I used 5/8th's long self tapping sheet metal screws.
Step 2:
Locate the center of the lip. It is easily marked by the center hole(non slotted)
Step 3:
Make a releif cut. This is necessary because the z04 bumper comes to a "point" where the mustang bumper is one smooth curve. You dont HAVE to do this, but in order for it to look decent I reccomend it...
Step 4:
Center the lip on the bumper and install 3 screws. 1 in the center, and one on each side of it. This is crucial that you get this perfect. Keep the lip back about a 1/8th of an inch, the z04 bumper has a rounded edge and it dosent look good up flush with it.
Step 5:
Begin working your way out from the center installing more screws. Keep working the lip with each screw making it fit with the body line of the car. WOrk your way out to the corners then move on to step 6
Step 6:
The corners also need releif cuts to follow the body line properly.
Here is how it looks with no cut, you may be able to make it work, but I prefer just to cut it.
Make a cut like this
I actually made 2, but I didnt get a pic.
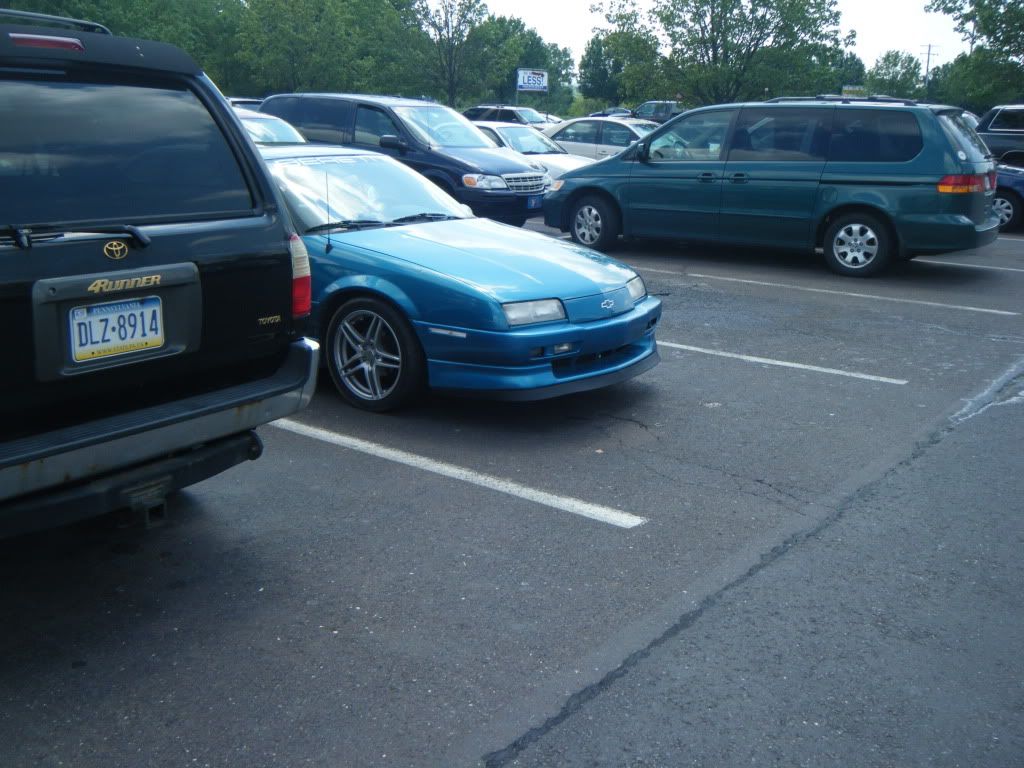

 ... I've noticed a properly supported lip will clear the typical curb height, and parking block size, even when the car is lowered... If this was on my car it would have been hit more than once and wrecked my lip in the process I'm sure.