92 GT Interior restoration
-
Blue_tanukiGT

- Registered User
- Posts: 5
- Joined: Fri May 16, 2025 6:04 am
92 GT Interior restoration
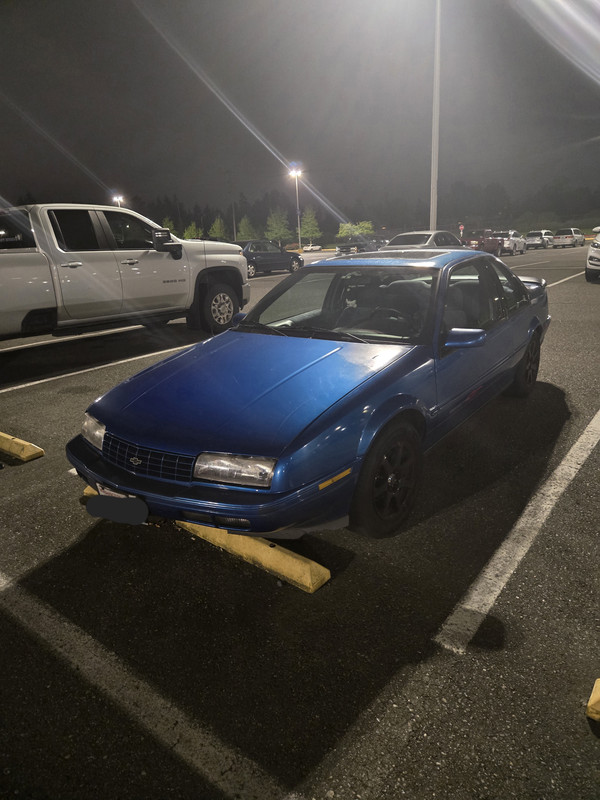
Figure id document my process during my interior restoration on my 92 GT for people going through the same thing in the future.
(Isn't she beautiful?)
im starting simple by respraying my vinyl to black and replacing all my carpet trim to a nice velvet I found, after that I need to replace all the seating or somehow make my own foam and upholstery.
After that I want to put starlights on all the fabric trim/headliner.
From there I want to replace my steering wheel and swap my gauge cluster with the corvette c4 dash (or any similar digital dash but for now the c4 is the top cantidate)
During all this I'll be upgrading my sound system and improving my sound deadening as well
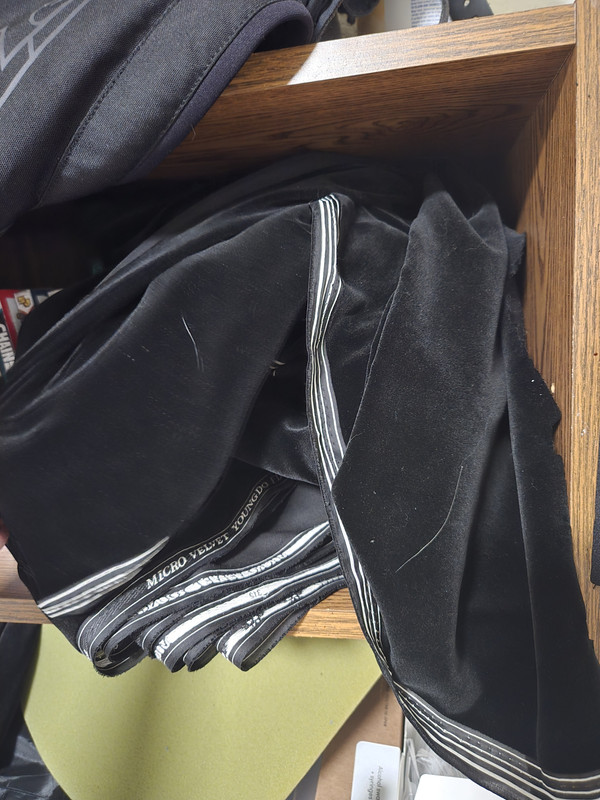
Here's my progress so far on removing my interior and the velvet I chose:
(Isn't she beautiful?)
im starting simple by respraying my vinyl to black and replacing all my carpet trim to a nice velvet I found, after that I need to replace all the seating or somehow make my own foam and upholstery.
After that I want to put starlights on all the fabric trim/headliner.
From there I want to replace my steering wheel and swap my gauge cluster with the corvette c4 dash (or any similar digital dash but for now the c4 is the top cantidate)
During all this I'll be upgrading my sound system and improving my sound deadening as well
Here's my progress so far on removing my interior and the velvet I chose:
-
Blue_tanukiGT
- Registered User
- Posts: 5
- Joined: Fri May 16, 2025 6:04 am
Re: 92 GT Interior restoration
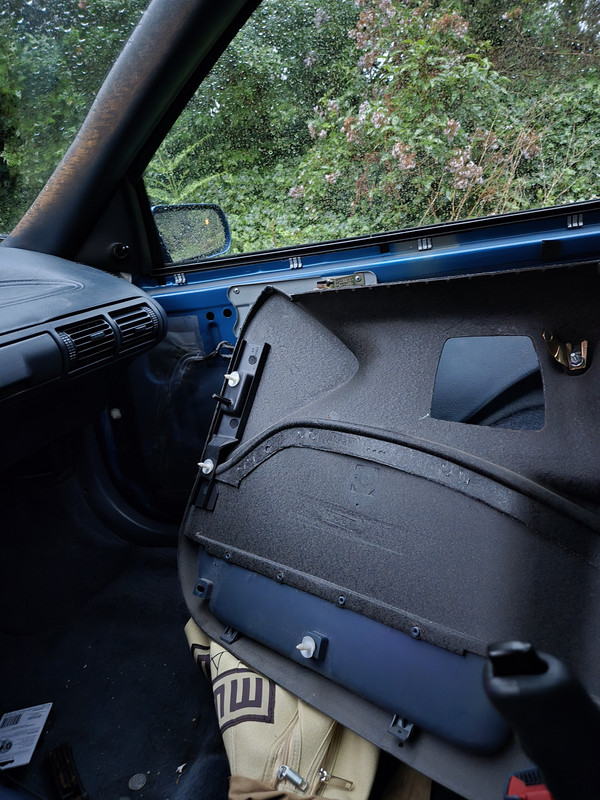
Update 1: rear seat panel trim, the fabric panel near the windows is really easy to remove. Nothing to unscrew, just pry it off starting from the bottom (be careful it uses the same clips as the door cards) once you have it removed you can peel the old fabric off and clean the adhesive from the back (there are staples that come oem but they're easy to pry off)
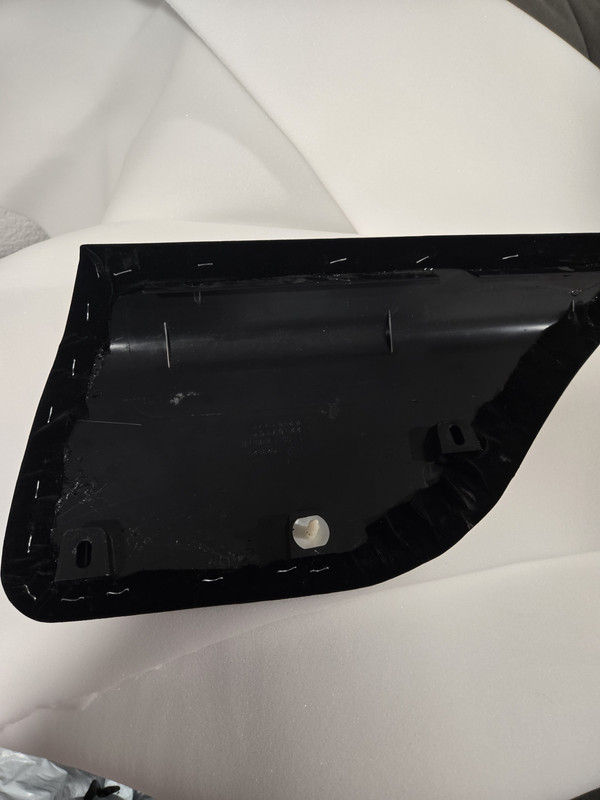
Once you have the fabric removed save the old foam underlayer to use as a template to cut the new foam with, I used 1/4 inch craft foam and it matched the thickness of the original perfectly.

Originally the foam isn't attached at all to the plastic panel but I used some glue to help keep it in place while I attached the fabric which was pretty easy all said and done, start by getting some strong adhesive (i used goop automotive adhesive) and put a decent slather down on the edge, lay your fabric over that then staple it down in case the adhesive doesn't wanna hold while it cures. (don't make my mistake and get a weak stapler the plastic is kinda hard to puncture) from there attach the bottom side using the same technique, put a decent bit of tension on the fabric during the whole process so it isn't loose or feel low quality ect. After the bottom is attached then attach your sides and you'll have a complete piece ready to install
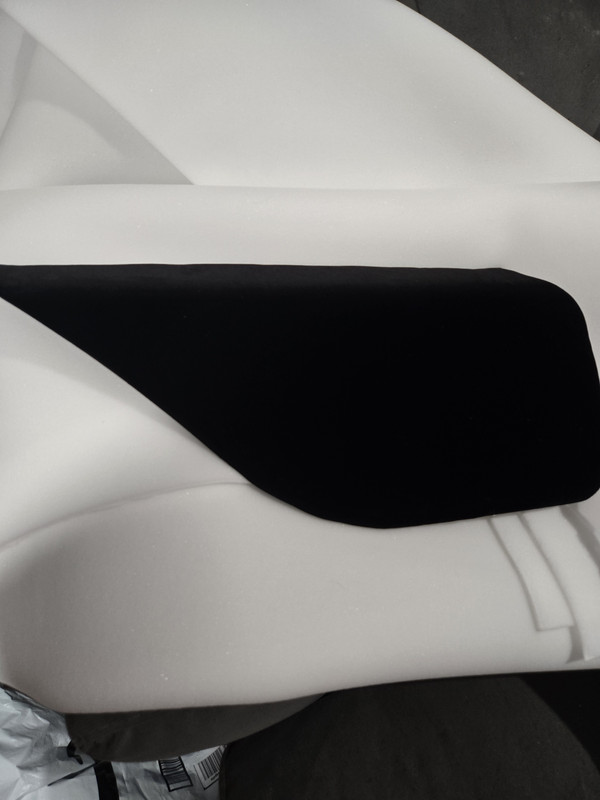
After that throw it back in your car and wham blam you have a freshly upholstered trim piece (if you're spraying any vinyl to a new color do that first before you reinstall the trim piece lol)
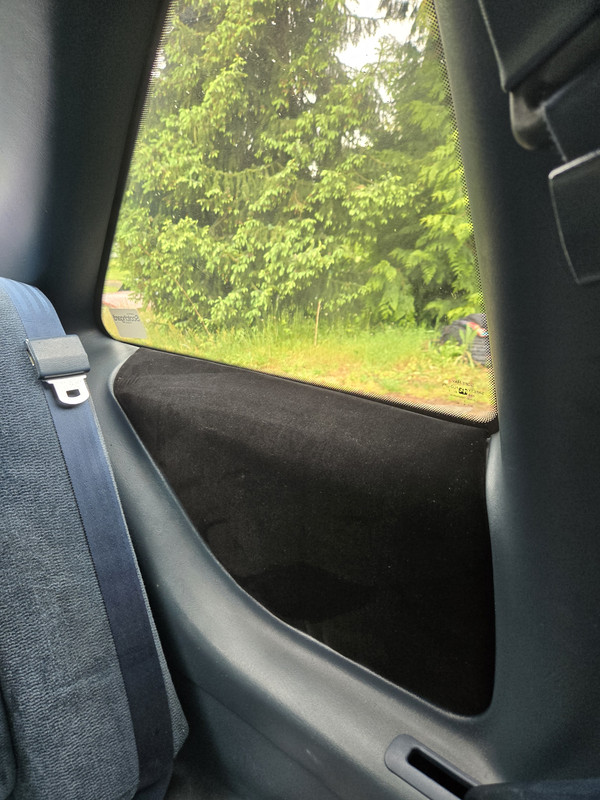
Next projects will be painting the vinyl, headliner and parcel deck, carpet, and seats so stay tuned to the thread for tutorials
P.S. ALSO quick off topic fix for sunroof leaking check the seal on the latch to open the sunroof those get old and Crack, use the goop adhesive from this tutorials to replace the old seal and your leak should stop
Once you have the fabric removed save the old foam underlayer to use as a template to cut the new foam with, I used 1/4 inch craft foam and it matched the thickness of the original perfectly.
Originally the foam isn't attached at all to the plastic panel but I used some glue to help keep it in place while I attached the fabric which was pretty easy all said and done, start by getting some strong adhesive (i used goop automotive adhesive) and put a decent slather down on the edge, lay your fabric over that then staple it down in case the adhesive doesn't wanna hold while it cures. (don't make my mistake and get a weak stapler the plastic is kinda hard to puncture) from there attach the bottom side using the same technique, put a decent bit of tension on the fabric during the whole process so it isn't loose or feel low quality ect. After the bottom is attached then attach your sides and you'll have a complete piece ready to install
After that throw it back in your car and wham blam you have a freshly upholstered trim piece (if you're spraying any vinyl to a new color do that first before you reinstall the trim piece lol)
Next projects will be painting the vinyl, headliner and parcel deck, carpet, and seats so stay tuned to the thread for tutorials
P.S. ALSO quick off topic fix for sunroof leaking check the seal on the latch to open the sunroof those get old and Crack, use the goop adhesive from this tutorials to replace the old seal and your leak should stop
Re: 92 GT Interior restoration
You’re doing a great job!
-
Blue_tanukiGT
- Registered User
- Posts: 5
- Joined: Fri May 16, 2025 6:04 am
Re: 92 GT Interior restoration
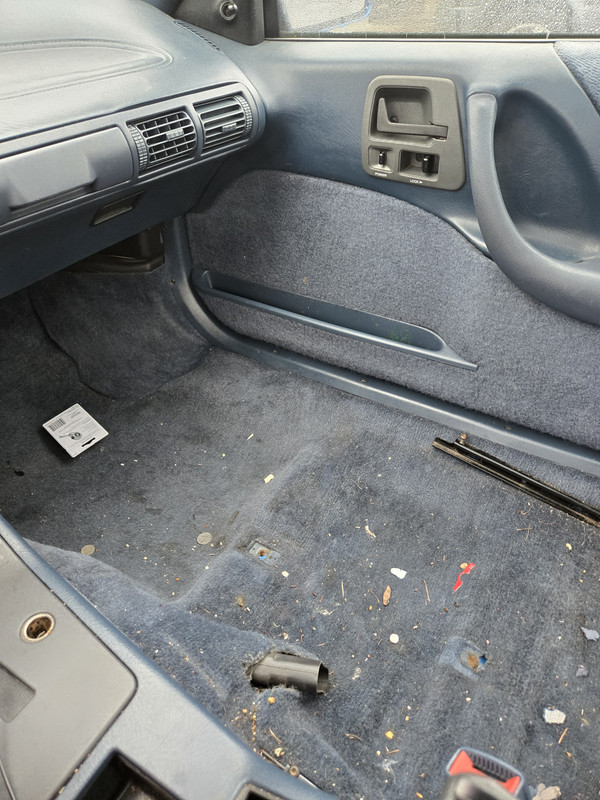
Quick update since its been a sec, I have gotten most of the panels out of my interior in prep for new carpet and to paint the plastic pieces, there's definitely a lot of cleaning i need but luckily not too much rust (except on the fasteners, those sucked to remove) ill need to make a new headliner board as mine crumbled apart during the removal, any information on finding a replacement would also be appreciated. Also since my parcel deck is off i think it'd be a good time to replace my speakers since they're starting to get pretty bad, any brand recommendations welcome as im not an audio tech. Currently also on the hunt for the euro headlights and a gtz bumper (found a website that apparently has some in stock). Also very much in need of a new rear seat setup because all the fabric is shredded and the foam is disgusting. Will post update pics soon
-
Blue_tanukiGT
- Registered User
- Posts: 5
- Joined: Fri May 16, 2025 6:04 am
Re: 92 GT Interior restoration
another update, the interior restoration project is sitting in limbo due to other more pressing mechanical issues but also due to the fact i have discovered more leaks in my sunroof. they are leaking at the bolt points for the hinge seats that the front of the sunroof panel slides on to, gonna see if i can find the rubber gaskets that go to those but if not im just gonna do my best diy seal job to fix it. also considering either repainting or wrapping to try out a purple look to match the kuromi plush hanging from my rearview mirror, but thats out of my skill zone and too expensive to have a professional do so thats a project for way later
-
woody90gtz

- Registered User
- Posts: 4764
- Joined: Thu Jul 11, 2002 8:45 pm
- Location: Walton, NY
- Contact:
Re: 92 GT Interior restoration
I don't recall rubber gaskets on those sunroof tabs, but I have found that "craft foam" stuff for kiddo projects makes a pretty good DIY gasket. It's cheap and easy to work with too. The biggest thing to keep your sunroof from leaking is the drains. Clear all of the drain hoses and it shouldn't matter what angle you park on and the water will drain out.
Speaker brand probably doesn't matter too much, that should be easy. But finding a new back seat could be tough. I don't know of any directly compatible cars, except I'm thinking Corsica.
Speaker brand probably doesn't matter too much, that should be easy. But finding a new back seat could be tough. I don't know of any directly compatible cars, except I'm thinking Corsica.
91 "SS" - WOT 3400/5spd - 13.29@101.6 - World's fastest N/A FWD Beretta
96 "T56" LS/6spd/8.8 RWD swap - 13.45@104.7 lol
GEARHEAD dezign youtube
96 "T56" LS/6spd/8.8 RWD swap - 13.45@104.7 lol
GEARHEAD dezign youtube
-
Blue_tanukiGT
- Registered User
- Posts: 5
- Joined: Fri May 16, 2025 6:04 am
Re: 92 GT Interior restoration
It might just be a rubber sealant that acts as a gasket ngl, either way as long as it stops water i dont care how i do itwoody90gtz wrote: ↑Tue Aug 26, 2025 9:19 pm I don't recall rubber gaskets on those sunroof tabs, but I have found that "craft foam" stuff for kiddo projects makes a pretty good DIY gasket. It's cheap and easy to work with too. The biggest thing to keep your sunroof from leaking is the drains. Clear all of the drain hoses and it shouldn't matter what angle you park on and the water will drain out.
Speaker brand probably doesn't matter too much, that should be easy. But finding a new back seat could be tough. I don't know of any directly compatible cars, except I'm thinking Corsica.

As for seats ill probably just make new ones myself given i can get my hands on the right type of foam or get a shop to do it if the price is right, the hardest thing to do will definitely end up being the door cards tho